labvanced logoLabVanced
  • Research
    • Publications
    • Researcher Interviews
    • Use Cases
      • Behavioral Psychology
      • Personality & Social Psychology
      • Cognitive & Neuro Psychology
      • Developmental & Educational Psychology
      • Clinical & Health Psychology
      • Sports & Movement Psychology
      • Marketing & Consumer Psychology
    • Labvanced Blog
  • Technology
    • Feature Overview
    • Desktop App
    • Phone App
    • Precise Timing
    • Experimental Control
    • Eye Tracking
    • Multi User Studies
    • More ...
      • Questionnaires
      • Artificial Intelligence (AI) Integration
      • Mouse Tracking
      • Data Privacy & Security
  • Learn
    • Guide
    • Videos
    • Walkthroughs
    • FAQ
    • Release Notes
    • Documents
    • Classroom
  • Experiments
    • Public Experiment Library
    • Labvanced Sample Studies
  • Pricing
    • Pricing Overview
    • License Configurator
    • Single License
    • Research Group
    • Departments & Consortia
  • About
    • About Us
    • Contact
    • Downloads
    • Careers
    • Impressum
    • Disclaimer
    • Privacy & Security
    • Terms & Conditions
  • Appgo to app icon
  • Logingo to app icon
Learn
Guide
Videos
Walkthroughs
FAQ
Release Notes
Classroom
  • 中國人
  • Deutsch
  • Français
  • Español
  • English
Guide
Videos
Walkthroughs
FAQ
Release Notes
Classroom
  • 中國人
  • Deutsch
  • Français
  • Español
  • English
  • Guide
    • GETTING STARTED

      • Objects
      • Events
      • Variables
      • Task Wizard
      • Trial System
      • Study Design
        • Tasks
        • Blocks
        • Sessions
        • Groups
    • FEATURED TOPICS

      • Randomization & Balance
      • Eye Tracking
      • Desktop App
      • Sample Studies
      • Participant Recruitment
      • API Access
        • REST API
        • Webhook API
        • WebSocket API
      • Other Topics

        • Precise Stimulus Timings
        • Multi User Studies
        • Head Tracking in Labvanced | Guide
    • MAIN APP TABS

      • Overview: Main Tabs
      • Dashboard
      • My Studies
      • Shared Studies
      • My Files
      • Experiment Library
      • My Account
      • My License
    • STUDY TABS

      • Overview: Study-Specific Tabs
      • Study Design
        • Tasks
        • Blocks
        • Sessions
        • Groups
      • Task Editor
        • Main Functions and Settings
        • The Trial System
        • Canvas and Page Frames
        • Objects
        • Object Property Tables
        • Variables
        • System Variables Tables
        • The Event System
        • Trial Randomization
        • Text Editor Functions
        • Eyetracking in a Task
        • Head Tracking in a Task
        • Multi-User Studies
      • Study Settings
        • Start Up and Main Settings
        • Browsers & Devices Settings
        • Experiment Features Settings
      • Description
        • More Details about Description Information
        • Images, Links, and References in Descriptions
      • Variables
      • Media
      • Translate
      • Run
      • Publish and Record
        • Requirements for Publishing a Study in Labvanced
        • Recruiting Participants and Crowdsourcing
        • License Selection and Confirmation
        • After Publishing Your Labvanced Study
      • Sharing
      • Participants
      • Dataview and Export
        • Dataview and Variable & Task Selection (OLD Version)
        • Accessing Recordings (OLD Version)
  • Videos
    • Video Overview
    • Getting Started in Labvanced
    • Creating Tasks
    • Element Videos
    • Events & Variables
    • Advanced Topics
  • Walkthroughs
    • Introduction
    • Stroop Task
    • Lexical Decision Task
    • Posner Gaze Cueing Task
    • Change Blindness Flicker Paradigm
    • Eye-tracking Sample Study
    • Infant Eye-tracking Study
    • Attentional Capture Study with Mouse Tracking
    • Rapid Serial Visual Presentation
    • ChatGPT Study
    • Eye Tracking Demo: SVGs as AOIs
    • Multi-User Demo: Show Subjects' Cursors
    • Gamepad / Joystick Controller- Basic Set Up
    • Desktop App Study with EEG Integration
  • FAQ
    • Features
    • Security & Data Privacy
    • Licensing
    • Precision of Labvanced
    • Programmatic Use & API
    • Using Labvanced Offline
    • Troubleshooting
    • Study Creation Questions
  • Release Notes
  • Classroom

Using Labvanced Offline as a Downloaded Software

The Labvanced platform can be downloaded and used offline if you hold a group license. A good use case for the offline version of Labvanced is to put the software on a lab computer for a quick shortcut to your experiment, without going through the entire platform in front of a participant. Please remember in order to download the offline version of Labvanced, you must be connected to the internet to install the package and access your studies. Once installed, you will be able to access those studies offline.

To do this, first download the offline version of Labvanced: Click Here. Scroll down the page to "Labvanced Offline/Lab Version Installer" and select the correct version for your device. It will download as a zip folder, so extract all the files to a folder of your choice.

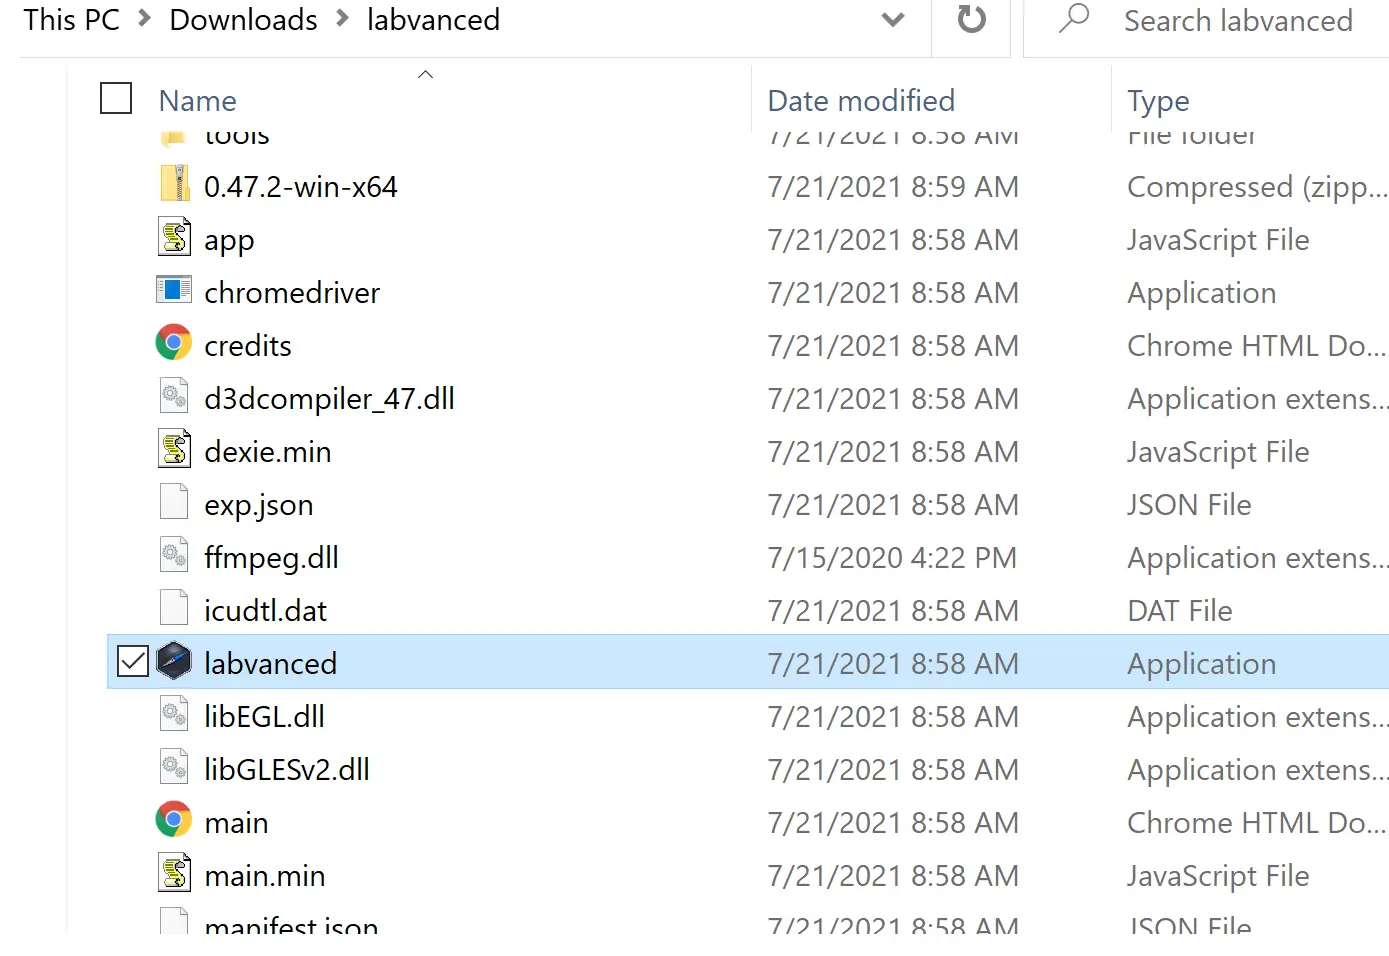
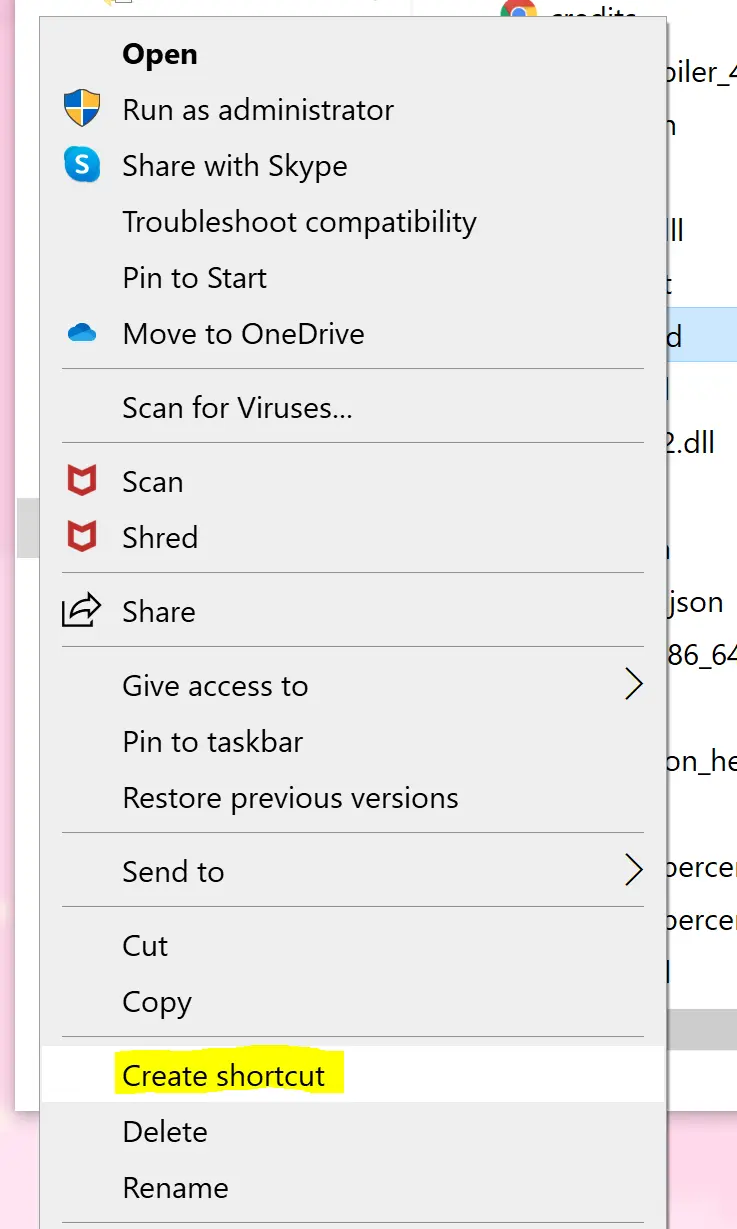
Next, create a shortcut for the Labvanced application. You can do this by opening the folder containing the extracted files and right-clicking on the application "labvanced" and clicking "Create Shortcut" towards the bottom of the menu.

shortcut

shortcut part 2

A shortcut will appear in the folder. Save this shortcut to your Desktop for easiest access by clicking and dragging it to the Desktop.

Once on your Desktop, double-click on the shortcut icon to open the application.

Labvanced

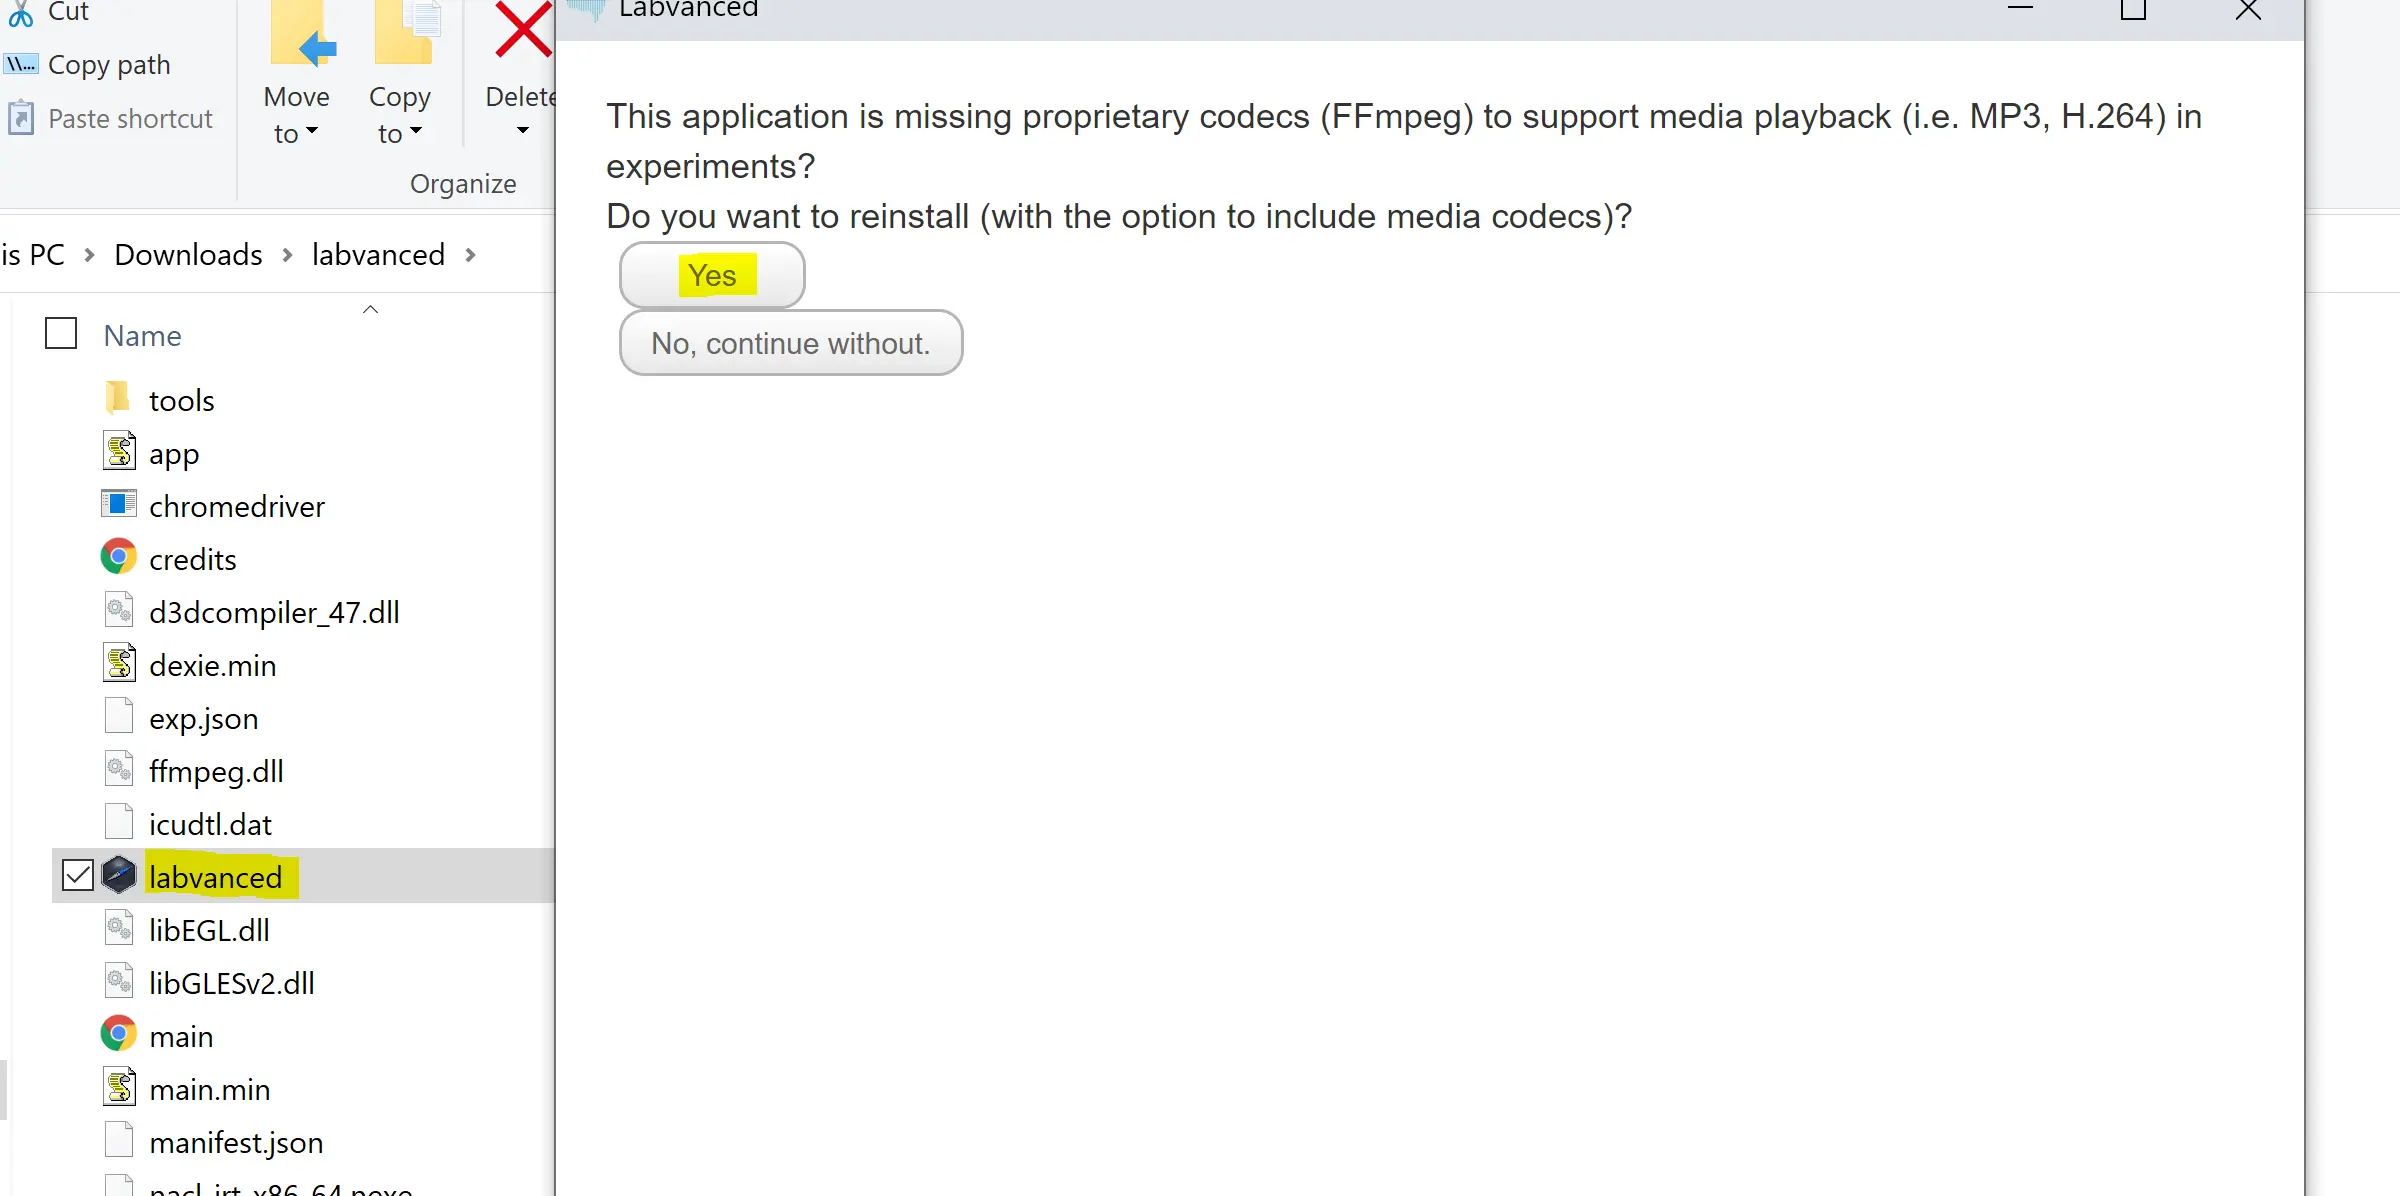
This dialog box will appear. Click Yes to allow media files to be supported. Once clicked, a similar window will appear.

Labvanced 2

Read the linked agreement and click Yes to allow media files.

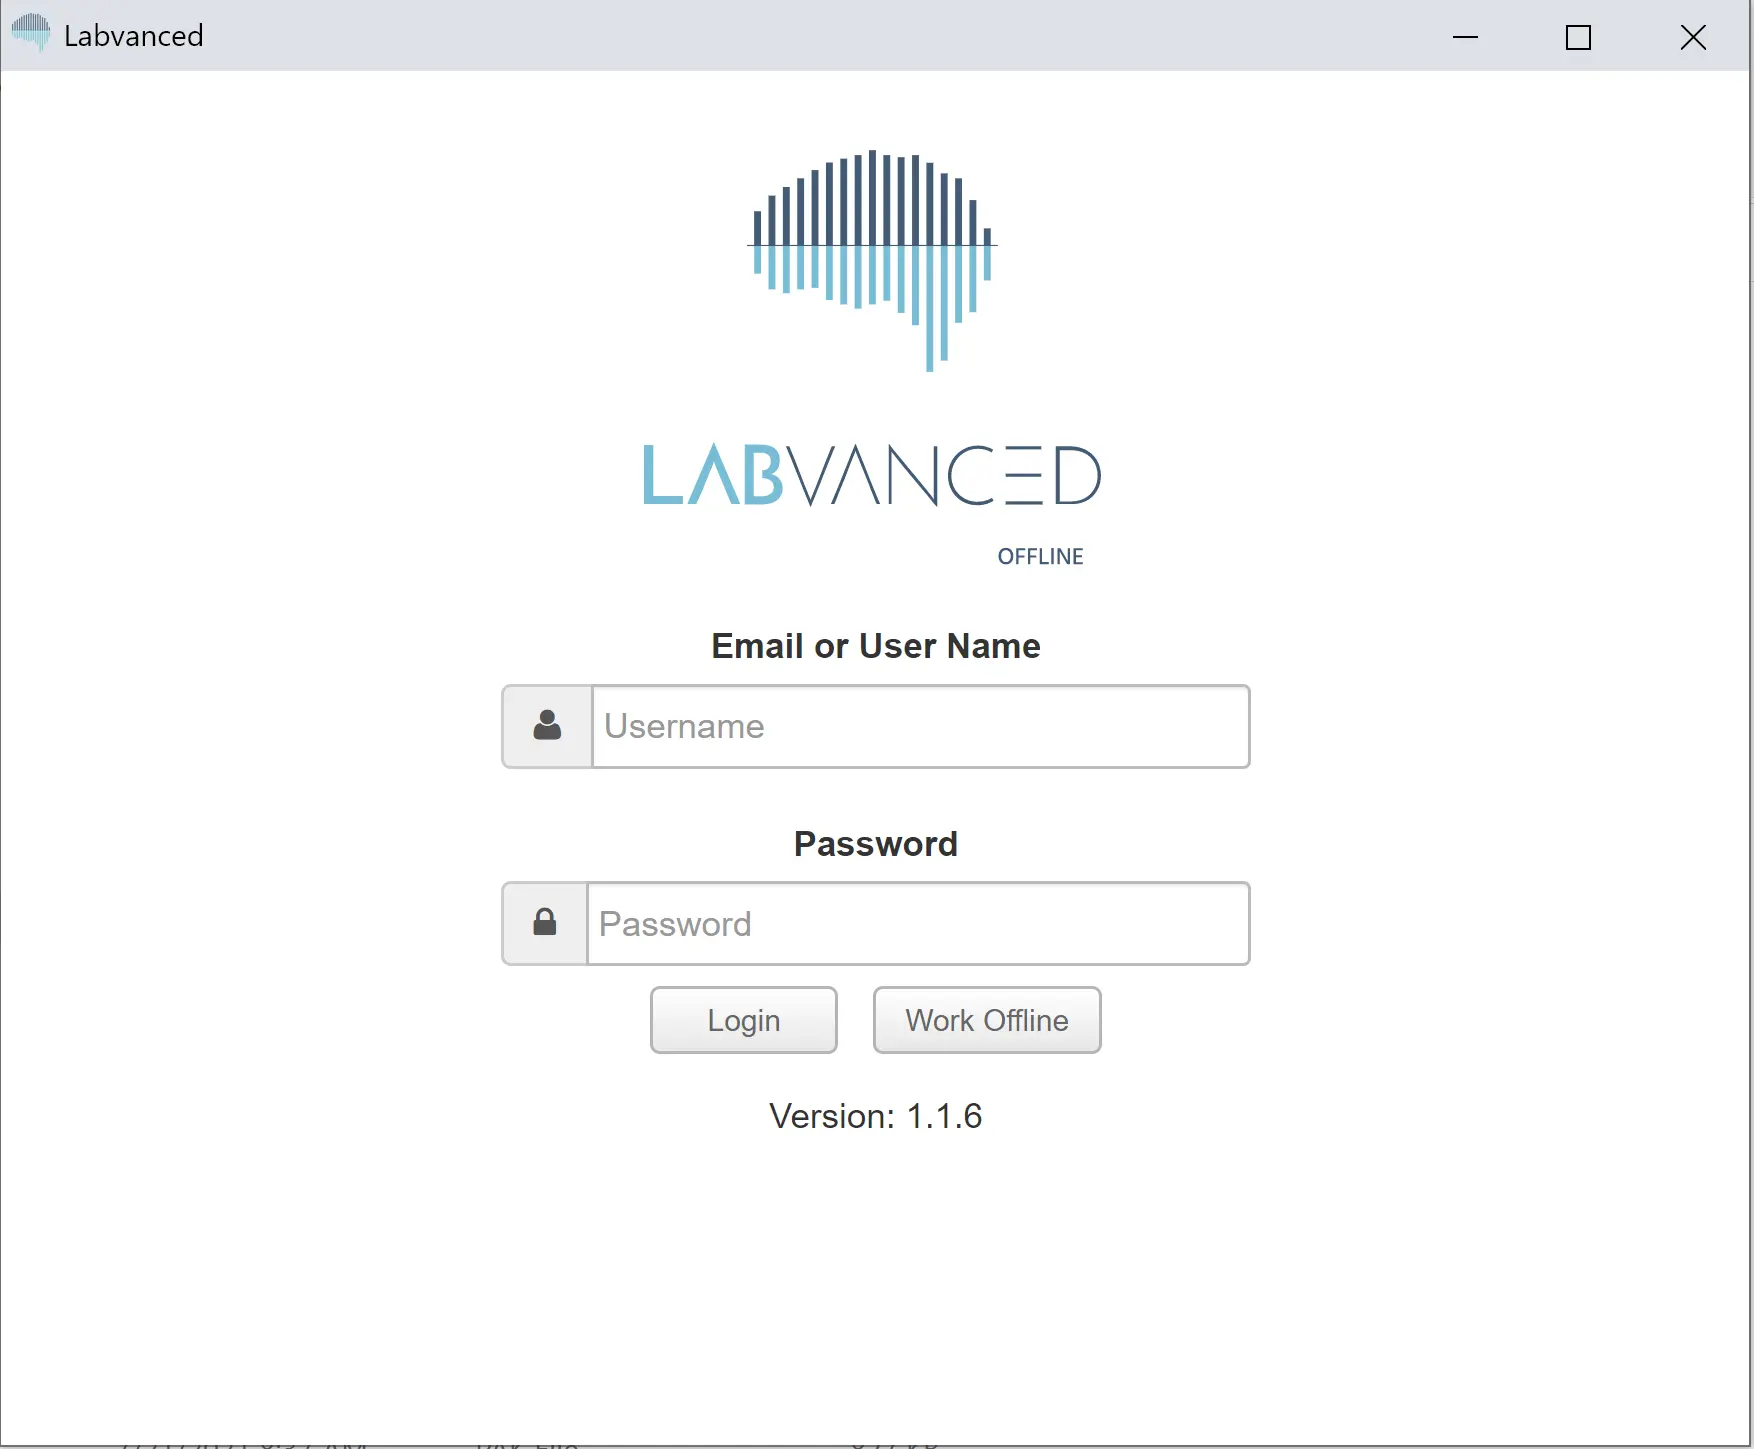
Once clicked, a Login screen will appear. Use your Labvanced username and password to login.

Login

After loggin in, you will see this interface.

download screen

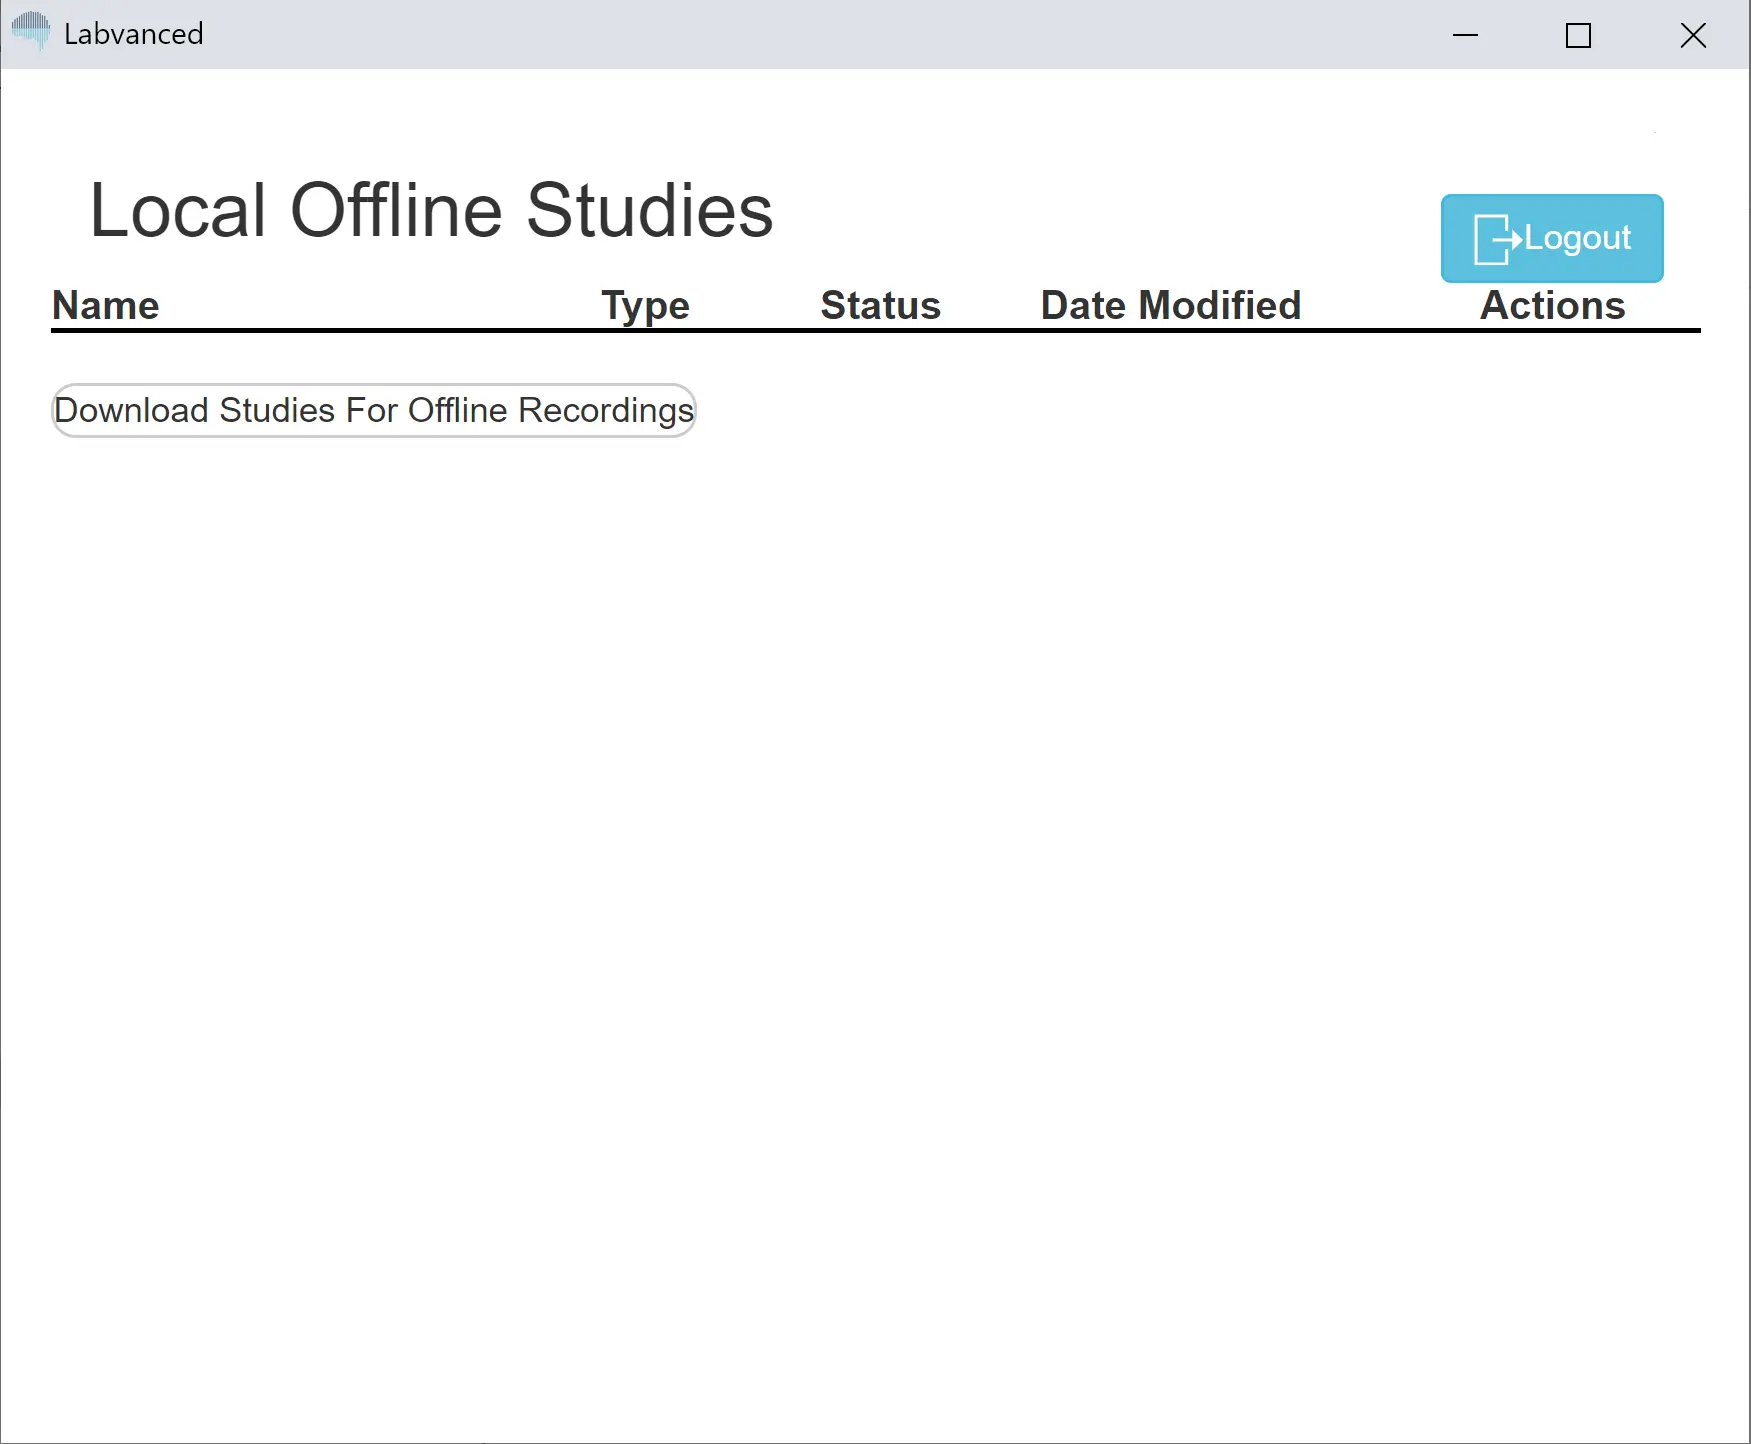
Click the button to download studies from your account to the local device that you are using to run studies offline. When a study has been downloaded, the screen will look like this.

test study

Click the icon that looks like an eye to view a study.

test study2

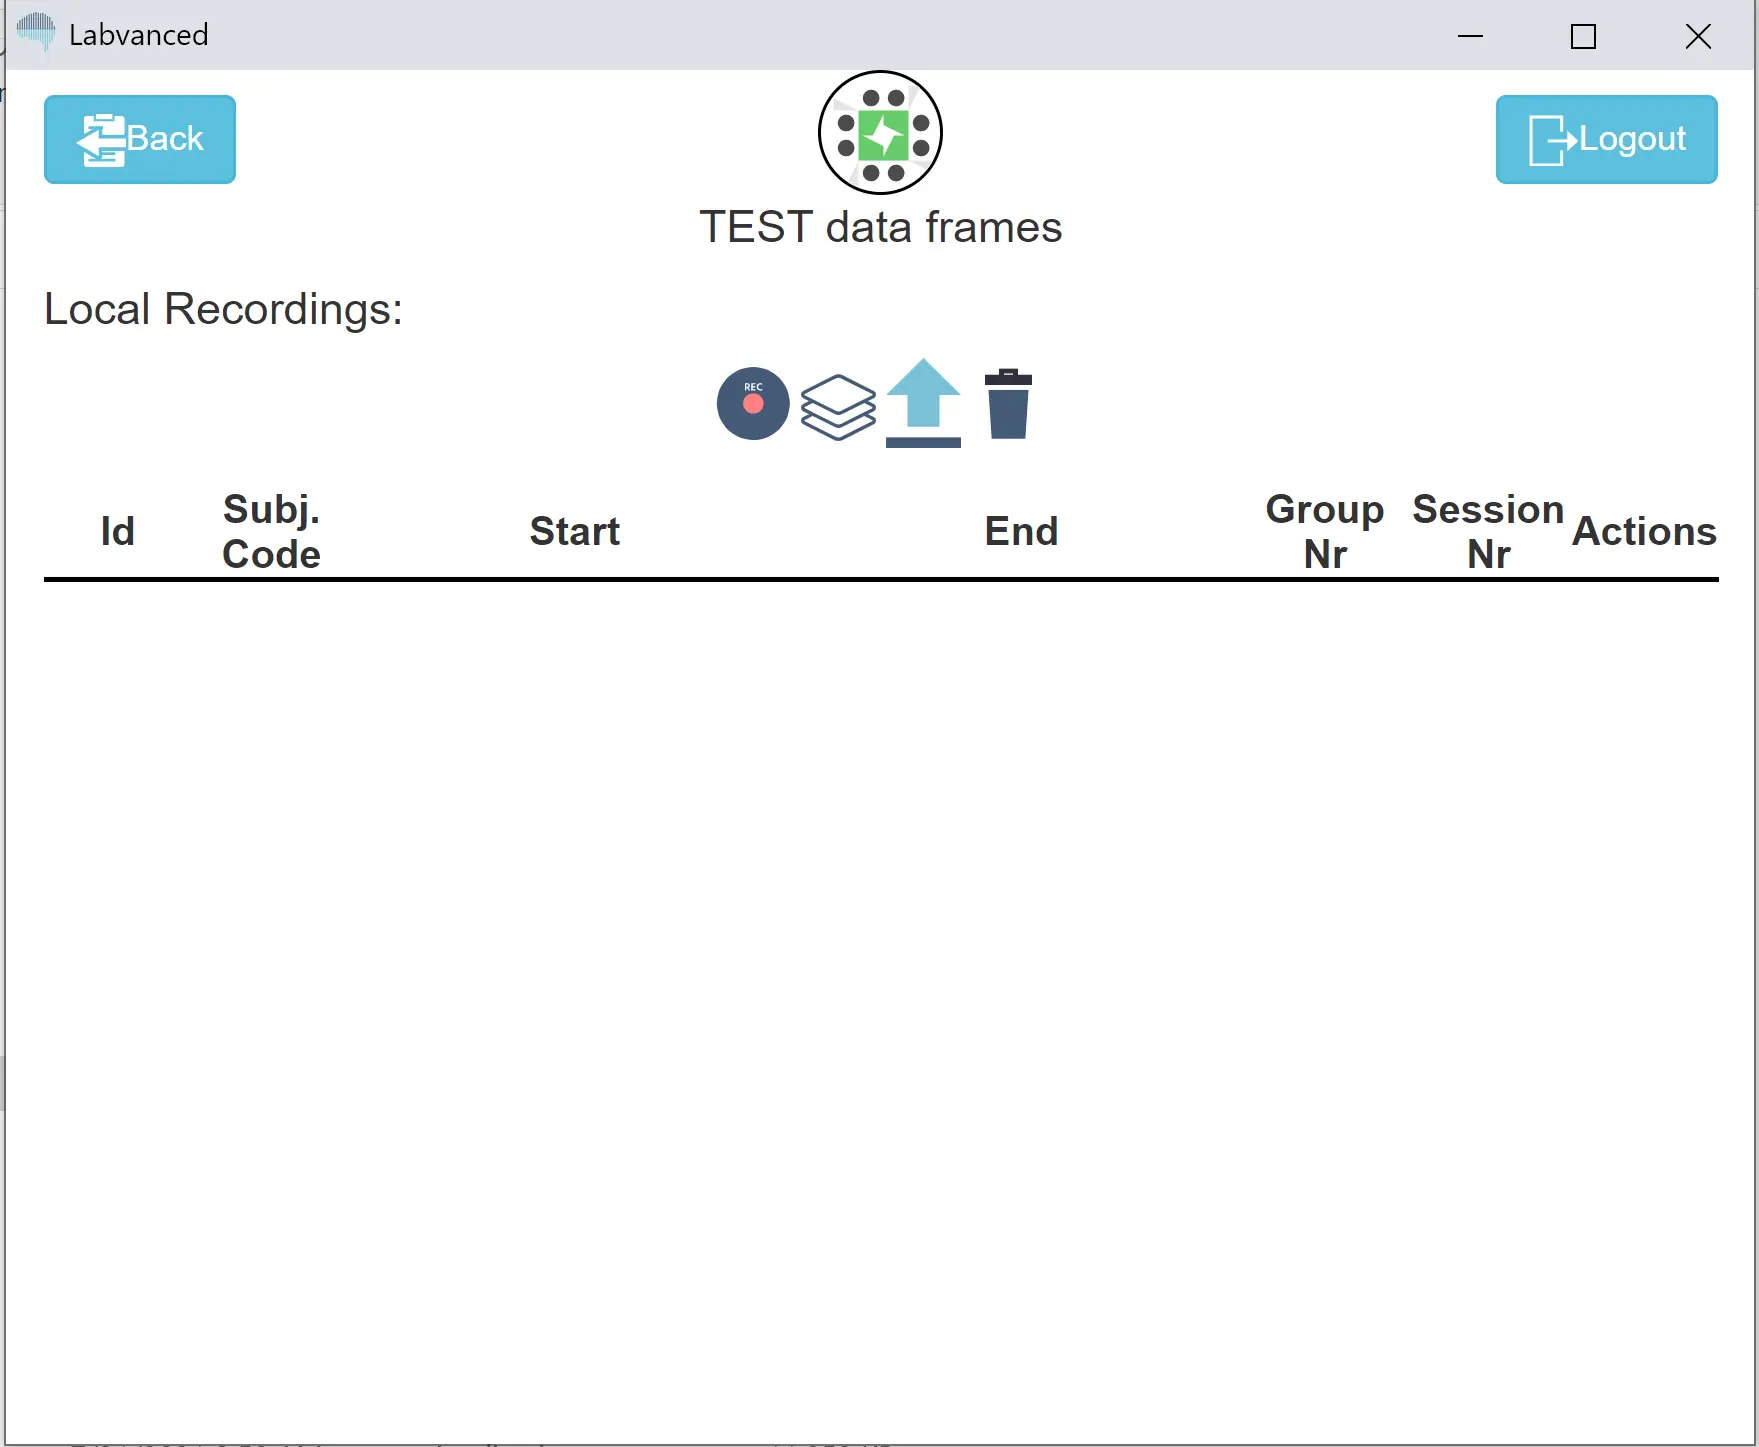
On this screen, there are 4 options for what to do with a study.

  • Record: starts a recording session
  • Refresh: refreshes the list of recordings for the study
  • Upload: uploads all the local recordings to the server (connection to the internet required)
  • Trash: clears all local recording sessions. There is also a delete button if you wish to only delete specific recordings.

To use Labvanced offline after the installation process is complete, open your shortcut folder, click on the Labvanced file, and click "Work Offline". All of your downloaded studies will be in your local account.

If you intend to run Labvanced offline for the purpose of a single study, there is a method to creating a shortcut that will automatically begin running a study when clicked. This is helpful when testing a subject on a tablet or at a lab computer and wanting to open the study immediately without the need for additional setup.

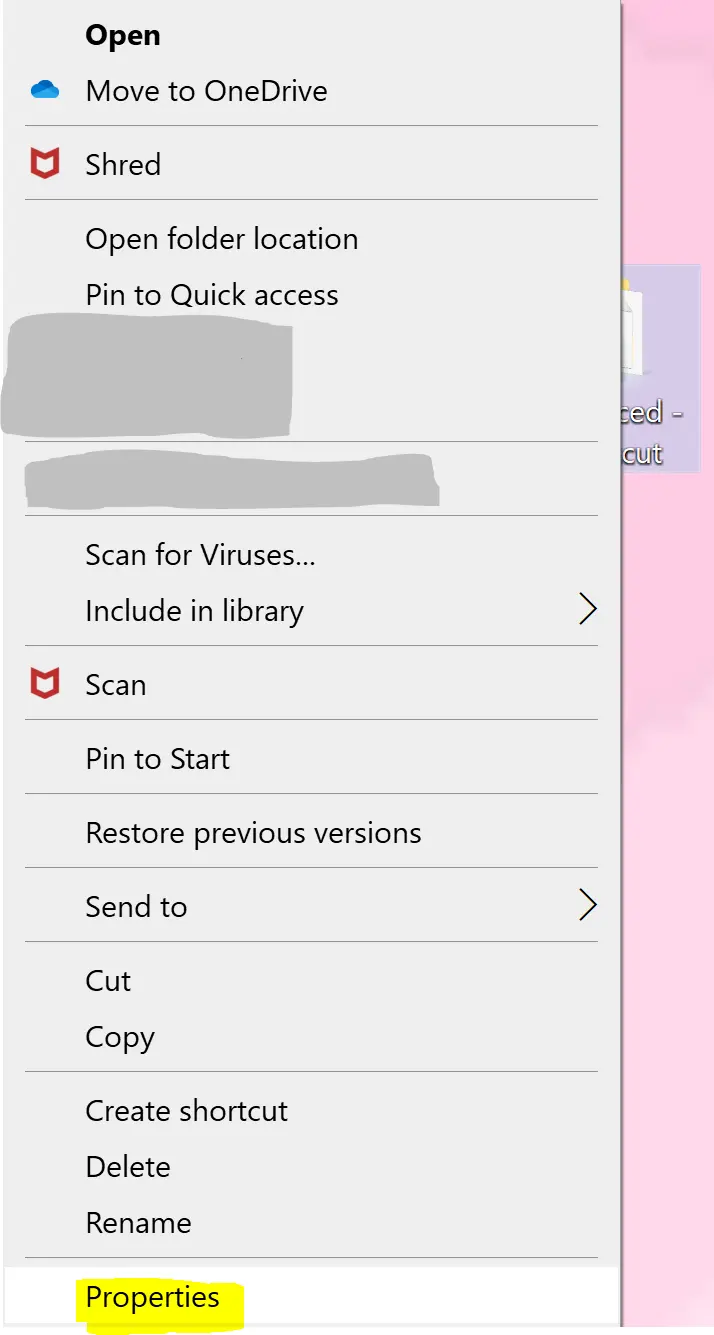
First, right click on your shortcut to open a menu. At the bottom, select Properties.

Properties

To specify which study should be opened for a recording session, type a space after labvanced.exe then type --startexp EXPERIMENT_ID

The experiment ID is the 5-digit study number found in the URL of the Study Design page or on the Publish & Record page. A sample line of code would look like this:

Sample Start Code

In this example, study 12345 would be immediately selected and a recording session would begin when the shortcut is clicked.

Lastly, you can choose where to export your data on your local device. This function must be enabled by a Labvanced administrator. If you plan to do this offline export instead of uploading your data to the server when reconnected to the internet, please write to us with your name and study ID before running your study so that we can enable this feature for you.

Once the feature is enabled, you will add a parameter to the same menu as before. After the study ID, type a space then type --export C:\PATH_TO_STORE

The "path to store" component is the location of the file on your local device. Here is an example:

Sample Export Code

In this example, the user is saving the data to their desktop.

After these steps, you will be able to click on a shortcut and open a study to run it offline. Please write to us via email or the live chat if you have any questions and/or you need to enable local export of data.

Prev
Programmatic Use & API
Next
Troubleshooting