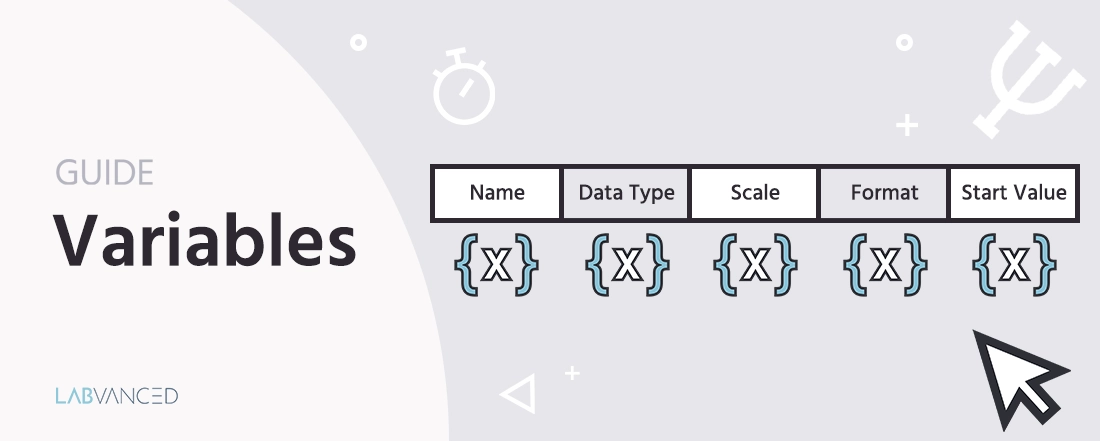
Variables
Variables are the mechanism through which your experiment stores, reads, and acts on data at runtime. Inside the task editor, every variable used on the currently selected frame is accessible from the Variables panel tab, and every event action that reads or writes a value does so through a variable. Understanding where variables live in the editor and how the event system interacts with them is essential for building any study that records responses, times reactions, adapts to participant behavior, or controls experiment flow.
Further reading
Working with Variables
The hub page for all variable documentation: types, properties, recording options, and data frames.
Creating Variables
The four ways to create a variable: Variables tab, task editor panel, object prompt, and event system.
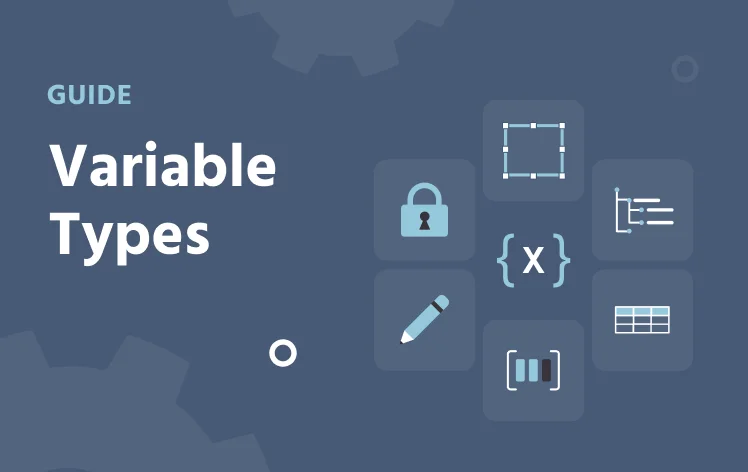
Variable Types
A reference for all six variable types: system, factor, object, custom, array, and data frame.
Variable Properties
A full reference for every variable setting: data type, format, scale, and recording options.
Deleting Variables
How to safely remove a variable from your study without breaking event logic or data recording.
Locating Variables in the Task Editor
Within the task editor, the variables used on the currently selected frame are listed under the Variables panel tab in the top-right corner. Each variable is shown with its main category, data type, and name.
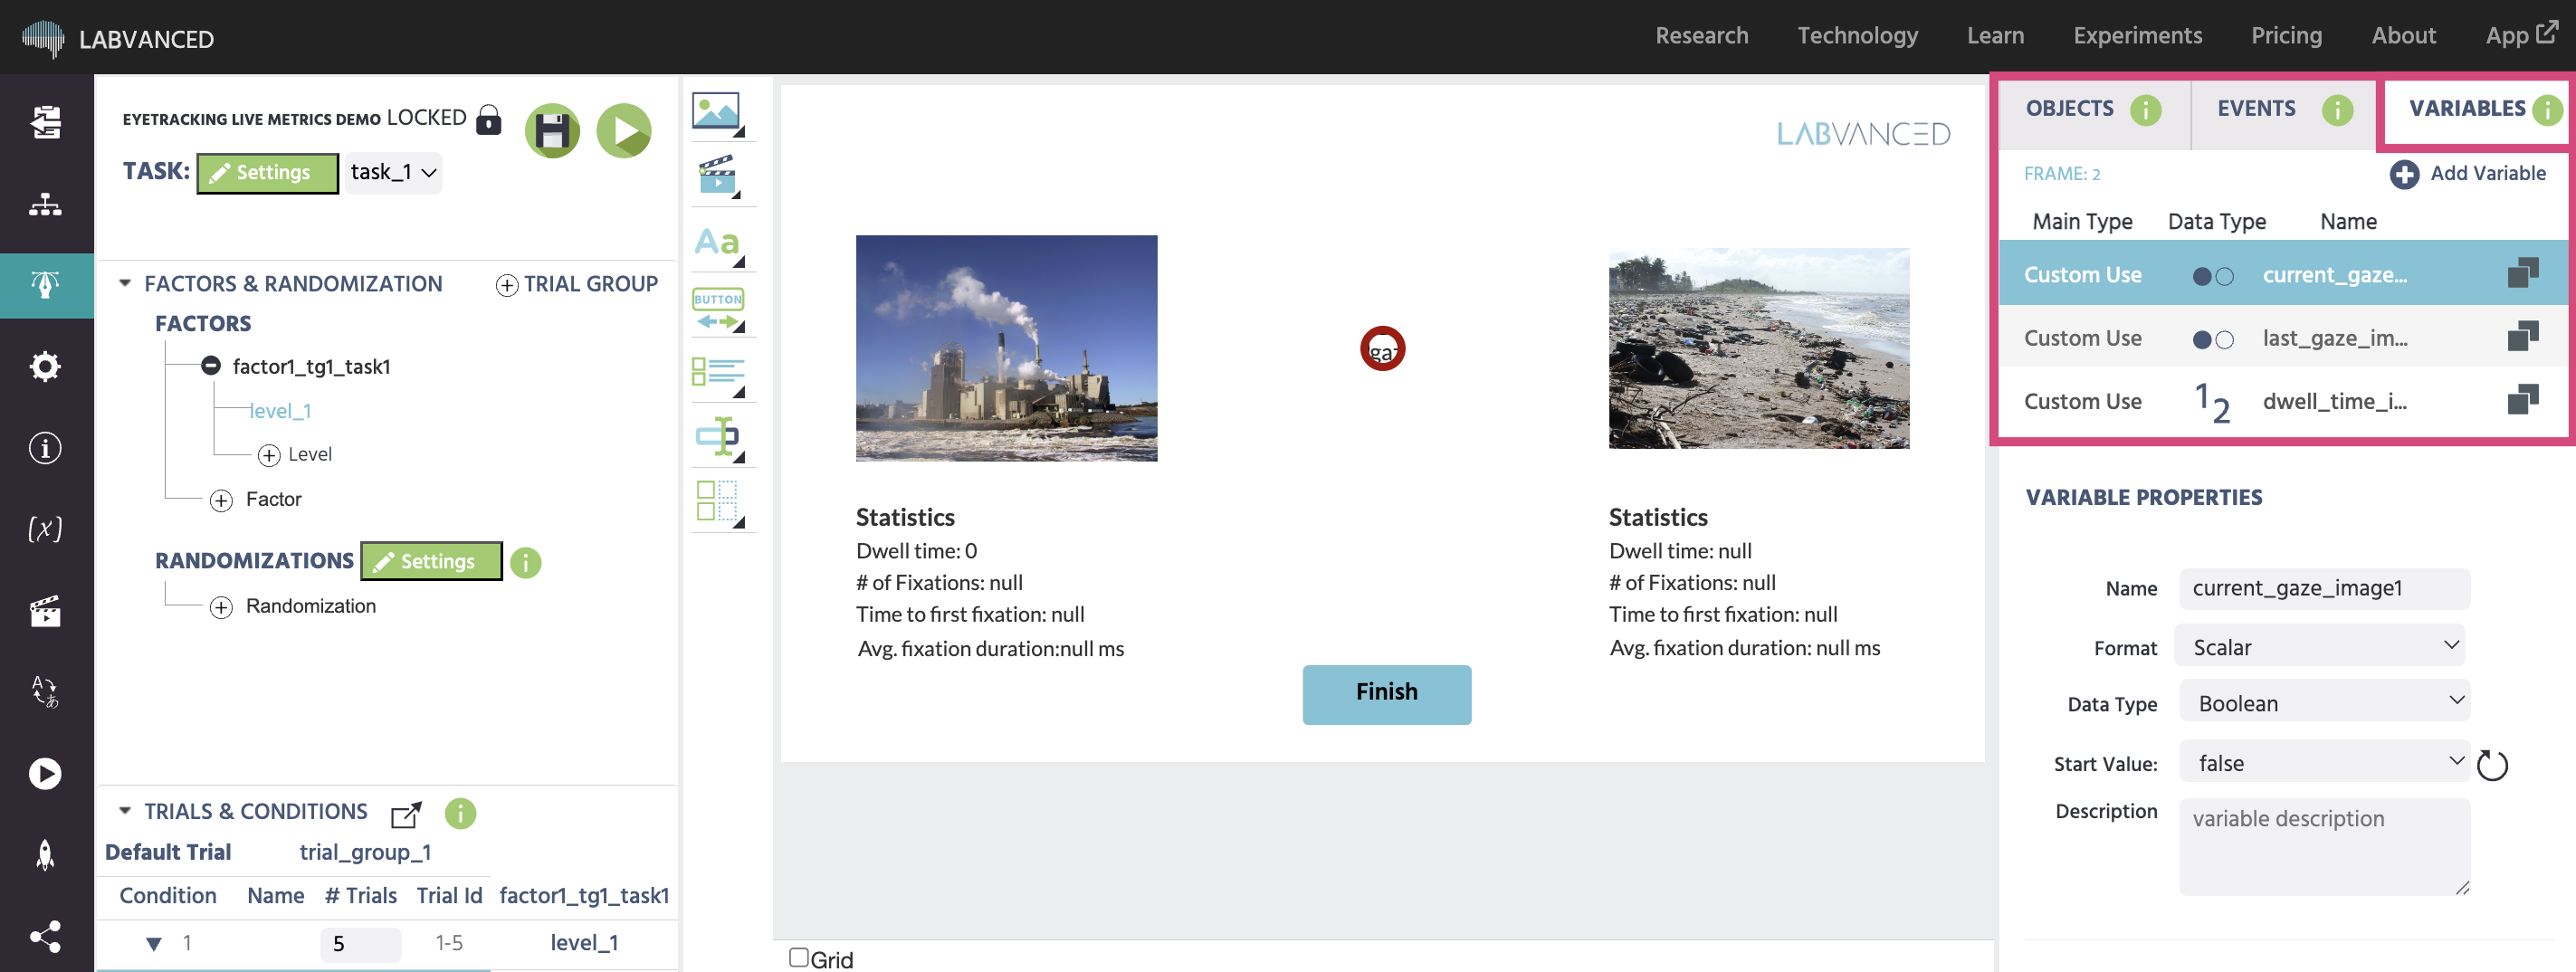
From here you can:
- Click a variable to open its properties on the right side and edit its settings.
- Click
+ New Variableto create a variable directly from the panel. See Creating Variables for all the ways to do this. - Copy or delete a variable using the icons next to its name. Before deleting, check Deleting Variables to avoid breaking your study.
For a full reference of what each property means, see Variable Properties.
Variables and Events
A variable change can trigger an event, and an event can change a variable value. Variables can also directly change the state of objects: for example, if a variable value equals X, display image Y. Combined with events, variables control experiment flow: if a participant scores above a threshold in task A, proceed to task B, otherwise proceed to task C.
The Value Select Menu
Whenever an event action requires a variable, the Value Select Menu opens. It lets you choose an existing variable or create a new one on the spot. For a full walkthrough of how it works, see Value Select Menu.
Recording Data
For system, factor, and object variables, recording is enabled by default. For custom variables you create yourself, you need to enable Record Variable in the variable properties and use the event system to write the value at the right moment.
Example: Recording Reaction Time
- Add an image to the frame.
- Create a new event.
- Set the trigger:
User Input→Mouse Trigger→Click→Leftbutton → targetImage_1. - Set the action:
Variable Actions→Set / Record Variable→ clickSelect. - In the Variable-Selection Menu, go to
New Variable. Name it (e.g.rt_image_click), setData TypetoNumeric, enableRecord, enableReset. ClickOk. - Click the Value-Select icon →
Trigger (Mouse)→Time From Frame Onset. ClickFinish.
The reaction time from frame onset is now recorded each time the participant clicks the image.