Task Editor
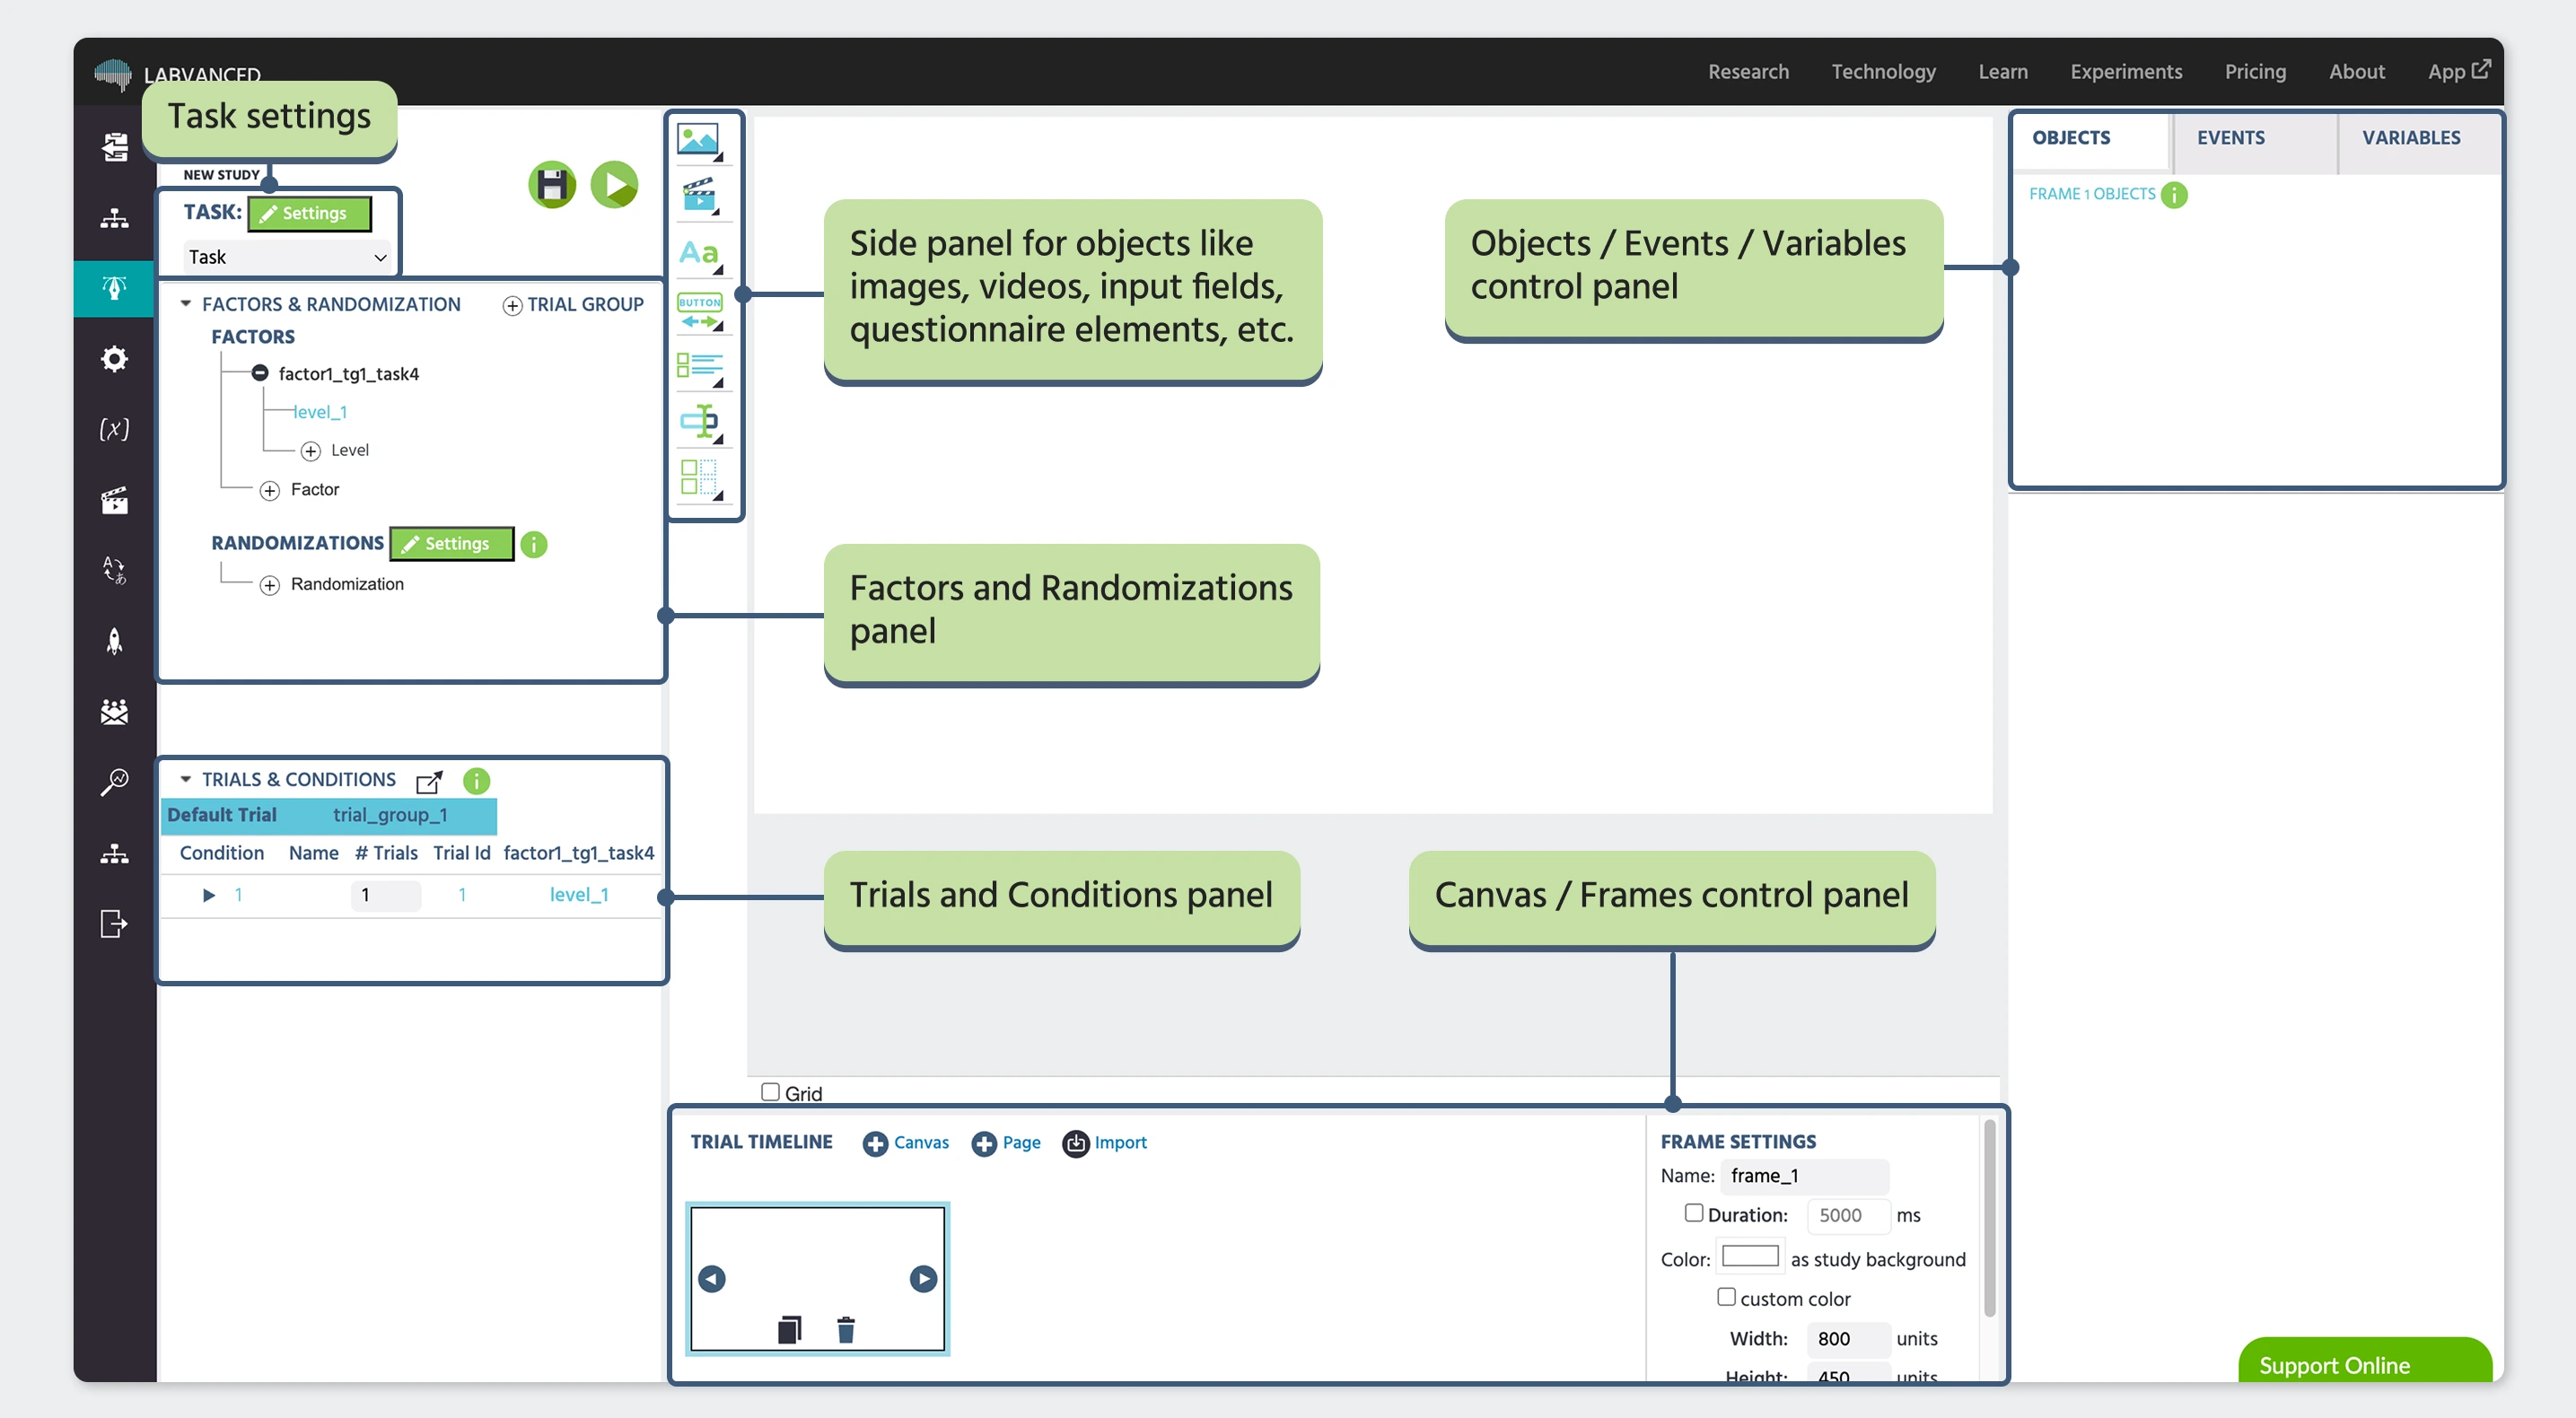
The Task Editor is the main workspace where you build your experiment in Labvanced. At first glance, it can feel like a lot, but it’s easier to understand if you think of it as a set of connected sections—each helping you design what participants see, how the experiment behaves, and how your data is collected.
Task Controls
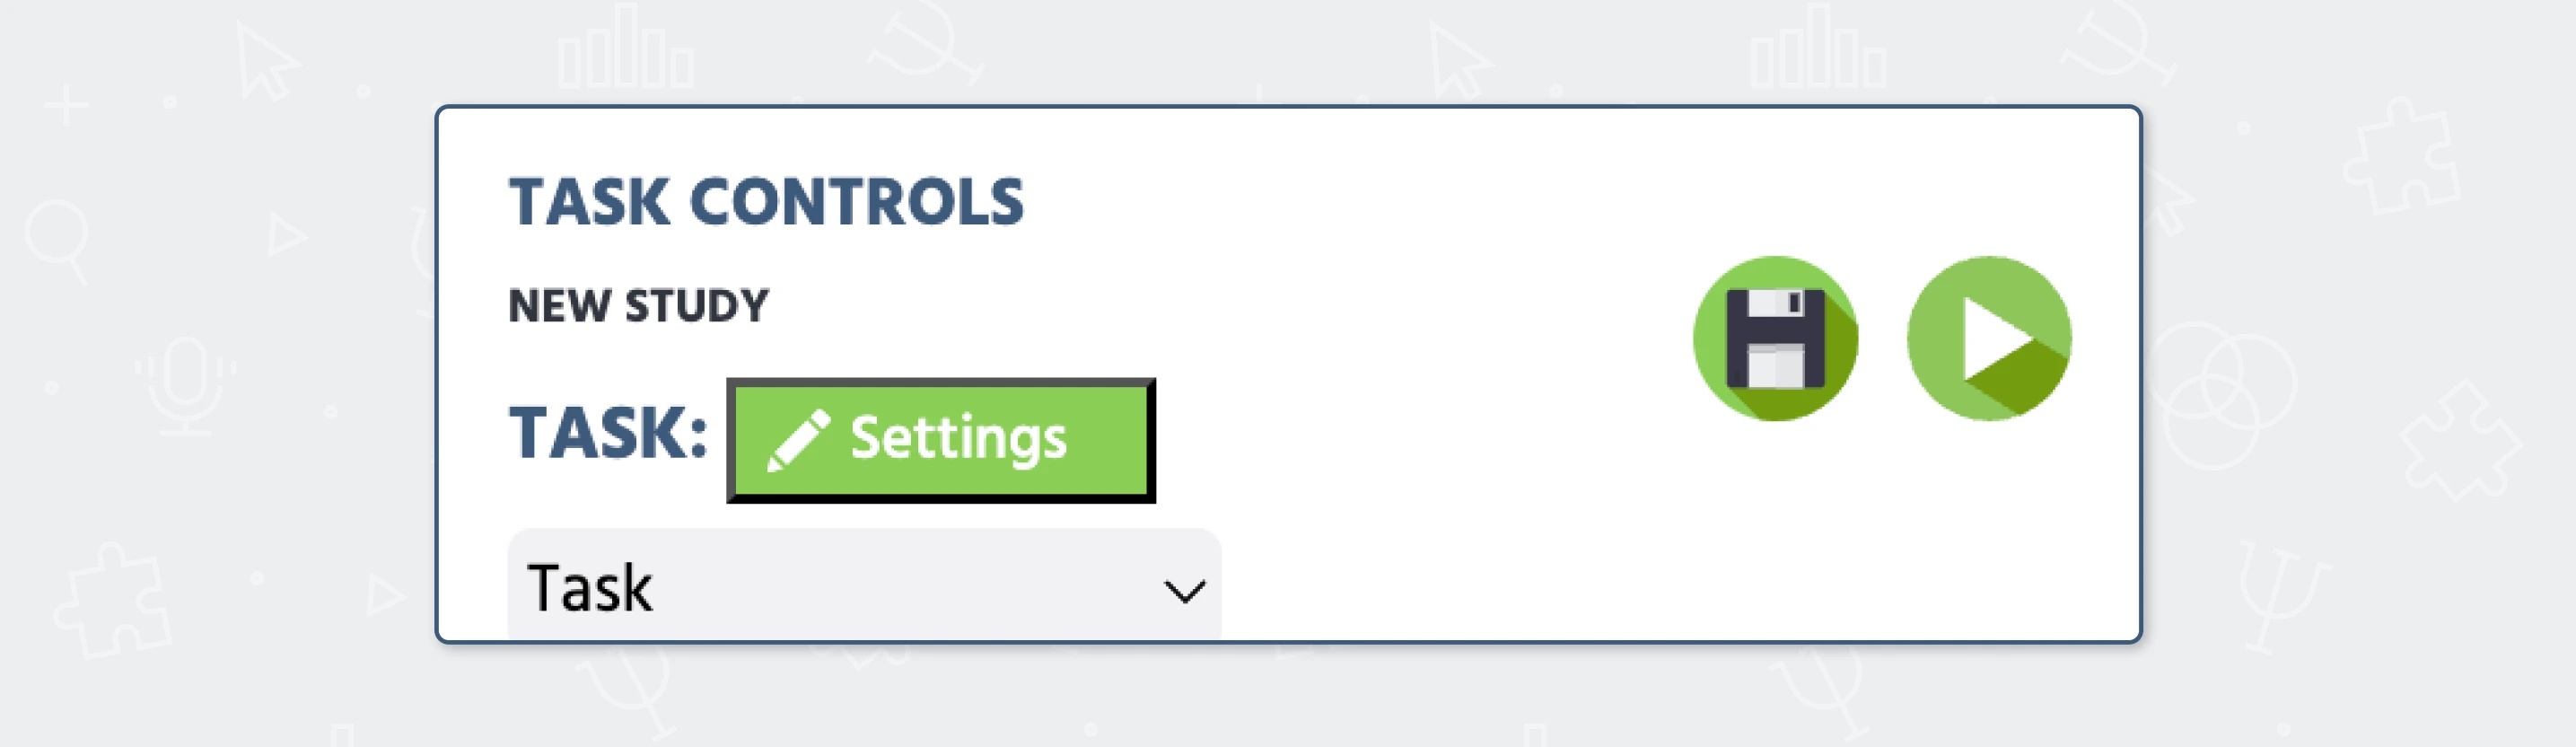
At the top, Task Controls act as your control panel. From here, you can save and test your task, but also access important features like randomization settings and even enable physiological recordings such as webcam eye tracking or remote heart rate detection. It’s not just for navigation—it’s where you manage how your task runs at a higher level.
Objects
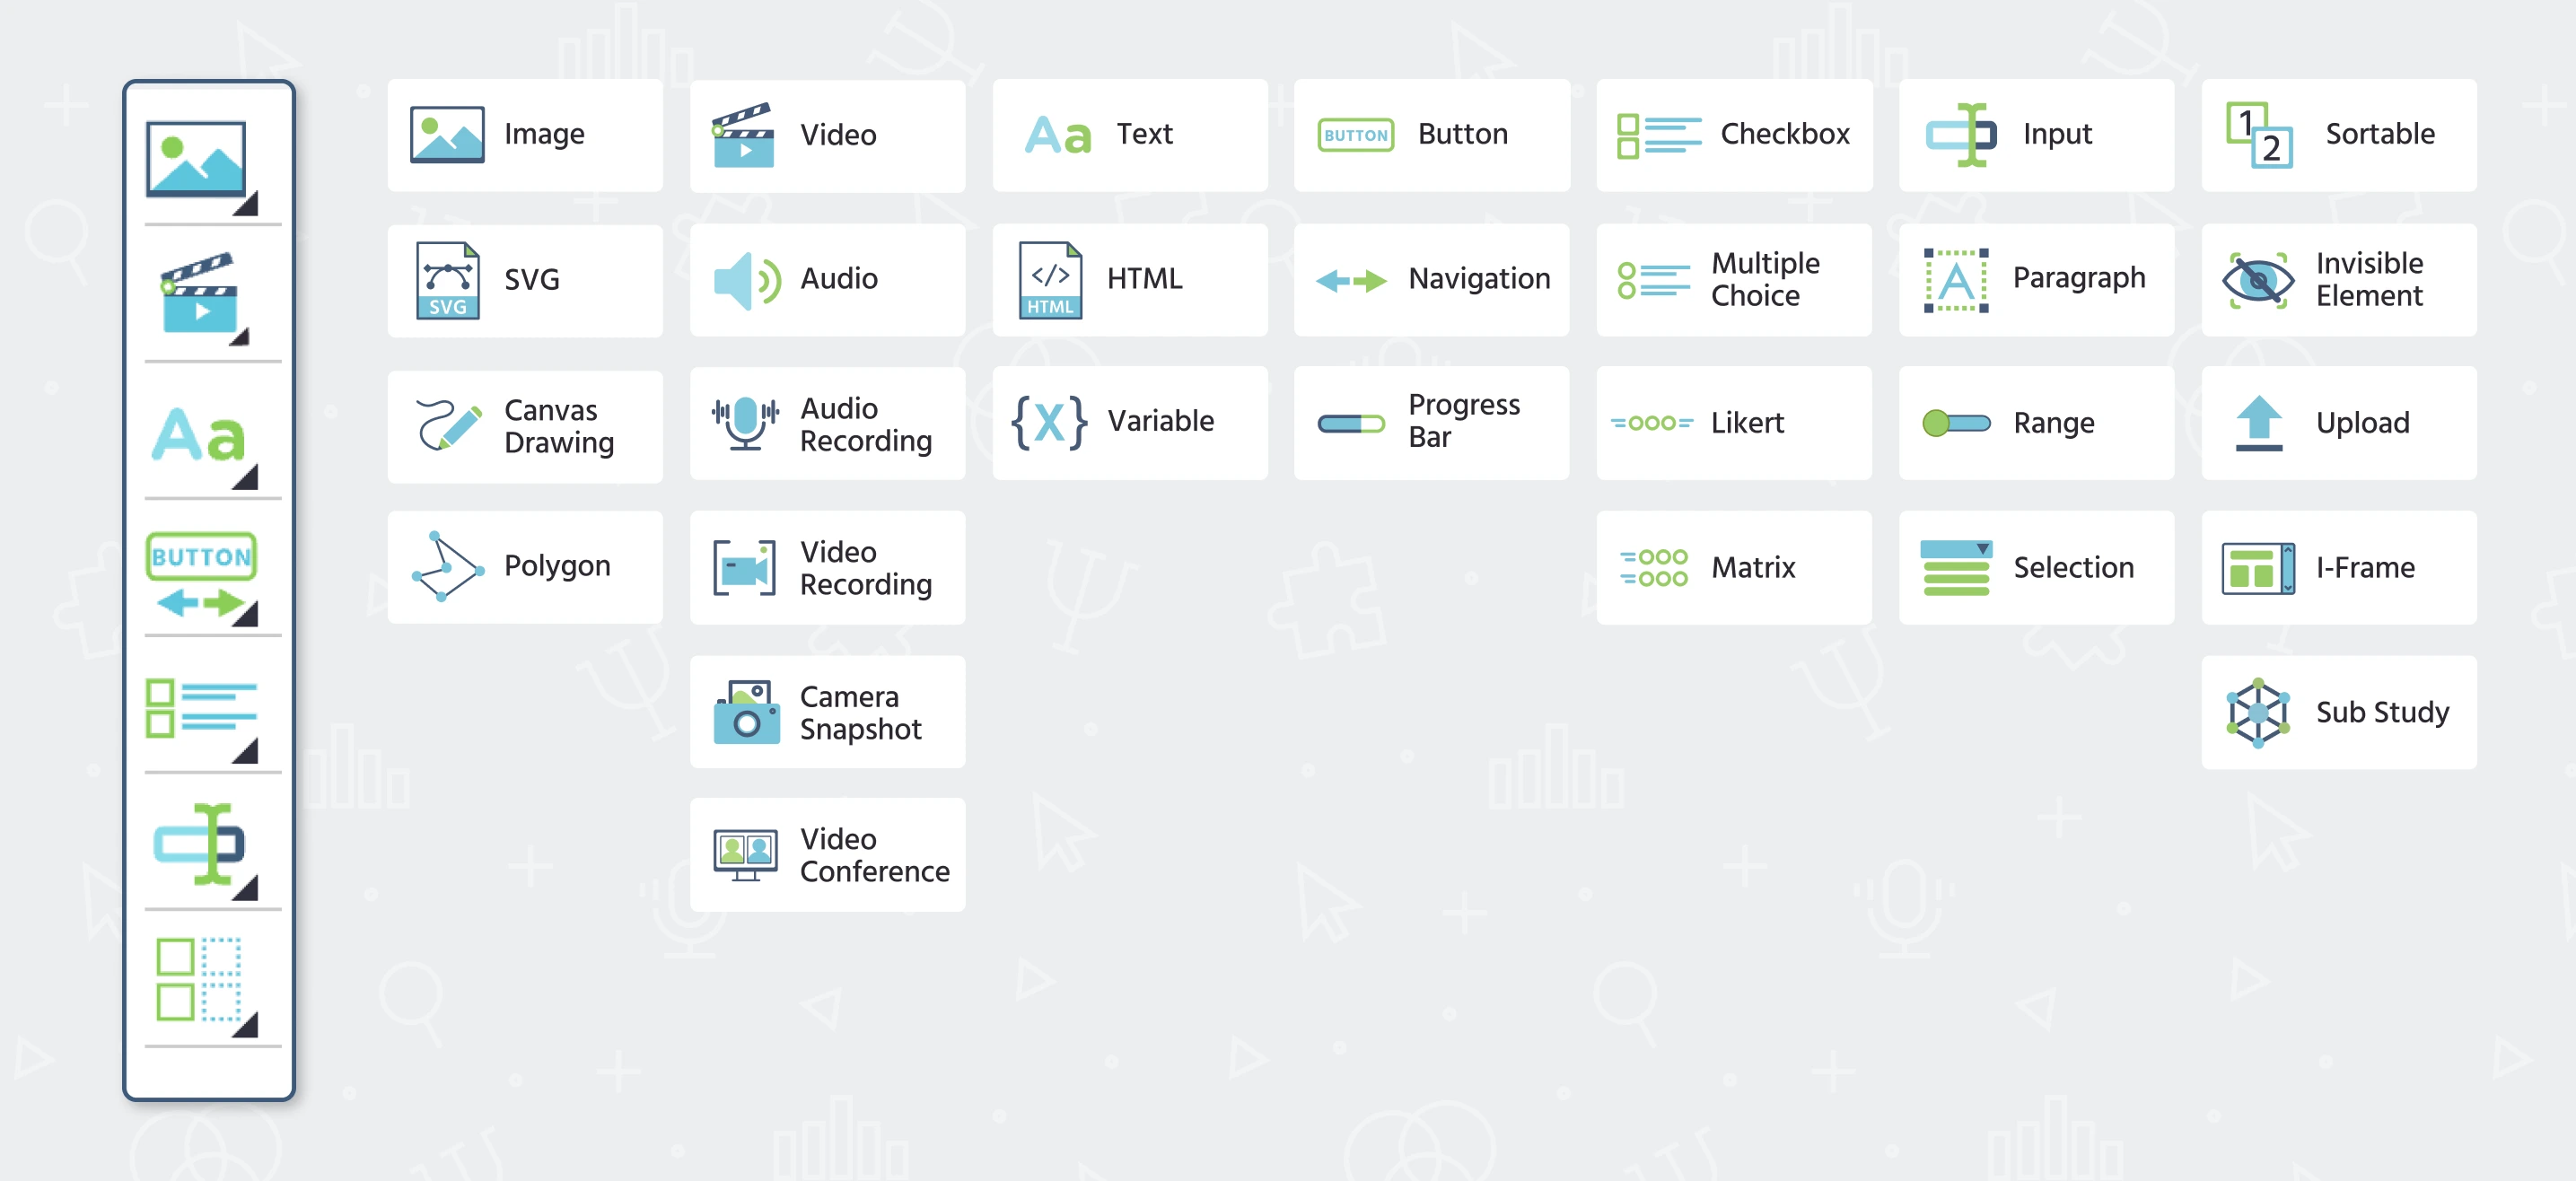
On the side, the Objects menu lets you choose what to add to your frame, such as text, images, buttons, or input fields. Once added, these objects appear in a side panel, where you can select them and adjust their Object Properties—things like size, position, color, and other presentation details. This is one of the main ways you shape how your stimuli appear on screen.
Events
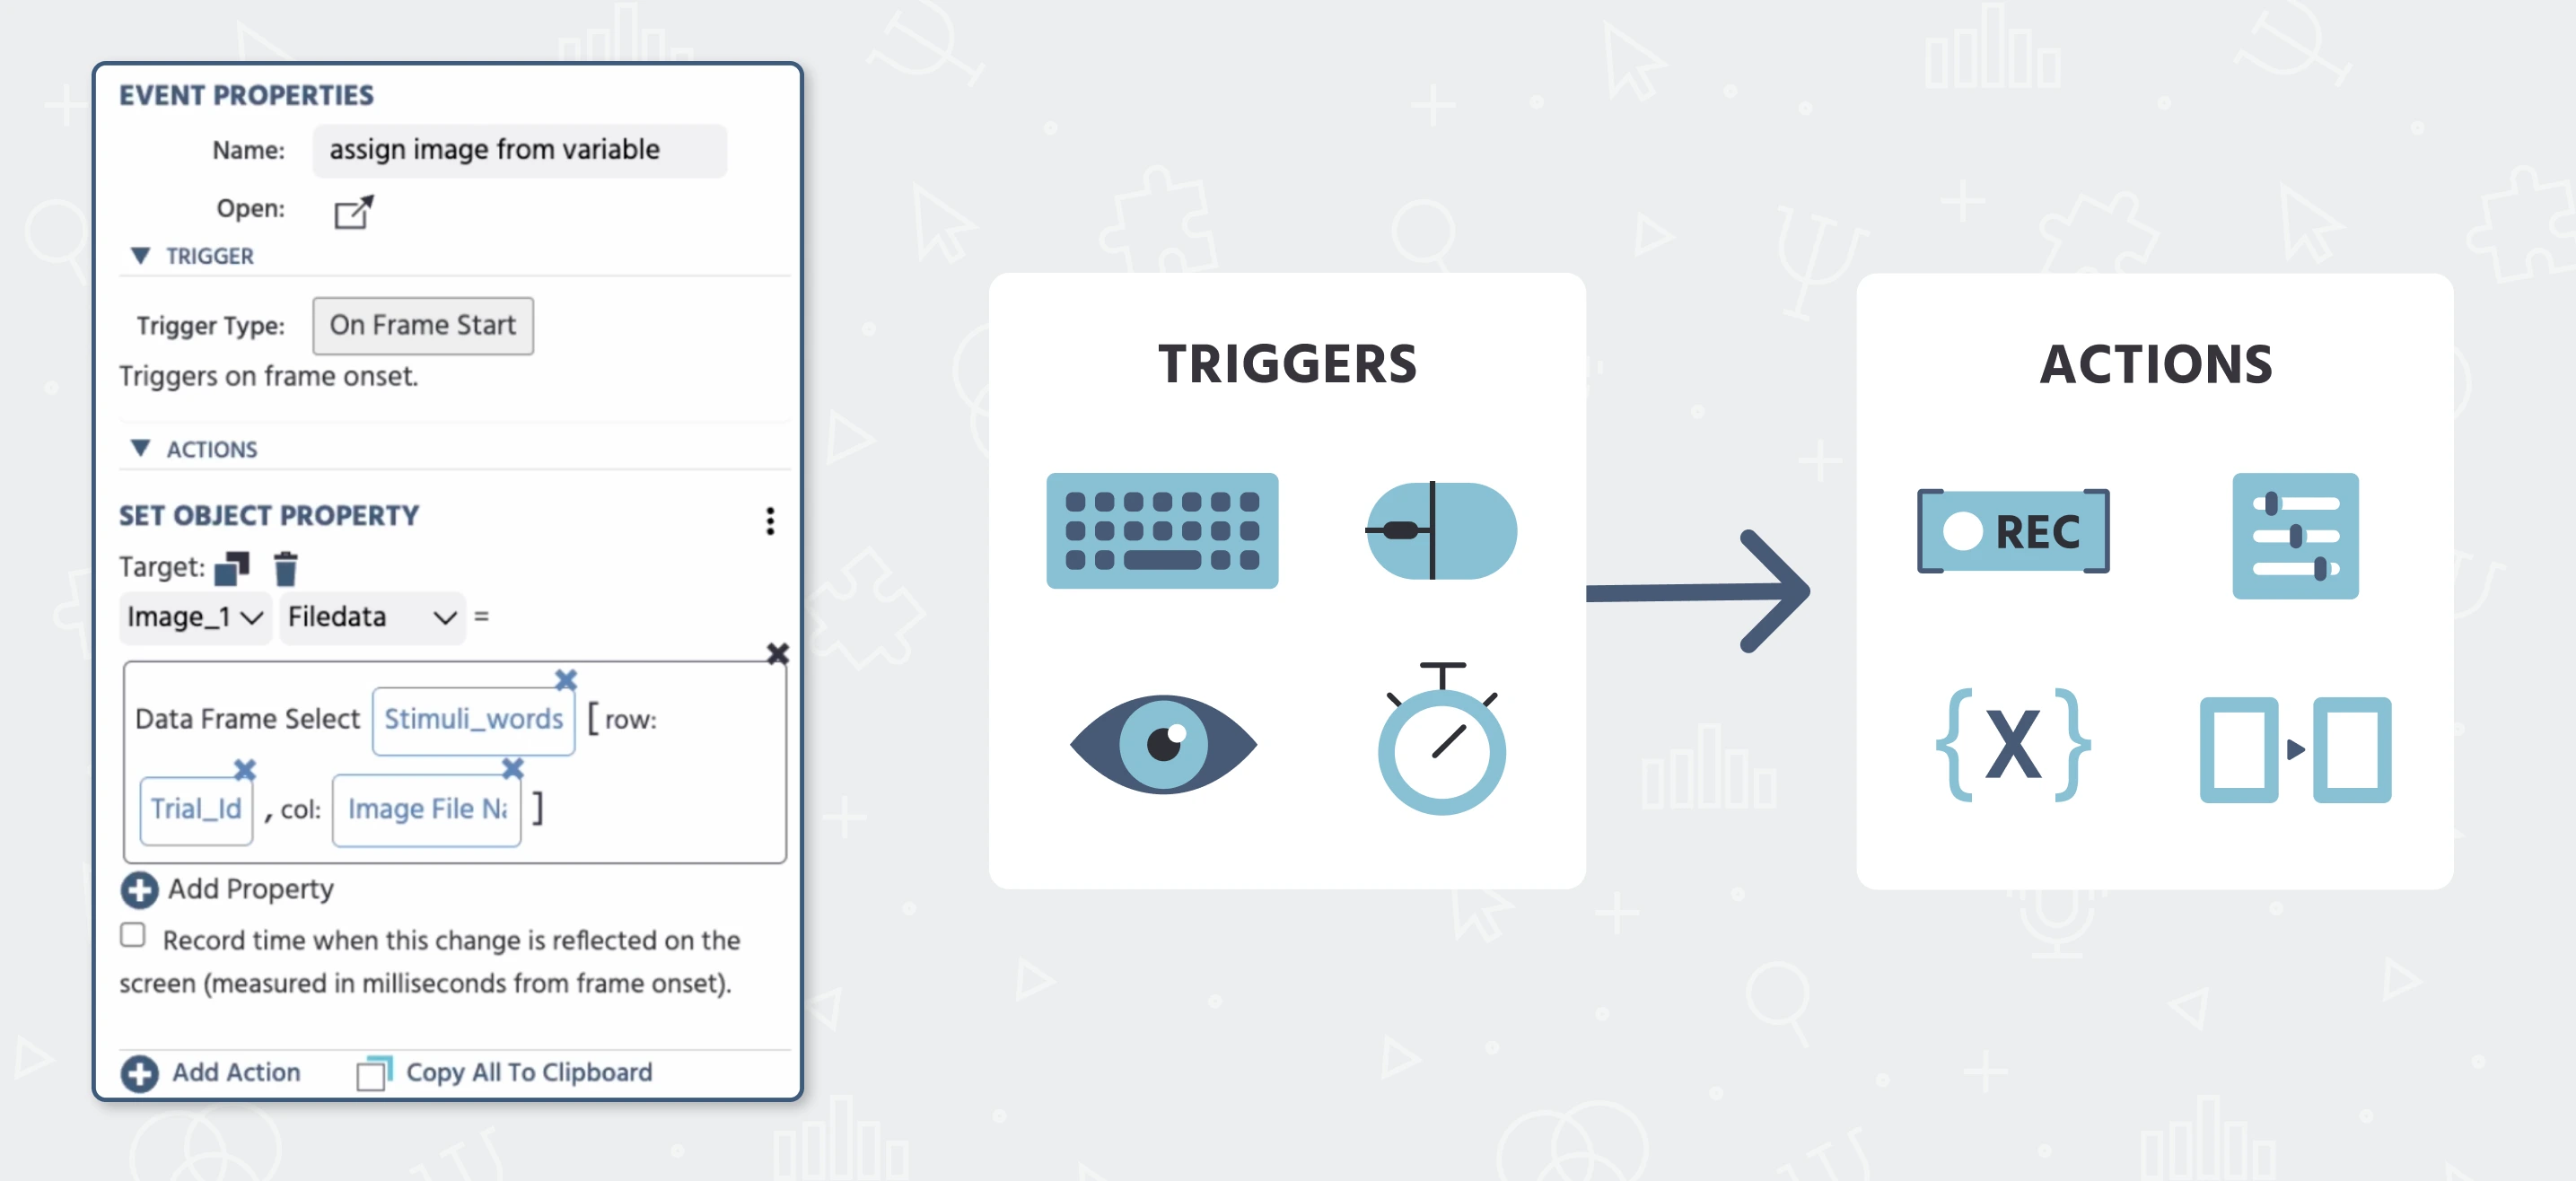
The Events section is where you define how your experiment behaves, functions, and records data. Instead of thinking in technical terms, think of events as simple “if this happens → then do that” rules. For example, when a participant presses a key, you can record their response, move to the next screen, or update a variable.
Variables
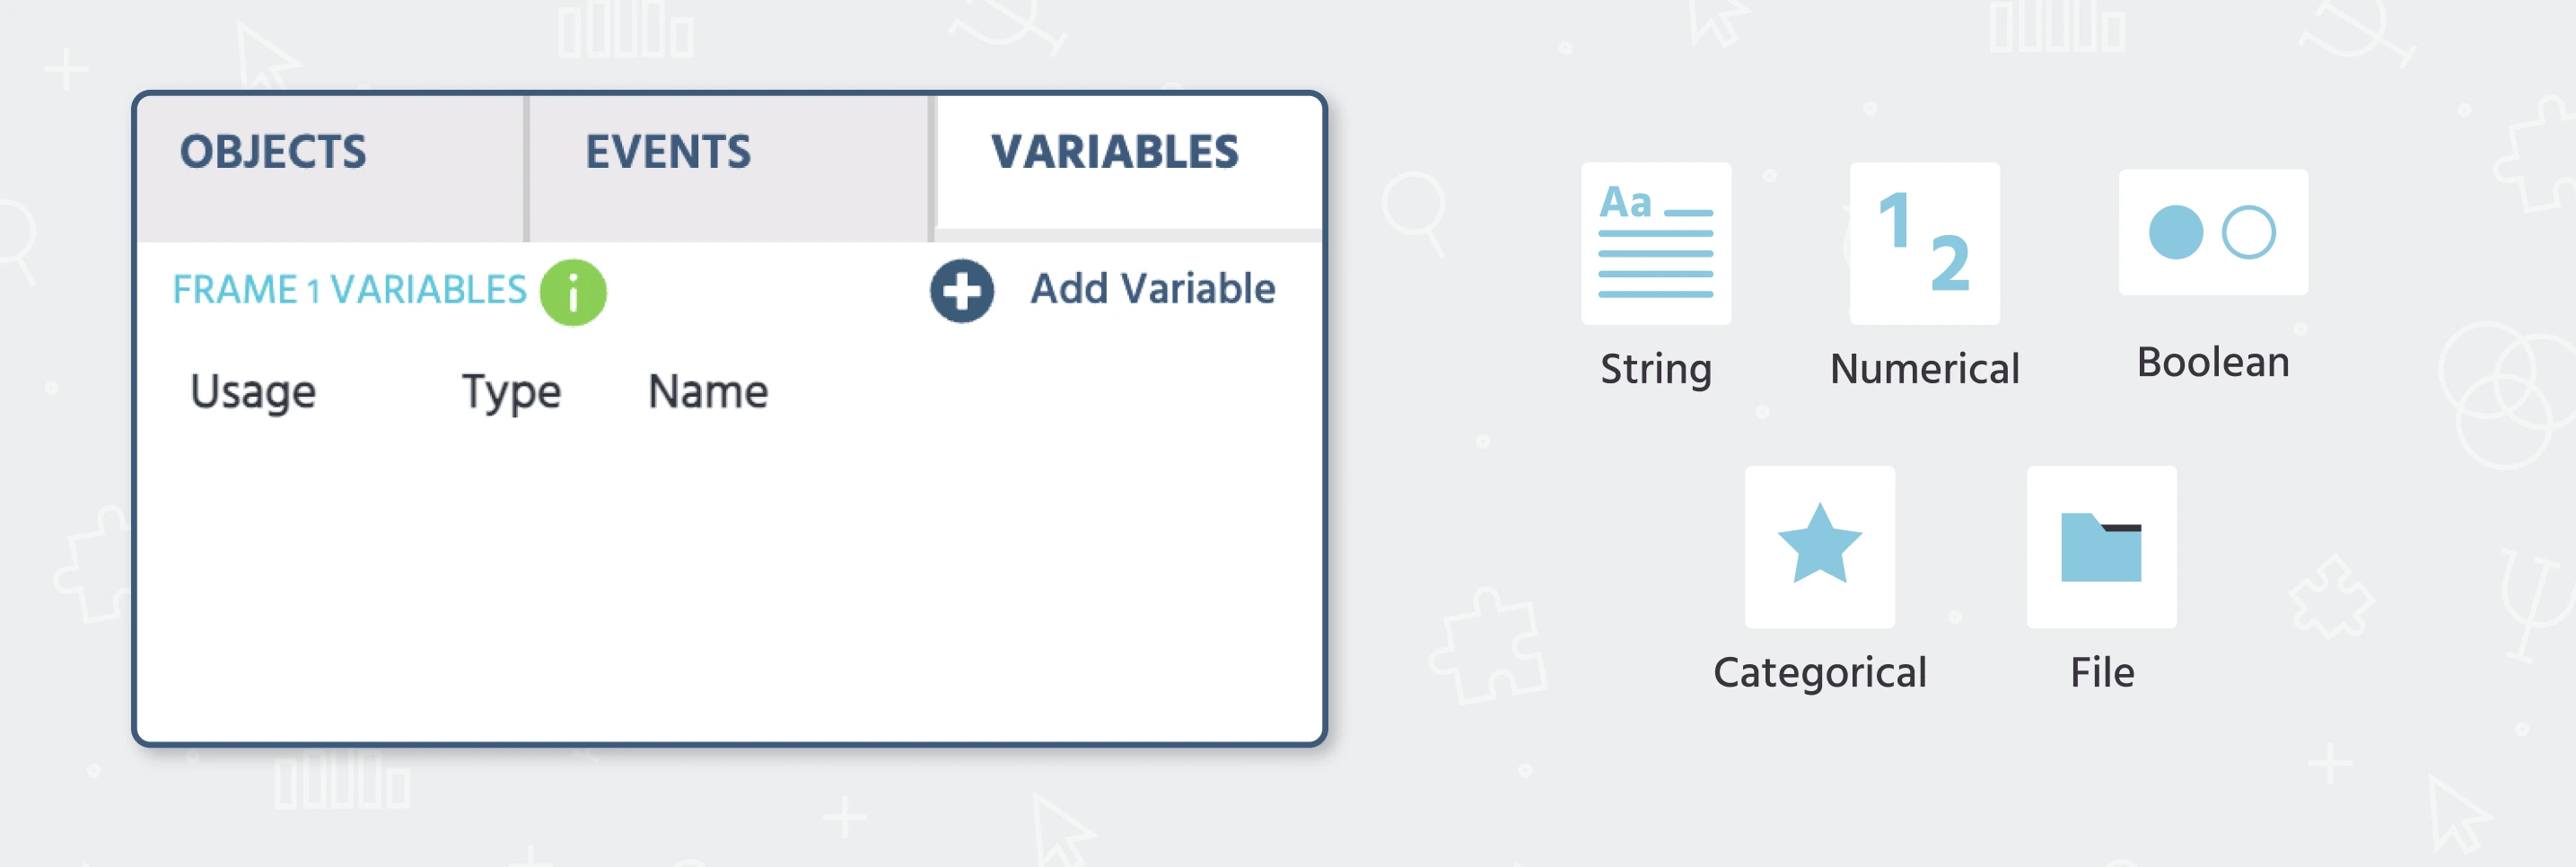
Closely related are Variables, which store information during the experiment—like responses, reaction times, or condition values—and allow different parts of your task to “communicate” with each other.
Trial Timeline
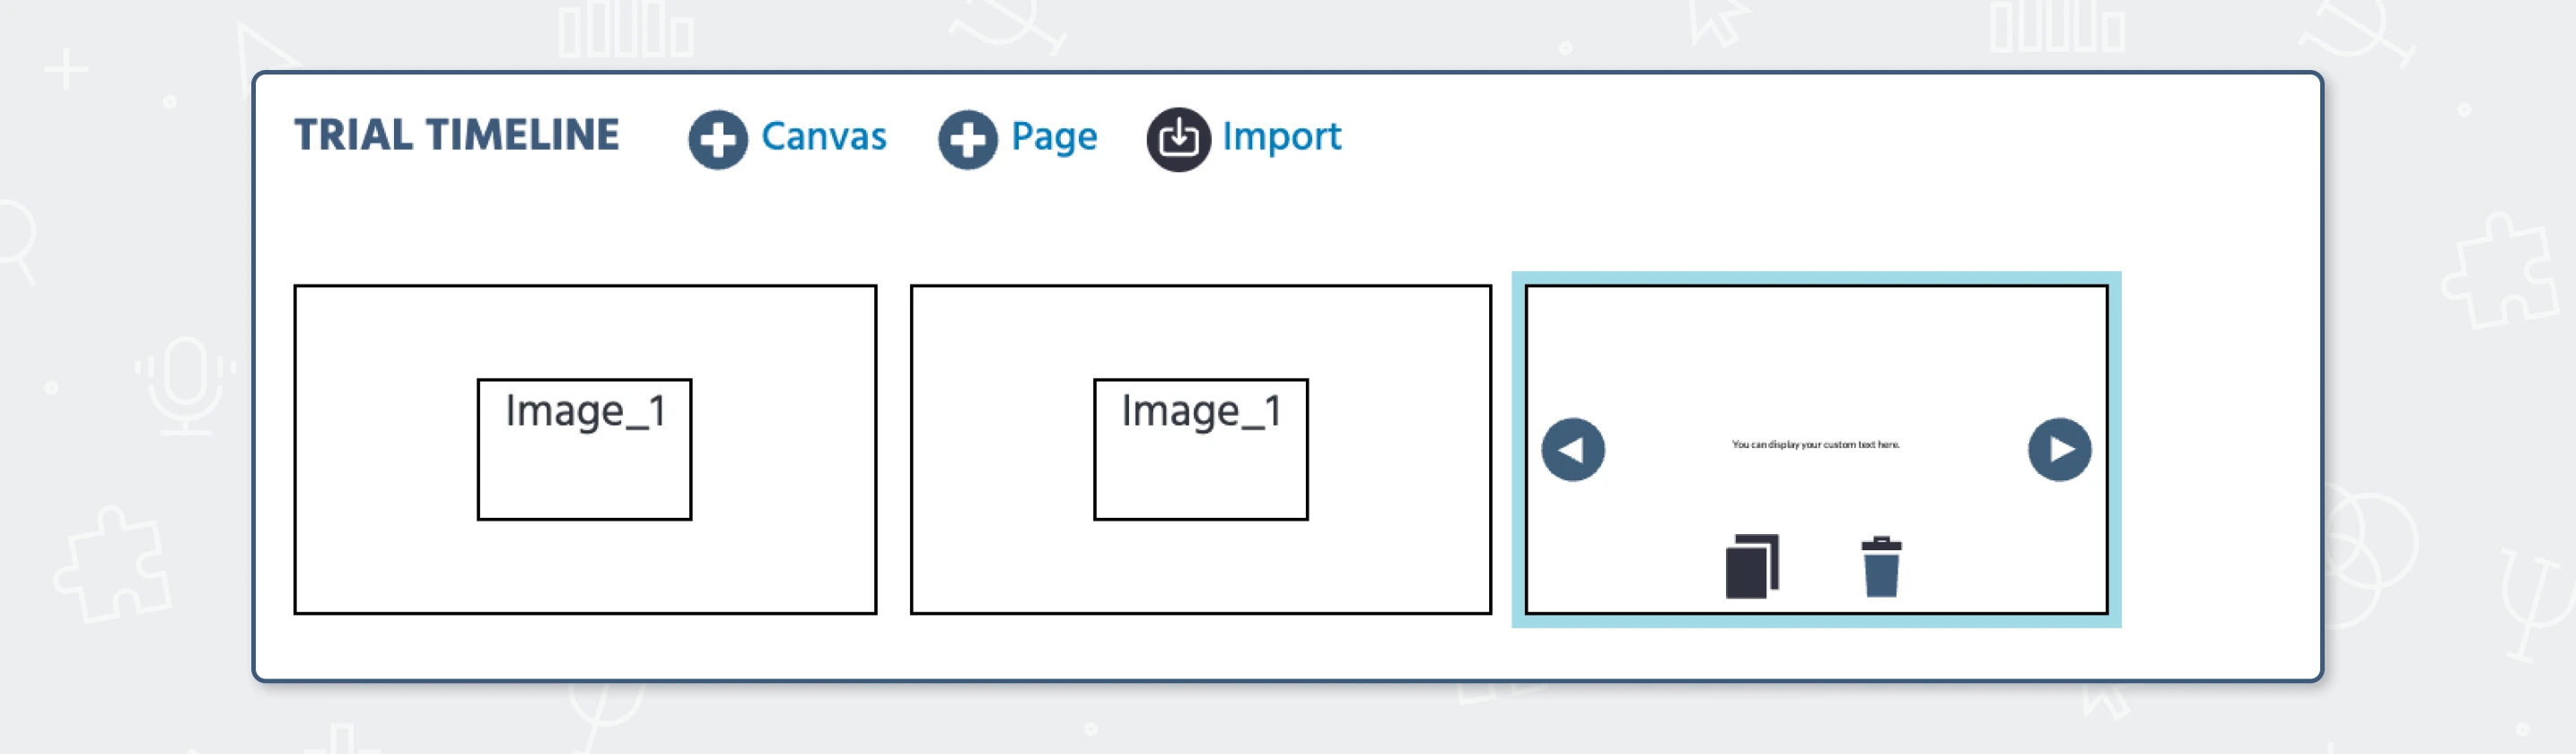
The Trial Timeline is a clear way to visualize and organize to some extent what happens within a single trial. It shows the sequence of screens (frames) that participants go through in a single trial. For example, frame for a fixation cross, then a frame for a stimulus, then a response screen. This helps structure each trial step by step.
Frame Settings
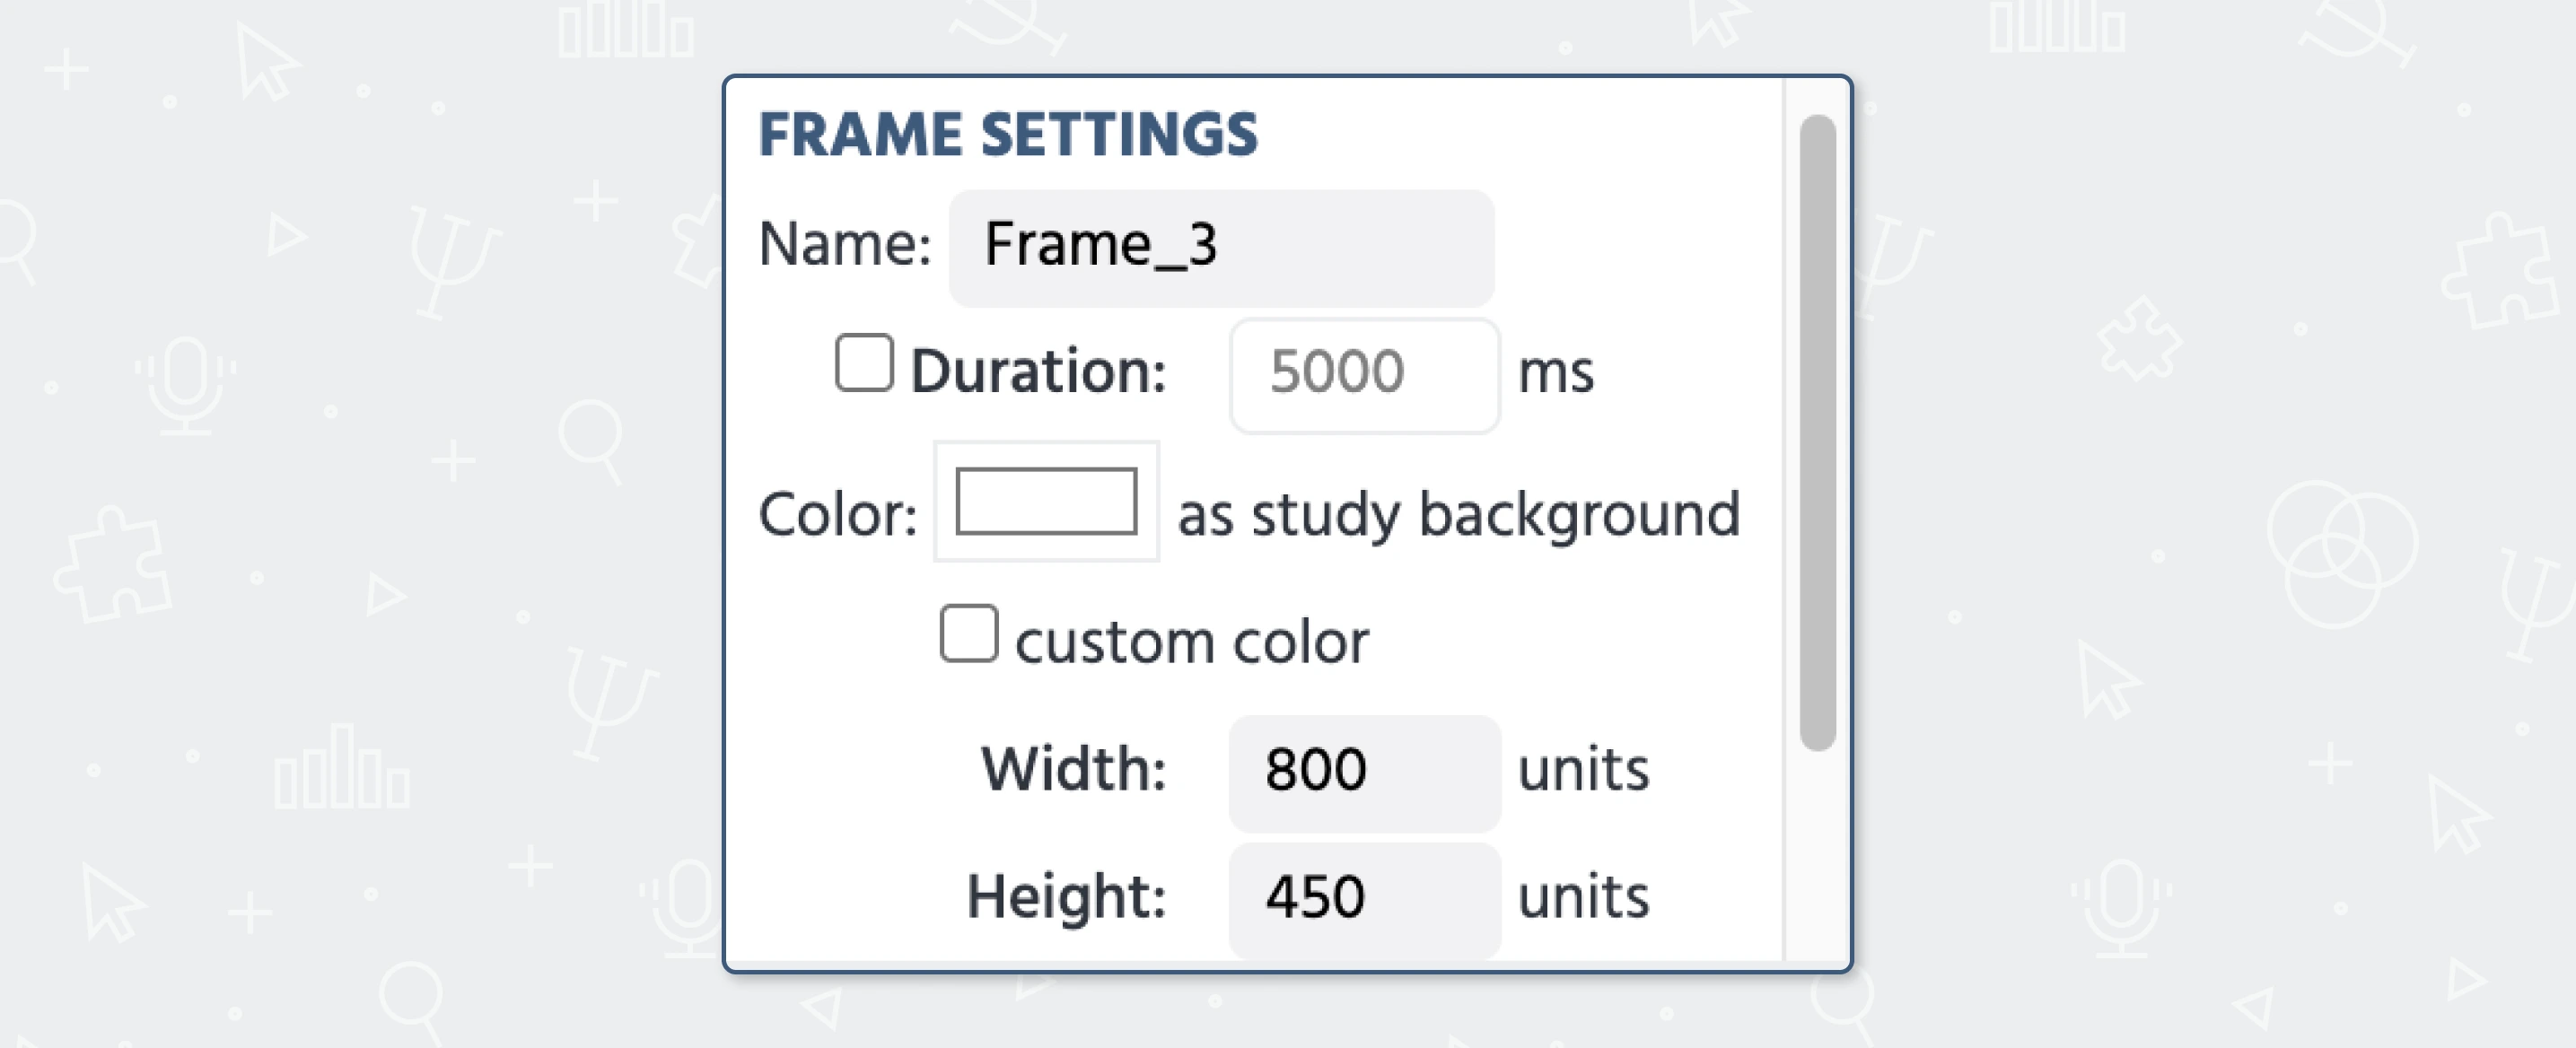
For controlling individual frames, Frame Settings let you adjust properties like duration and other frame-specific elements, like the frame size or even hiding the mouse. This is especially useful when you need precise control over how long something is shown.
Factors & Randomizations / Trials & Conditions
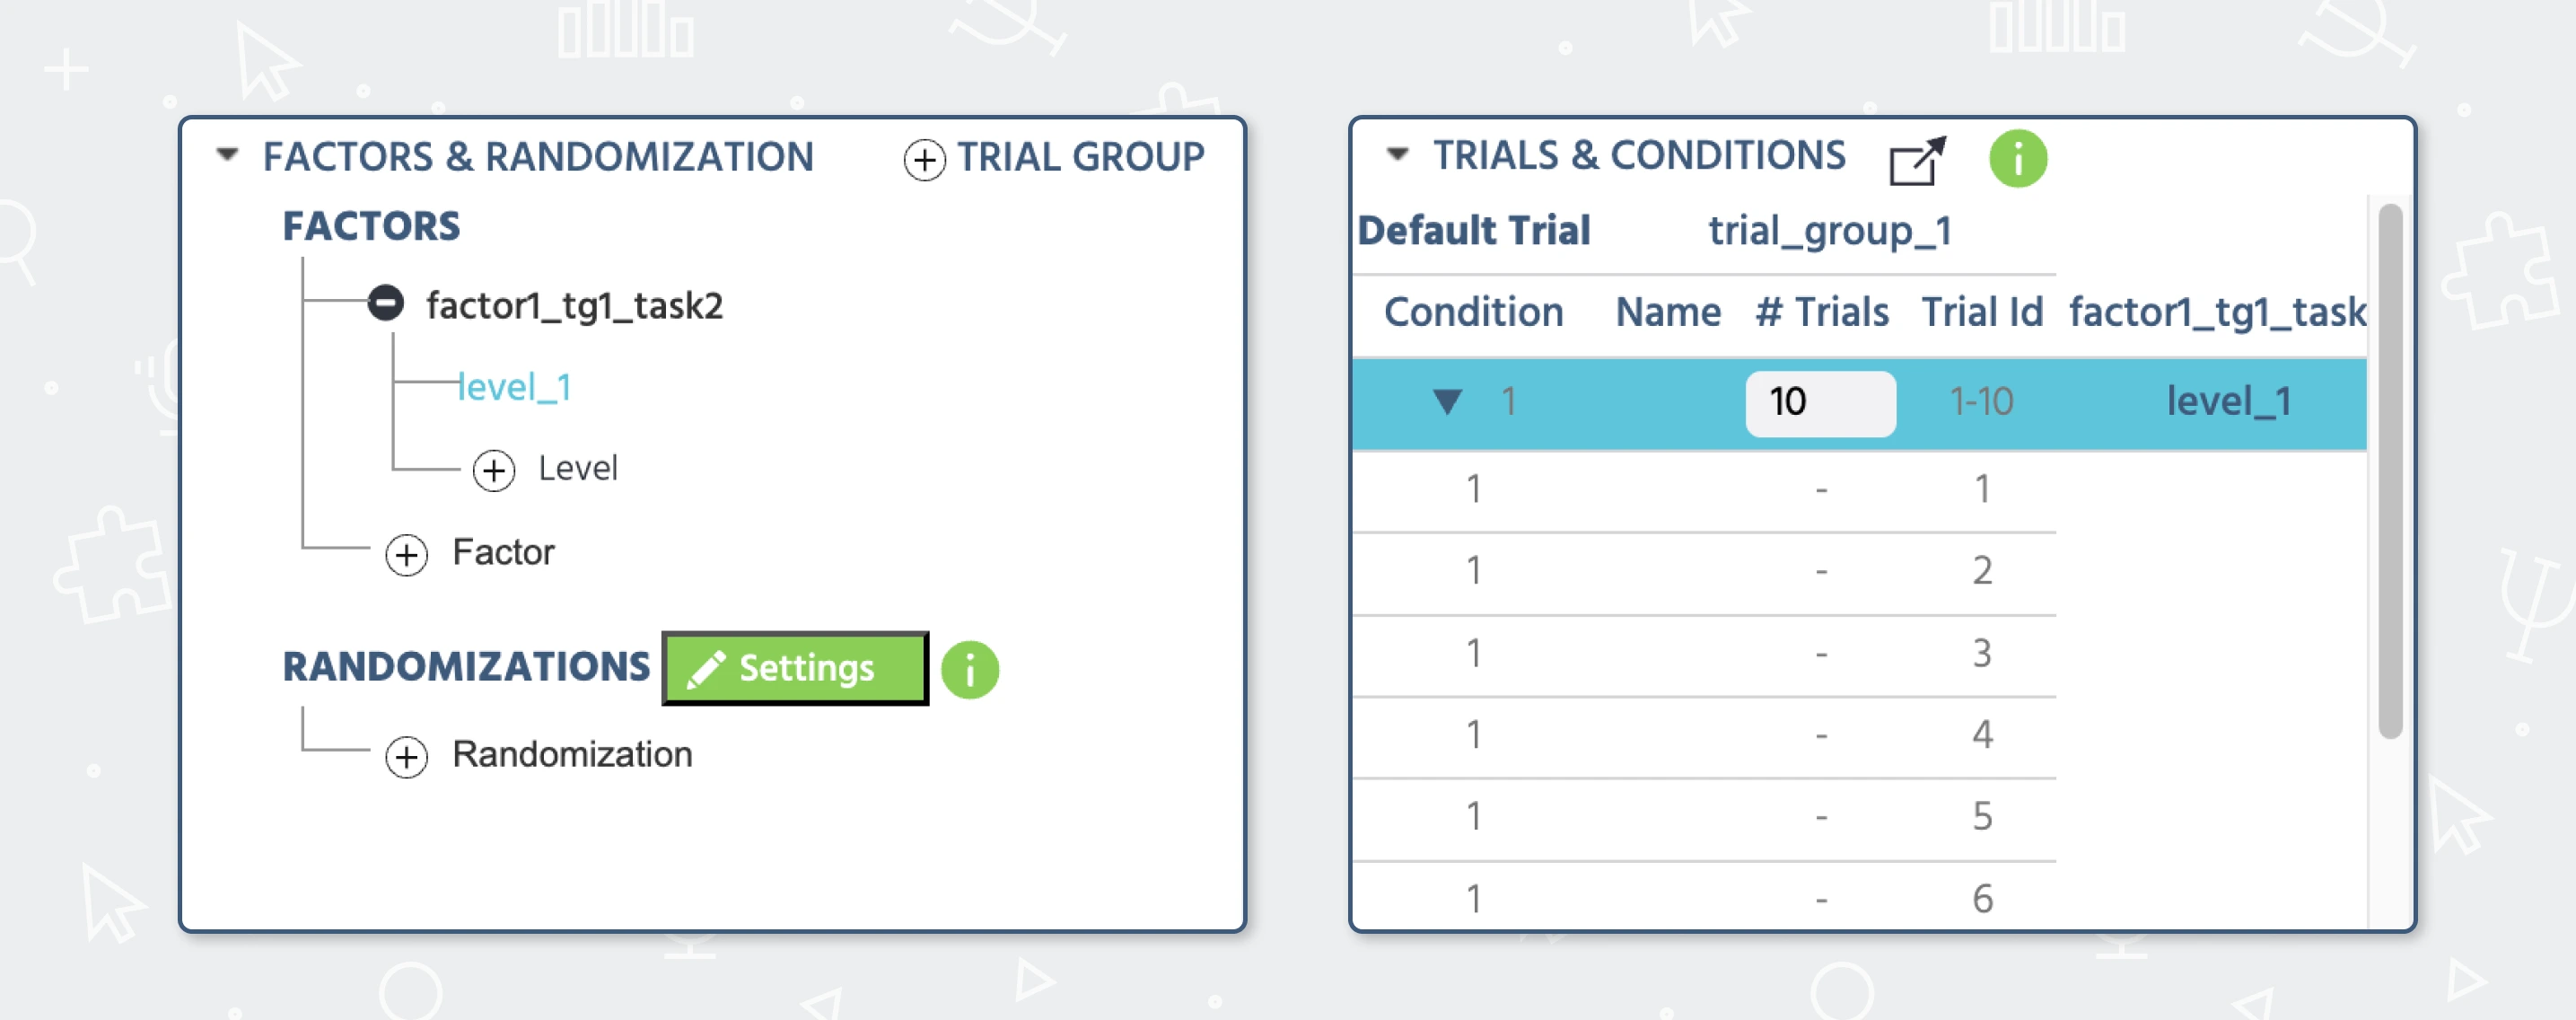
Finally, this is where your experiment really comes to life: Factors & Randomization and Trials & Conditions. These sections define how your trials are built and varied. You can create different conditions (for example, stimulus types), control how they are combined, and decide whether they appear in a fixed or randomized order. This is what allows you to move from a single trial to a fully structured experiment.
As you start working in the Task Editor, these sections will quickly become familiar. Together, they give you full control over your experiment—from what participants see, to how it behaves, to how your data is generated.