My Studies
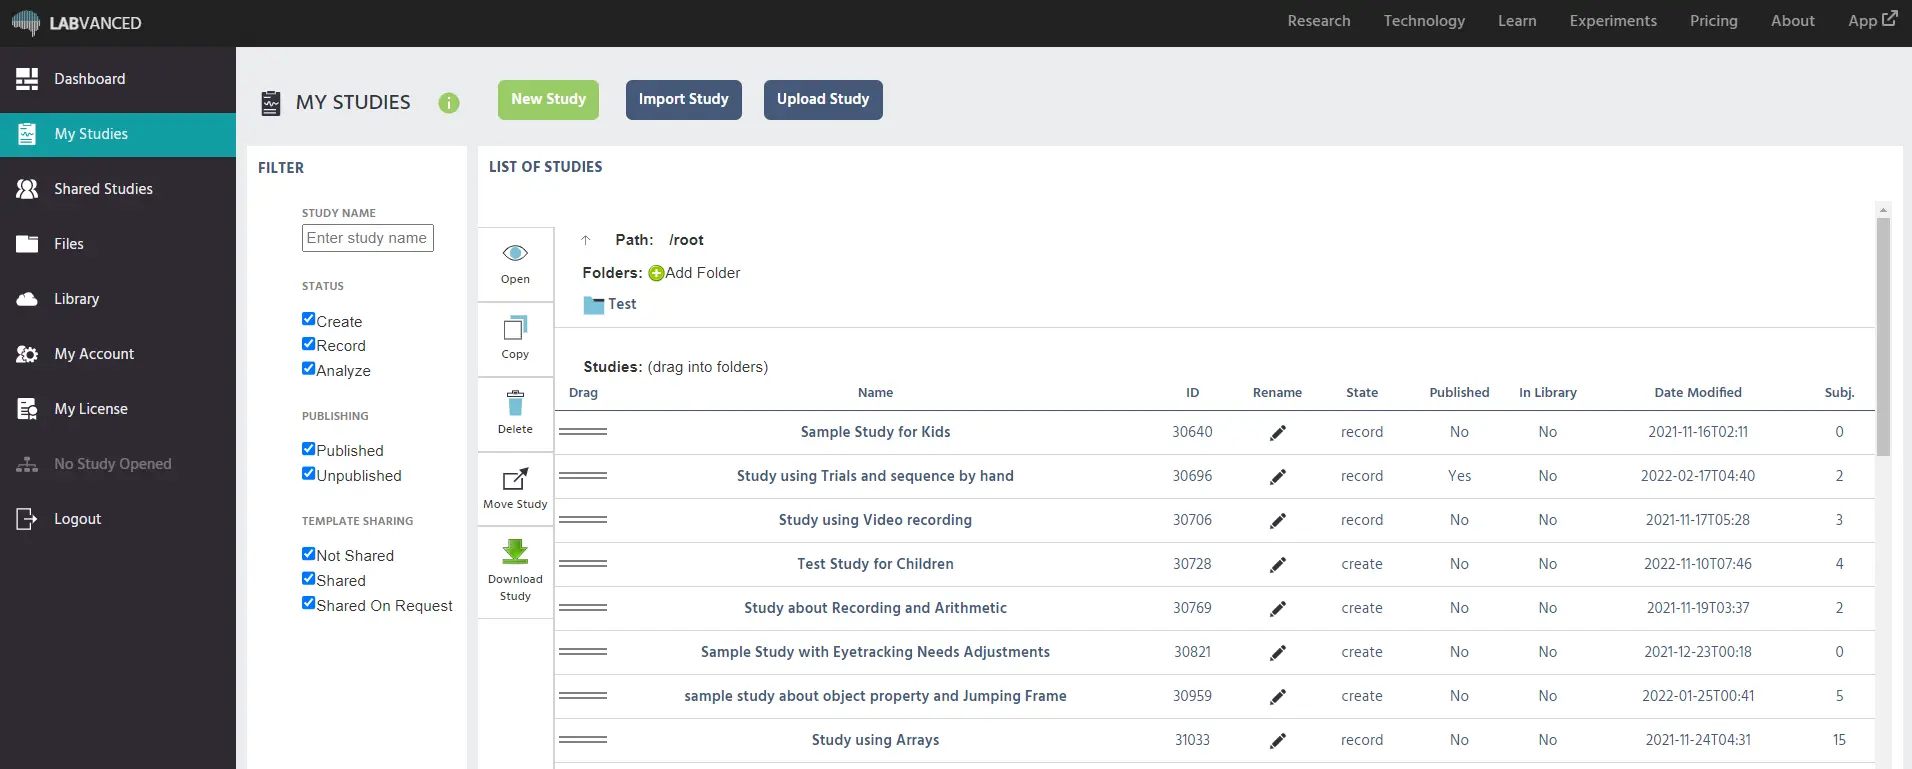
When you log into your Labvanced account, ‘My Studies' is a menu option item on the left side of your screen which shows all the experiments that you have under your personal account in Labvanced. You can create, import, and upload any studies that you prefer. At the top of the page there are buttons for this:
- New Study: The first green button at the top allows you to create a new study directly from this page by clicking on it.
- Import Study: The second button at the top gives you access to a dialog box for importing studies from the Public Experiment Library.
- Upload Study: The third button allows you to upload external .json files into Labvanced (available for only premium or lab license account holders).
As stated, to create a new study, simply hit the green ‘New Study’ button at the top. As a result, a dialog box with settings will appear your screen:
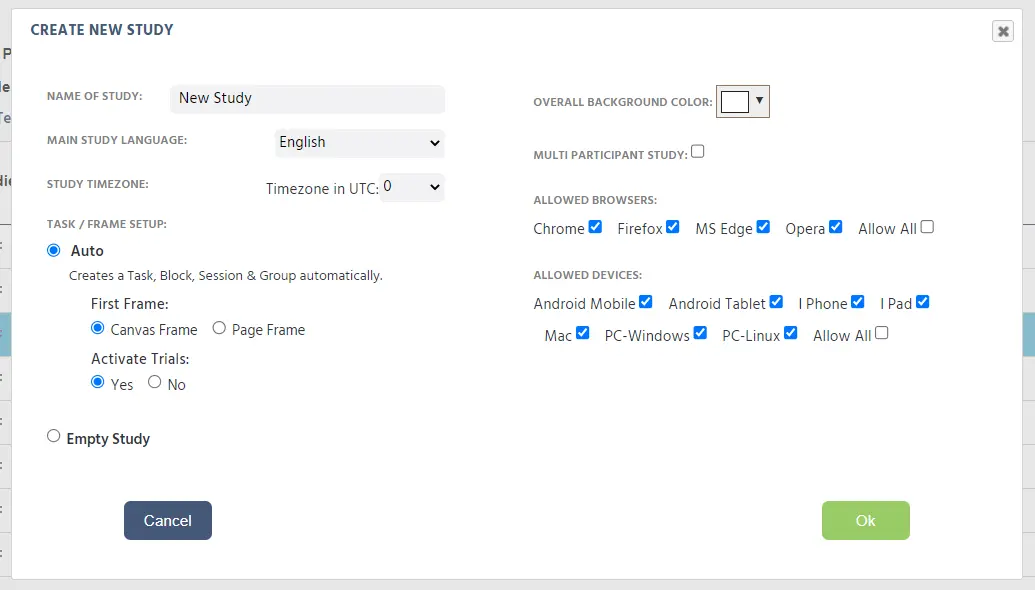
Using the dialog box shown above, you can specify several settings regarding your new study, such as the language that you want to use for the experiment, timezone, the task or frame setup, background color, if you want to enable a multi participant study, browsers and devices you want the experiment to run through.
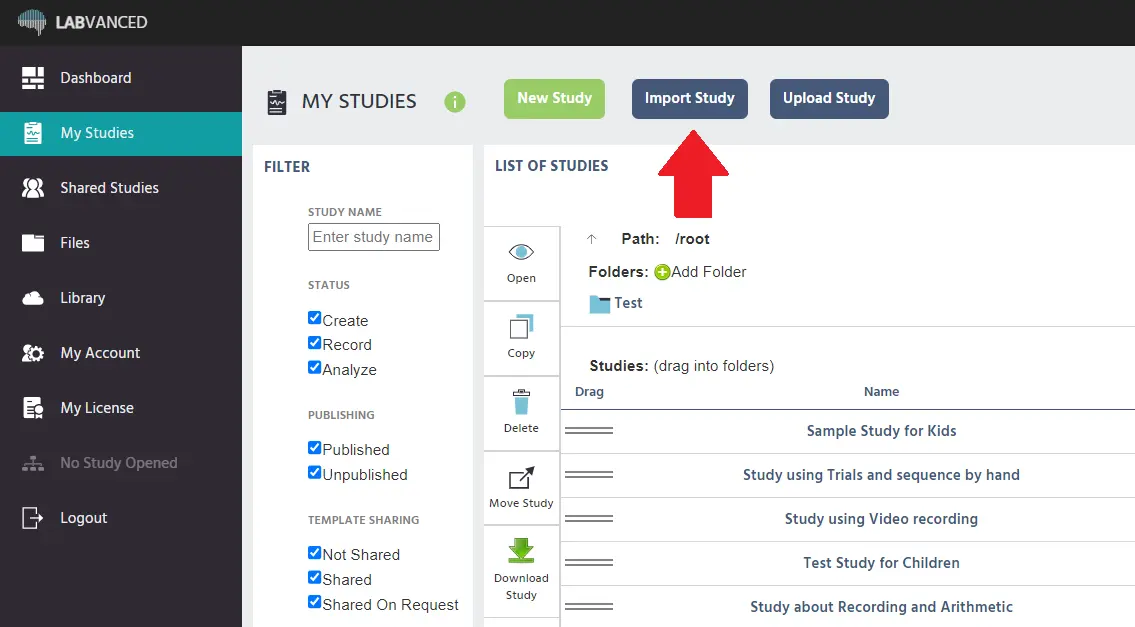
If you want to import a study, you use the second button, the ‘Import Study’ button found on this page, and another dialog box will appear:
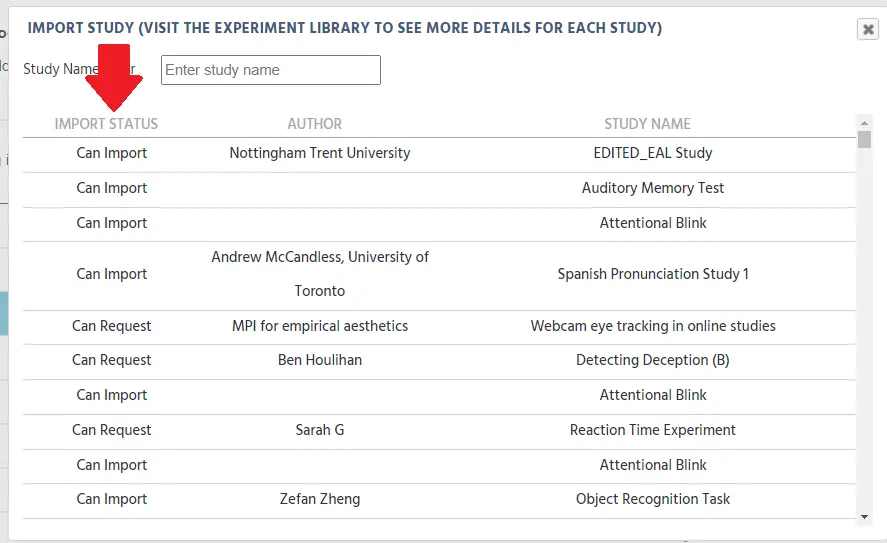
Using the dialog box shown above, you can search for a specific study title from the Public Experiment Library to import using the ‘Study Name’ field. You can also search based on the university or author.
Now, whether the study is available to be imported, the column on the left titled ‘Import Status’ will state if you can import the study directly (labeled as ‘Can Import’) or whether you need to seek for the author’s permission before getting a copy of their experiment (labeled as ‘Can Request).
Imported studies will be directly added to your ‘My Studies’ list and it will be named as “imported + title of the study.” It is important to note that there are some limitations here; free users can import selected public studies. Free users can also import Labvanced available studies so that they can have references while making their own.

Moving on, you can also upload a study directly into Labvanced by clicking the ‘Upload Study’ button on the ‘My Studies’ page, as shown below:
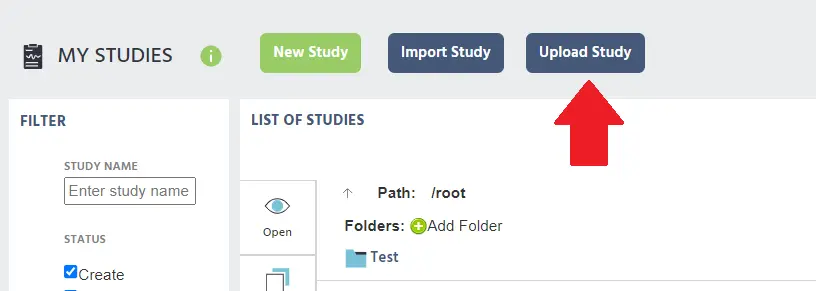
However, uploading studies are only allowed for premium or lab license account holders. This is where you can upload an external .json file document.
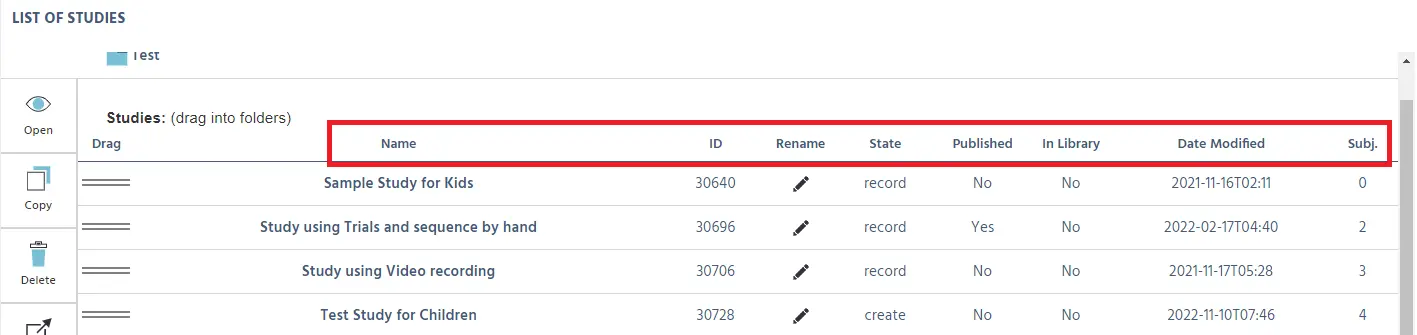
On the ‘My Studies’ page, you will see a list of all of your studies, but also some general information about the studies, highlighted below, such as:
- Name: The given name of the specific online study
- ID: The unique ID of the study
- Rename: The option to rename the study, by clicking the pencil icon
- State: The current state of the experiment, whether it’s in the create, record, or analyze stage
- Published: Whether the study has been published and available to your participants
- In Library: Whether the study is publicly available in Labvanced’s Public Experiment Library
- Date Modified: The timestamp of when the latest modification to the study occurred
- Subj.: The number of subjects that participated to date in the study
To the left of the list of your studies, there is a column of navigational options which you can perform actions for your studies, indicated below:
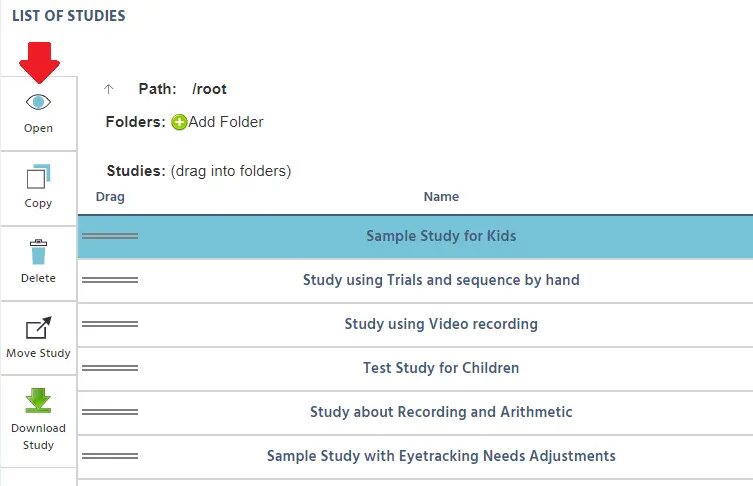
Using this side menu, you can perform many actions, such as: opening, copying, deleting, moving the study (to a folder, or downloading the study (to have a local backup or to upload it somewhere else). To make use of these navigational choices, you select the study from the list (it will be highlighted in blue) and then you can select the option on the side that you want.
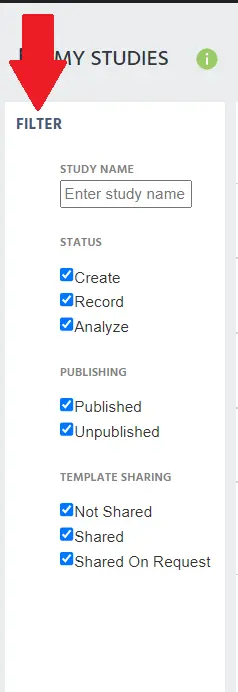
Further left of this side-menu, you also have the option to apply a ‘filter’ view of your studies. You can filter the study list based on status, publishing, and template sharing:
Here, we will explain these filtering options in greater detail:
Study Name
- Enter study name: Enter the study name or keywords to find the study by its name. Status
- Create: Filters based on studies that are currently in the ‘Create’ stage of the design process, ie. the stage in which you are still in the process of setting up and creating your study.
- Record: Filters based on studies that are currently in the ‘Record’ stage of the design process, ie. the stage where participants are being gathered and the experiment is in a recording data state.
- Analyze: Filtered based on completed studies, ie. the stage where the data/results are available. Publishing
- Published: Is when you have your experiment finished and ready to be launched in the public/researchers
- Unpublished: Contrary to published, this is when you’re study is not yet ready to be open to the public/researchers Template Sharing
- Not Shared: No sharing of the study template
- Shared: Sharing with everyone so anyone can import
- Shared On Request: Sharing based on request (and decide case by case)
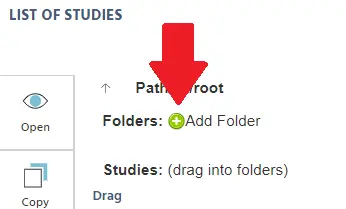
Moving on to the next theme, you can also use the ‘My Studies’ page to organize your studies into folders. To create a folder, you just simply hit the plus sign (+) icon and you will be prompted to create a folder name. This will help the user to organize their study depending on their organizational criteria and needs.
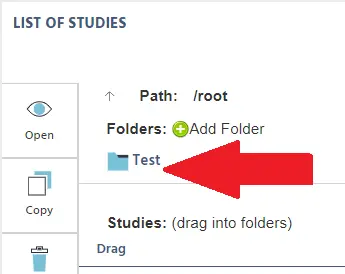
After inputting your desired folder name, the new folder will appear right under the ‘Folders’ icon as such:
All in all, this is an explanation of the ‘My Studies’ page in Labvanced. There are lots of things you can do using Labvanced and it is very easy to navigate! If you have any questions, please reach out to us!