Object Properties
Object Properties
The object properties for the current selected object are shown on the right side of the editor. These properties determine how the objects on the frame will look to participants. Many object properties can be modified between trials, while some properties (such as the object's name) are fixed and cannot differ between trials. Properties which are modified (different from the default value) are indicated by a dark gray background color. All of the properties that can be modified between trials can be modified dynamically during event execution using the "set obj property" action. The "required" property of objects can be changed dynamically during runtime of the study. Objects will only be shown as required as long as they are not hidden (visibility = 0). This allows for very interactive and dynamic experiments. Please see the "Object Properties Tables" page for detailed chart of all object types and their properties.
In the Task Editor, the appearance of objects can be changed to make editing your study easier. There are 2 object properties which allow you to do this: lock and hide.
- Lock: Clicking on the small padlock icon next to an object's name in the Objects tab will lock its position on the frame. This prevents accidental movement of or changes to the object as you are editing the study.
- Hide: Clicking on the small eye icon next to an object's name in the Objects tab will hide the object from view on the frame. This is useful if you have multiple objects on the frame at once and want to only see one or mroe at a time as you are editing.
Both of these properties are only active while editing the study. Locking or hiding an object in the Task Editor will not change how the participant sees that object during the study.
Copy and Paste Position, Size, and Scale
To apply the same position, size, or scale from one object to another, use the copy and paste controls in the Object Properties panel.
In the Position & Size section, a copy icon and a paste icon appear next to the section header. Click the copy icon to copy the object's current position and size values to the clipboard. Then select a different object and click the paste icon in the same section to apply those values to it.
The Scale & Rotation section has the same copy and paste controls for scale and rotation values. It also includes a Keep Aspect Ratio checkbox: when enabled, the object's width-to-height ratio is locked, so resizing the object in the editor preserves its original proportions automatically.
This is useful when you need to align multiple objects to the same dimensions or position across frames or tasks without manually entering each value.
Custom CSS Properties
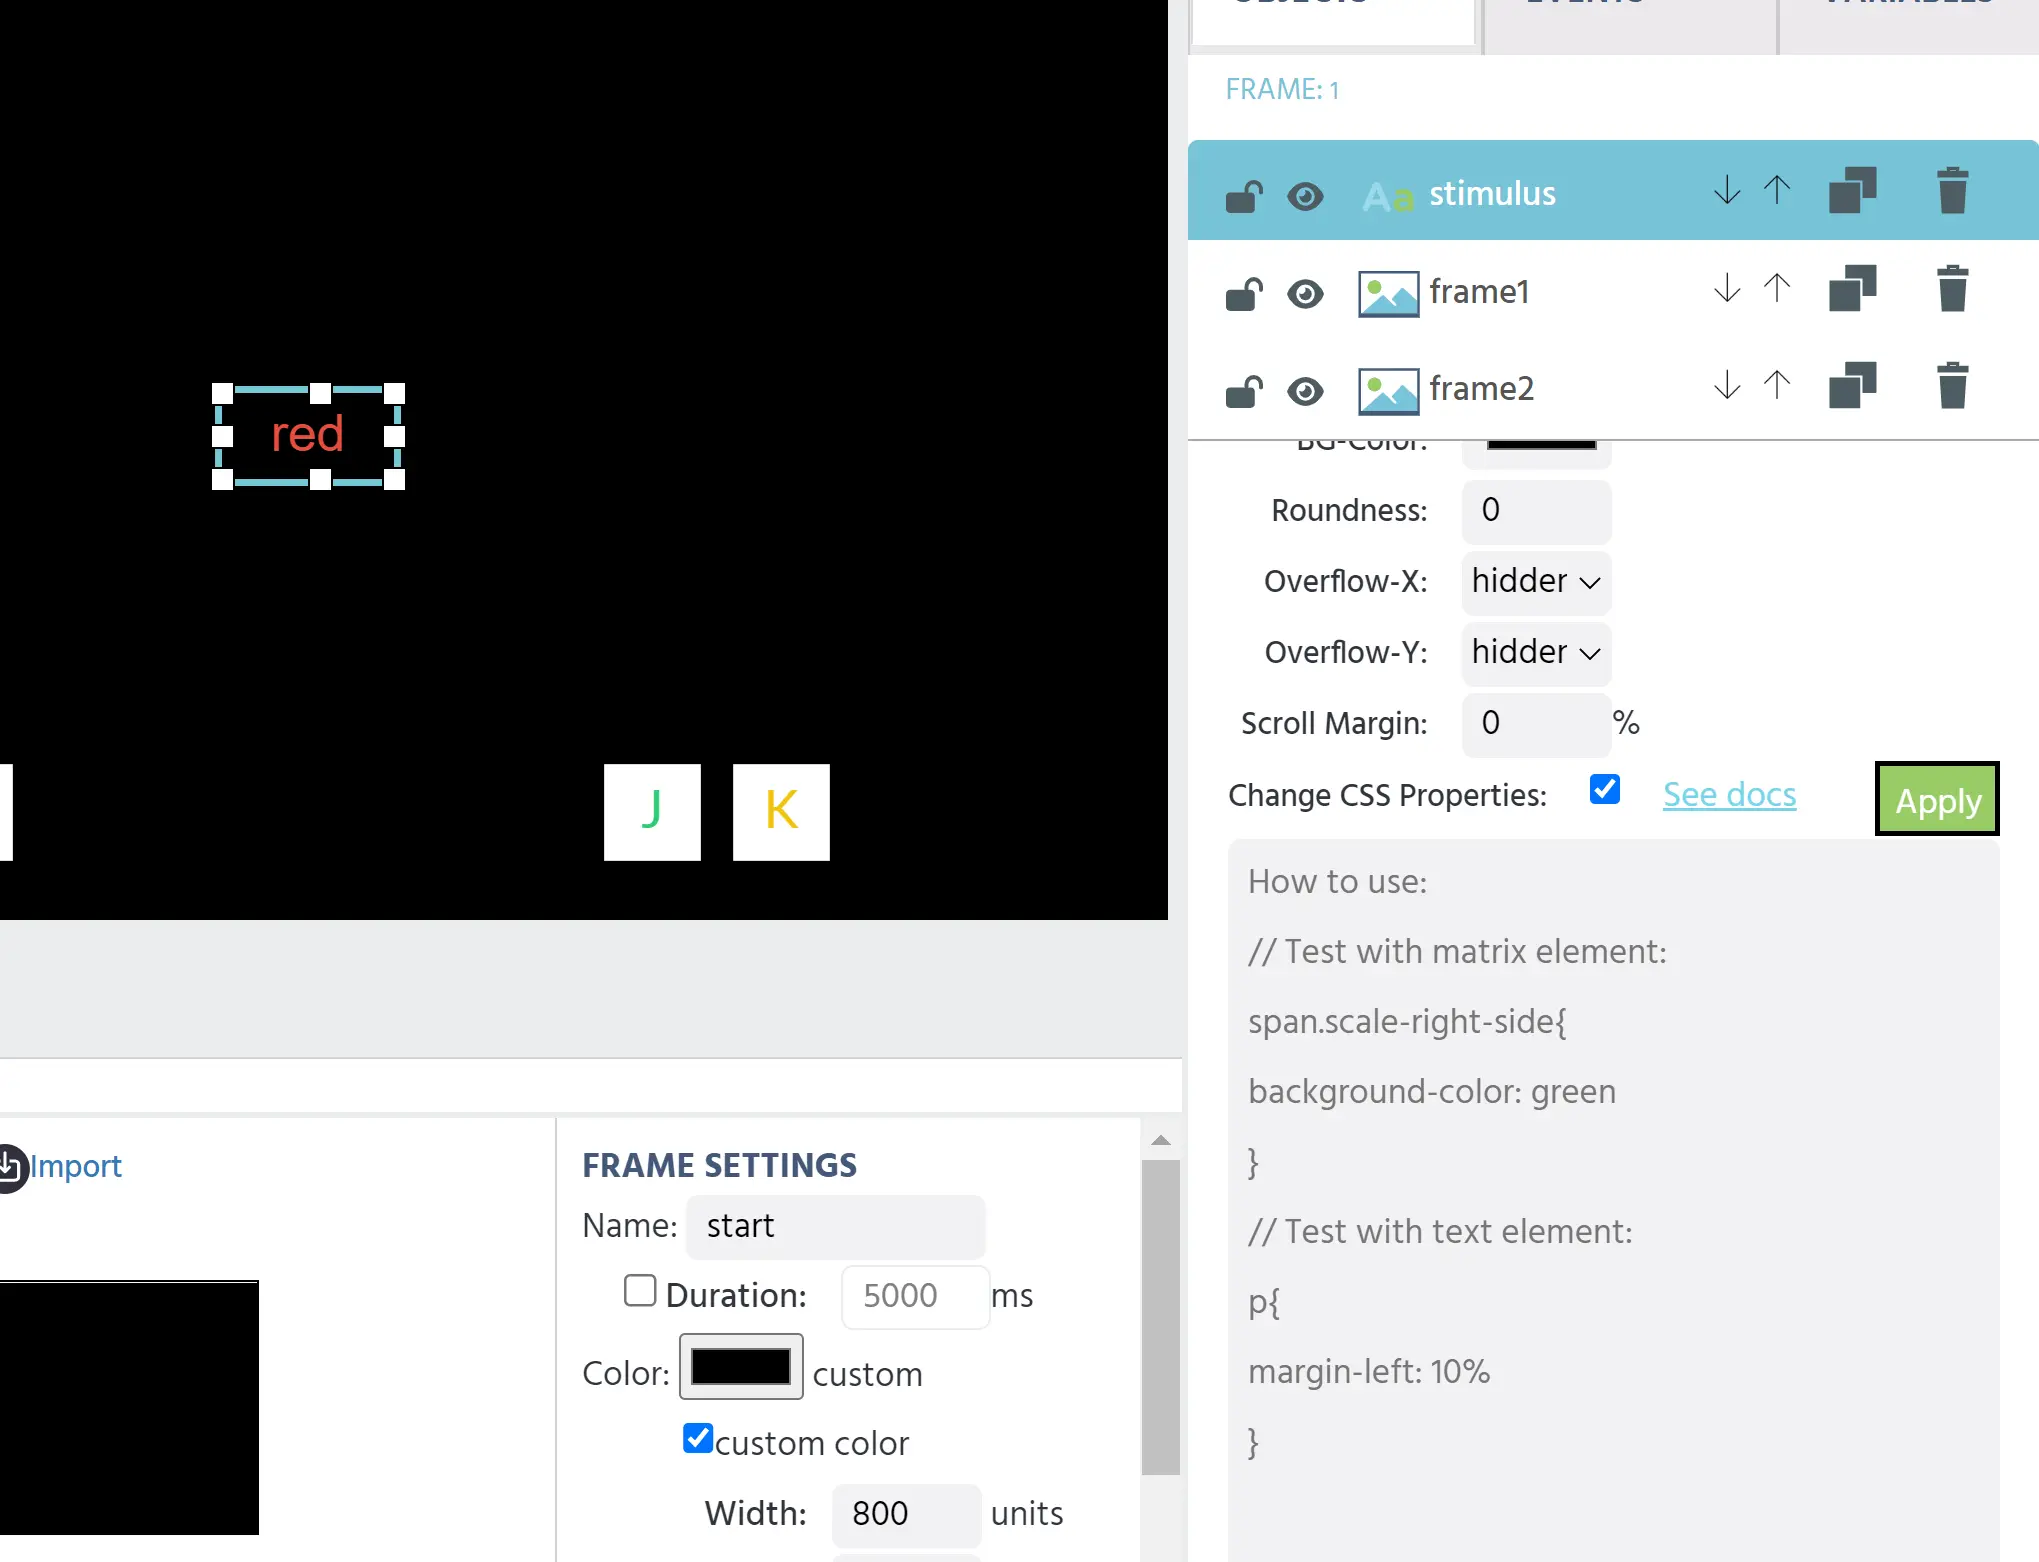
A CSS property is a style of an element written in HTML code. The CSS properties of an element can be changed in the Object Properties tab by clicking on the element and checking the box “change CSS properties.” Sample code is provided in gray text as an example.
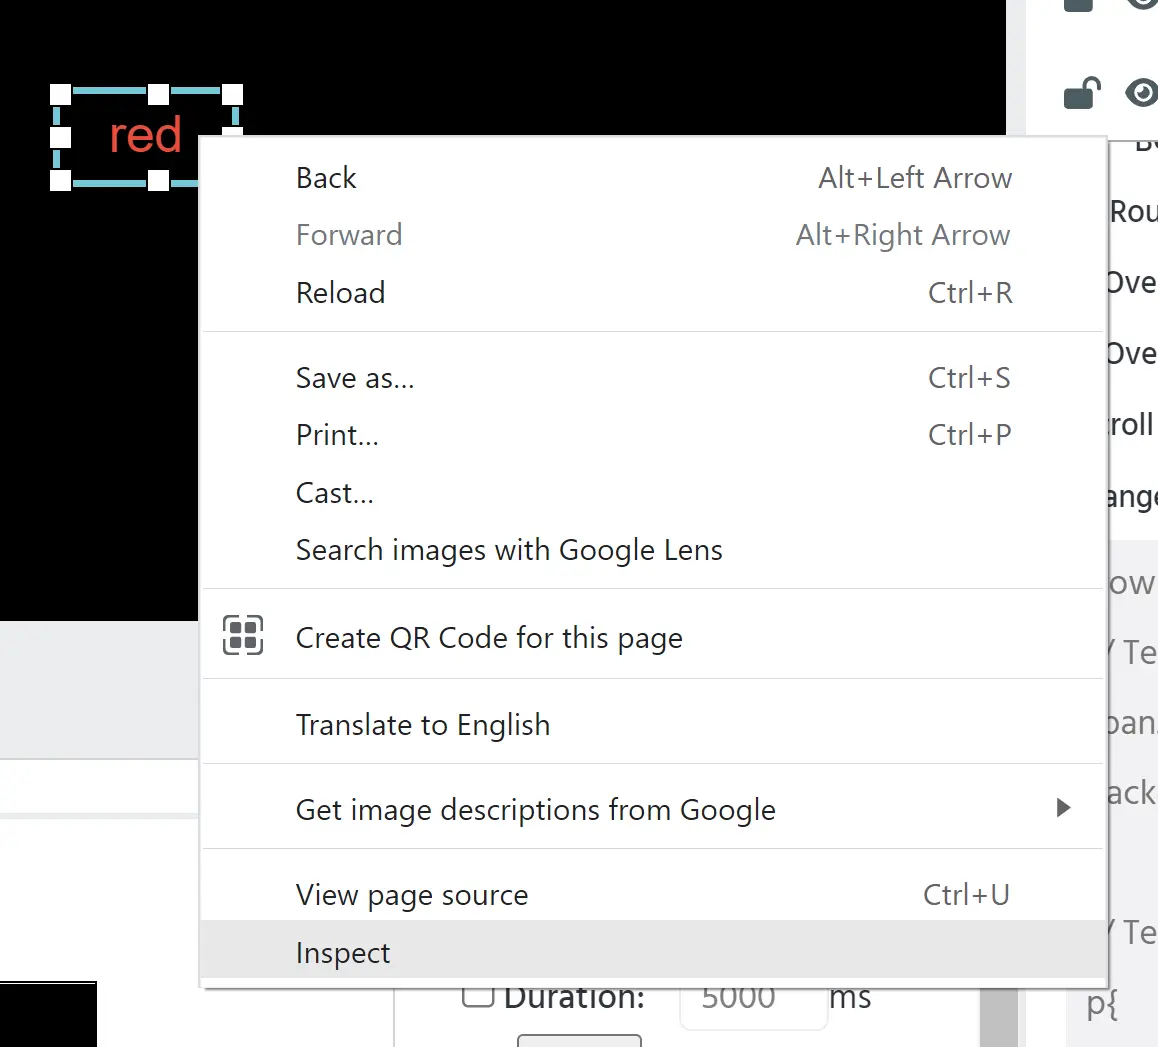
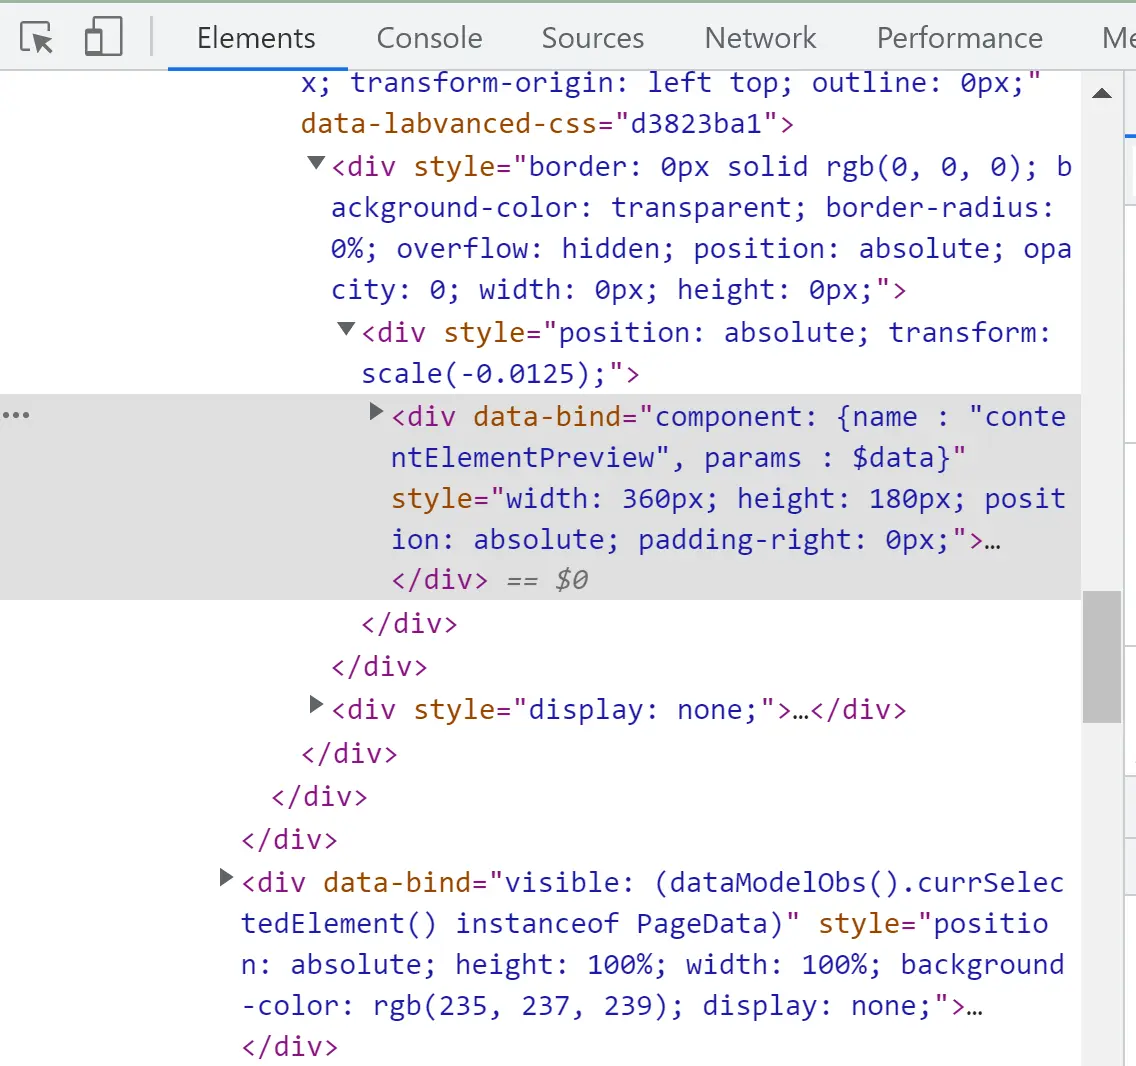
To write custom code, you will need a reference element, its selector name, a command, and a value. To find the selector name for the element that you want to edit, right-click on the element and click “inspect.” This will open the console on your device. For example, the selector for a text element is the letter p.
Upon clicking Inspect:
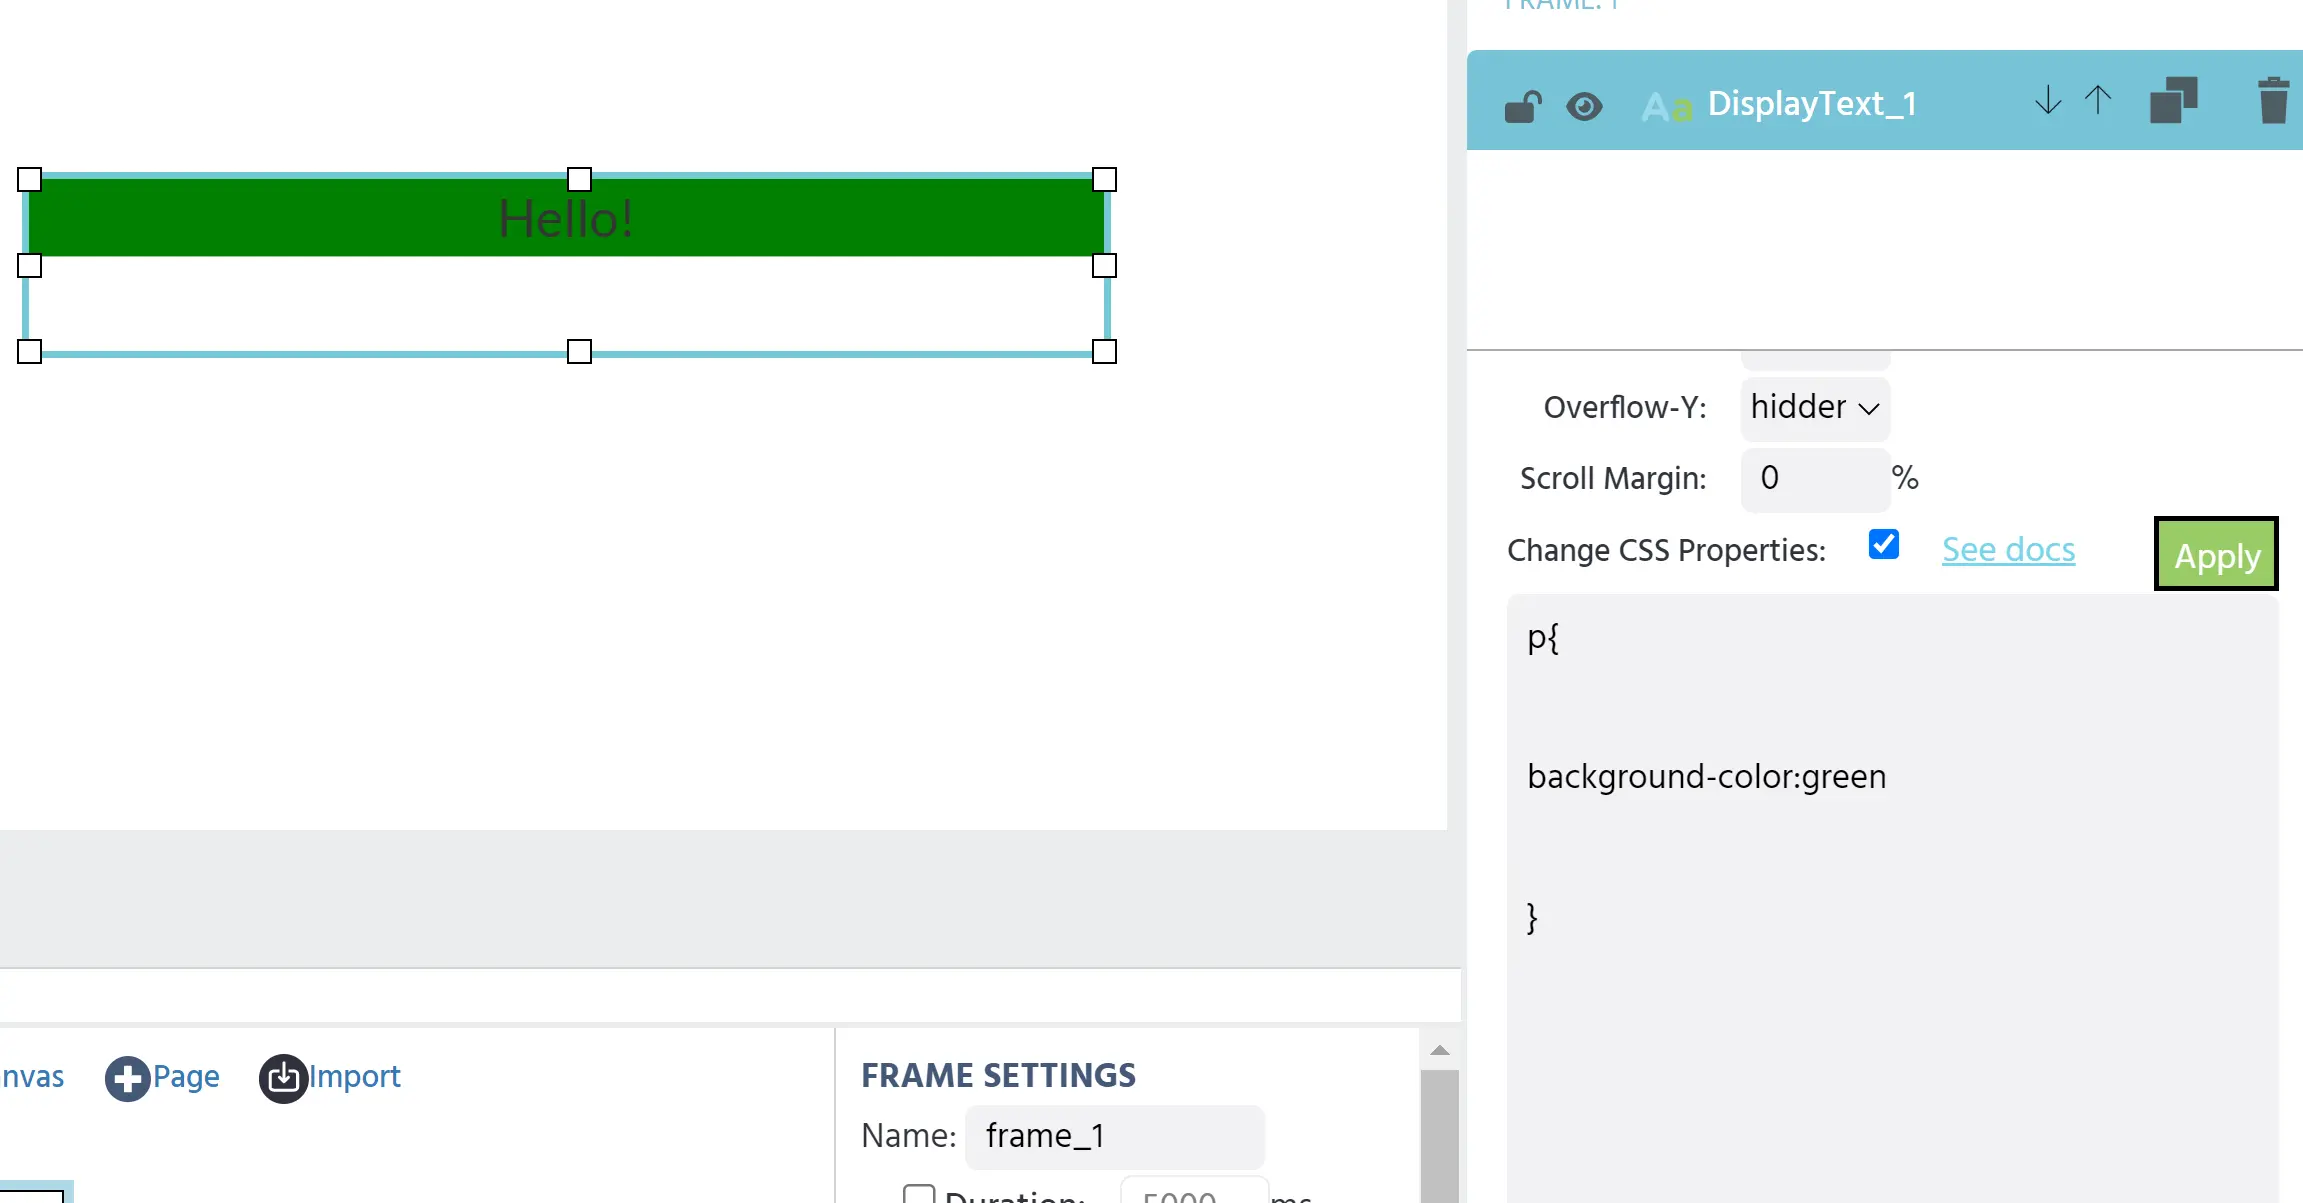
You will also need to use curly brackets for your code. A sample of code to change the color of a text element is:
p{ background-color:green }
While properties such as background color can be changed easily using the object properties window, there are use cases where you would like to be more specific with your CSS properties. For example, in matrix elements, several different CSS properties can be used to customize your element.
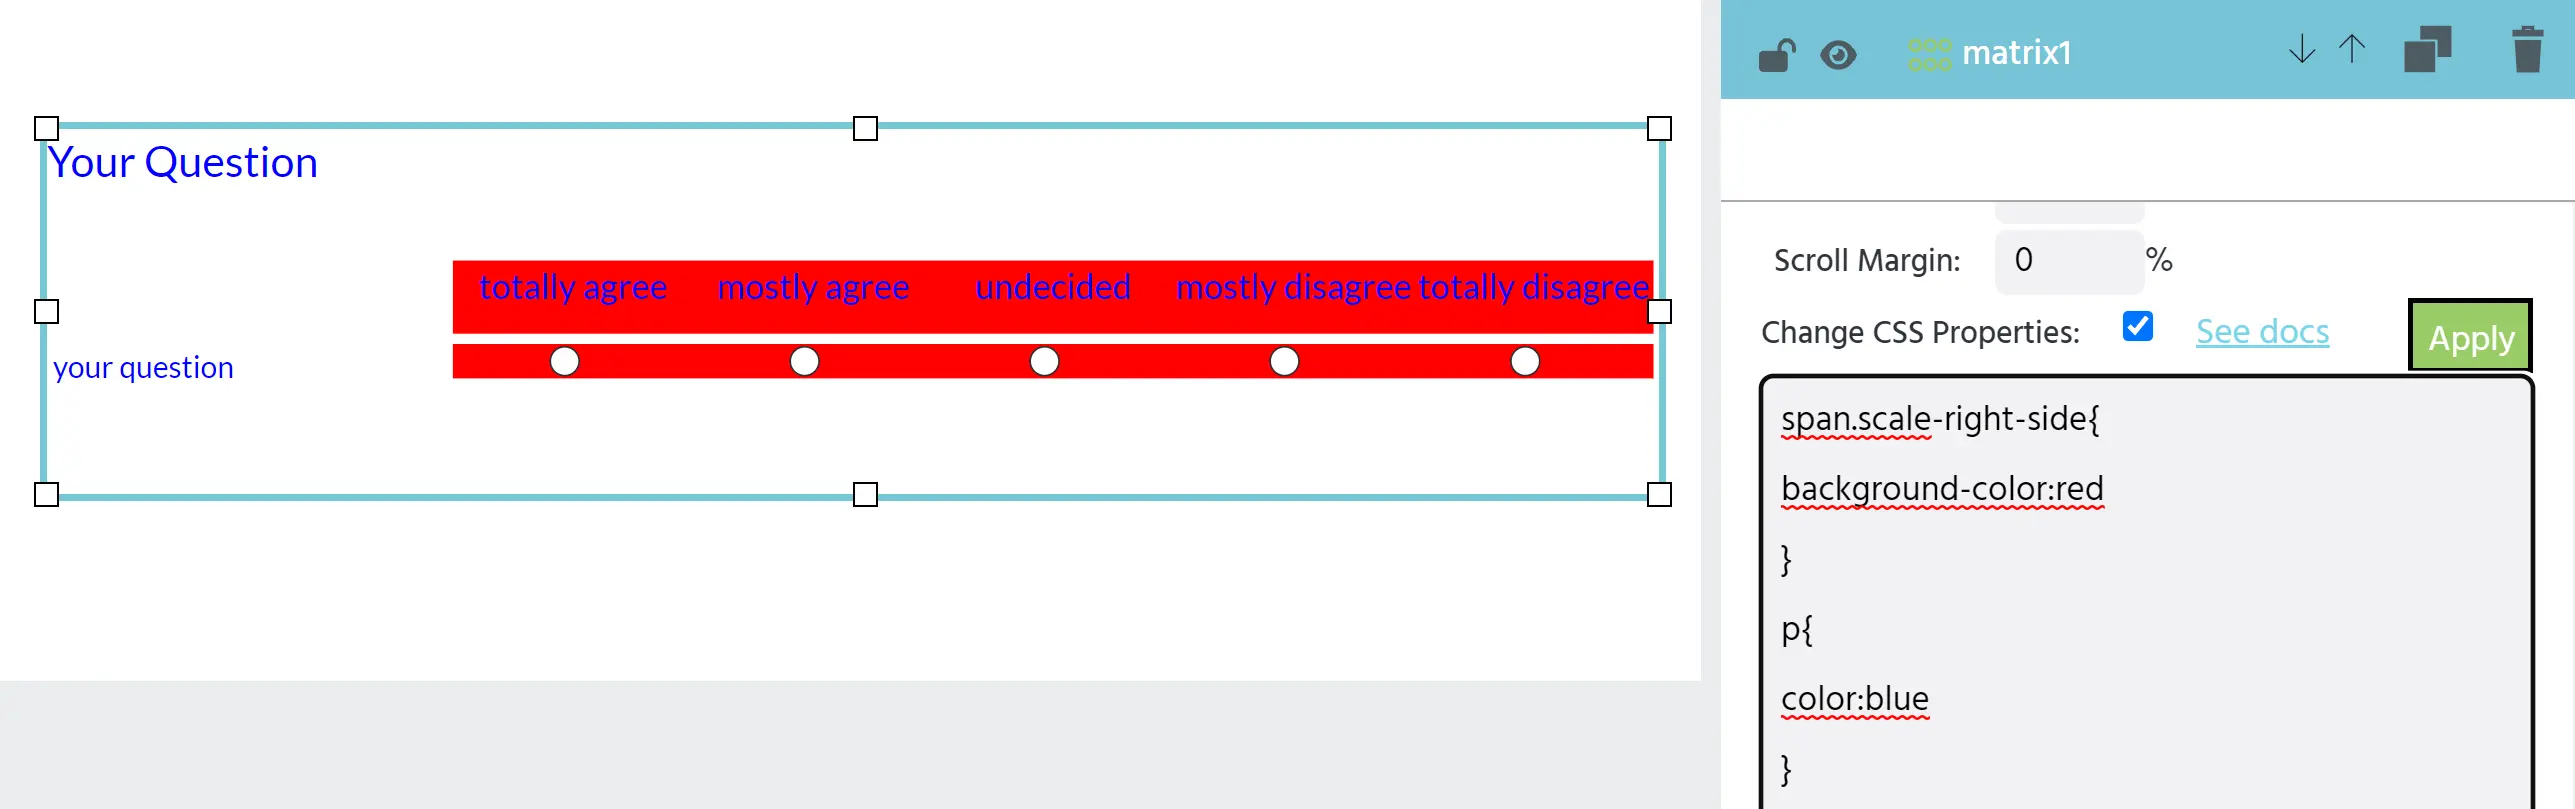
Many custom CSS properties can be added to the same element with multiple lines of code.
If you are new to coding or want more information about CSS, check out this module from MDN.