Recording and Exporting Gaze Data
Once eye tracking is enabled and configured for a task (see Setting Up Eye Tracking in a Task), you need events that actually capture gaze data as recorded variables.
Automated Event Setup
The moment you check Enable Eye-Tracking: in the task editor, an "Eyetracking Setup" dialog appears, offering to create these events for you:
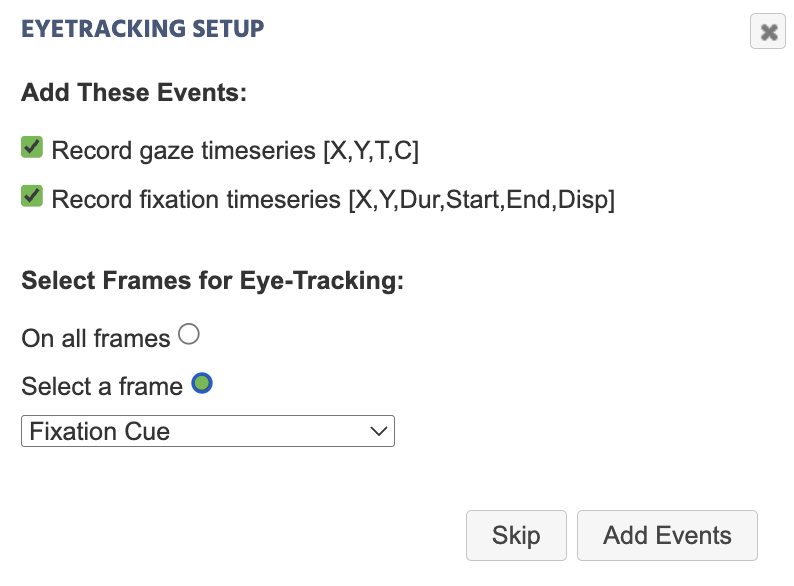
Record gaze timeseries [X,Y,T,C]: creates a gaze-recording event, checked by defaultRecord fixation timeseries [X,Y,Dur,Start,End,Disp]: creates a fixation-recording event, checked by default. If your task's Fixation Detection mode was set toNo Fixation Detection, accepting this option switches it on automatically.
You also choose the scope: On all frames (the default) applies the recording events across every frame in the trial, or Select a frame restricts them to one specific frame. Clicking Add Events creates the events with these choices; Skip closes the dialog without creating anything.
This covers the common case: recording every gaze and fixation sample across a trial. Build the events manually instead if you skipped this dialog, need to restrict recording to specific stimulus objects (see below), or are adding eye tracking events to a task that already exists.
Recording Gaze Coordinates Manually
To record a timeseries of gaze coordinates:
- Add a new event from the events editor.
- For the trigger, select
Physiological Signal Triggers→Eyetracking Gaze. - For the action, select
Variable Actions→Set / Record Variable, then create a new variable:- Format:
Array(recommended, so a pair of X/Y coordinates can be stored together) - Record Type:
All changes / time series, so every gaze update is recorded, not just the final value at the end of a trial
- Format:
- In the value select menu, choose
Coord. + Time + Confidence [X,Y,T,C] Arrayfrom theTrigger (Eyetracking Gaze)options. This records the X and Y coordinates, a precise timestamp, and a confidence value in a single array.
There is also an Eyetracking Fixation trigger, which reports a participant's fixations (where their gaze settles, rather than every individual gaze sample) using the Fixation Detection mode configured in task setup. It is currently in beta.
Restricting Recording to Specific Stimulus Objects
Both the Eyetracking Gaze and Eyetracking Fixation triggers can be restricted to only fire when the participant is looking at specific stimulus objects, rather than anywhere on the frame. To do this, select the option to only trigger on specific elements, then add those elements as targets. This is useful when you only care whether a participant looked at a particular image or region, not their gaze position everywhere else on the frame.
Recording Calibration and Trial Error
Alongside gaze coordinates, you can record how accurate the eye tracking was for a given participant:
- Add another event, with
On Frame Startas the trigger. - For the action, select
Variable Actions→Set / Record Variable. - In the value select menu, under
Frame/Task/Object→Eyetracking, chooseError Trialto record the error for the current trial, orError Calibrationto record the error from the original calibration.
Both error values are mean euclidean distances, in frame units, between predicted gaze coordinates and the actual target fixation locations shown during calibration or between trials. Recording both lets you exclude participants, or specific trials, that fall below your accuracy threshold during analysis.
Exporting Gaze Data
Navigate to the Dataview & Export tab to access your recorded data. There are two kinds of export:
- Normal data: recorded once per trial, such as responses, conditions, and calibration/trial error if you chose to record them. Each variable is its own column, each trial its own row.
- Timeseries data: recorded continuously throughout a trial, which is what gaze coordinates use since they update many times per second. Each row represents one gaze sample, alongside a separate
timescolumn shared across all timeseries variables.
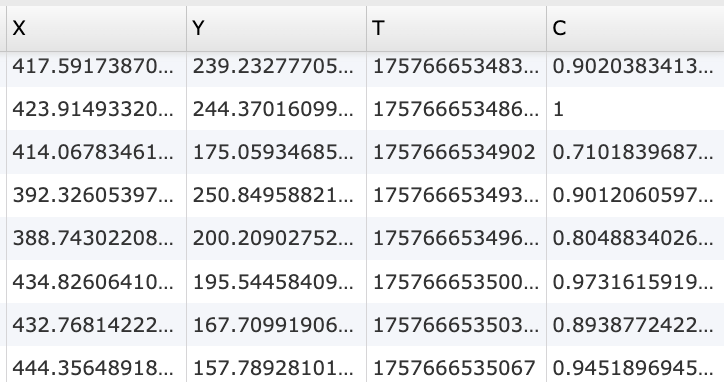
X: X-coordinate of gaze; Y: Y-coordinate of gaze; T: Timestamp; C: Confidence Interval
A few things to keep in mind when working with these columns:
- Base your time measurements on
Trather than the separatetimescolumn.Tis the adjusted timestamp of when the camera actually captured the image, whiletimesreflects when Labvanced recorded the value, which runs slightly behind the real capture moment since the algorithm needs a few milliseconds to process each snapshot first. Cranges from 0 to 1. A value near 1 indicates a confident detection; a value near 0 typically indicates a blink or that the participant's eyes were not visible to the camera.- Sampling rate is not perfectly constant and can be determined from
T. In general, sampling rates above 30Hz are not achievable, due to the hardware constraints of most commercially available webcams.
Labvanced's GitHub repository has scripts for further processing exported eye tracking and WebSocket data.
Frequently Asked Questions
Further Reading
Setting Up Eye Tracking in a Task
Enable eye tracking and configure recalibration before building the events on this page.
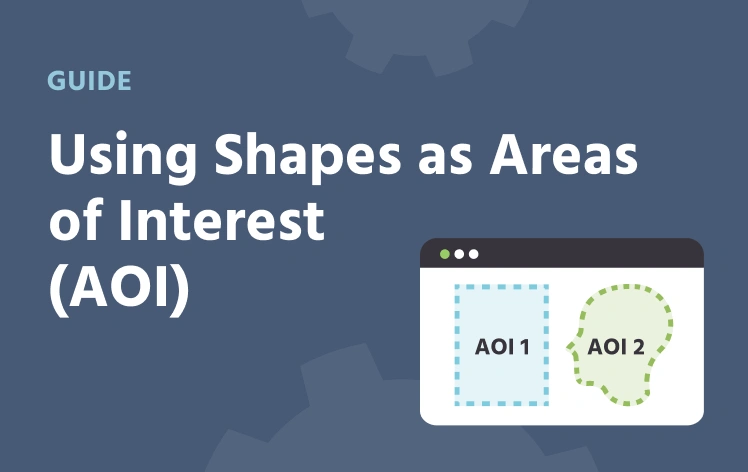
Using Shapes as Areas of Interest (AOI)
Define regions of a frame that gaze and fixation triggers can target.
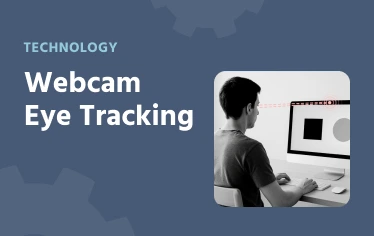
Webcam Eye Tracking Technology
How Labvanced's webcam eye tracking technology works.
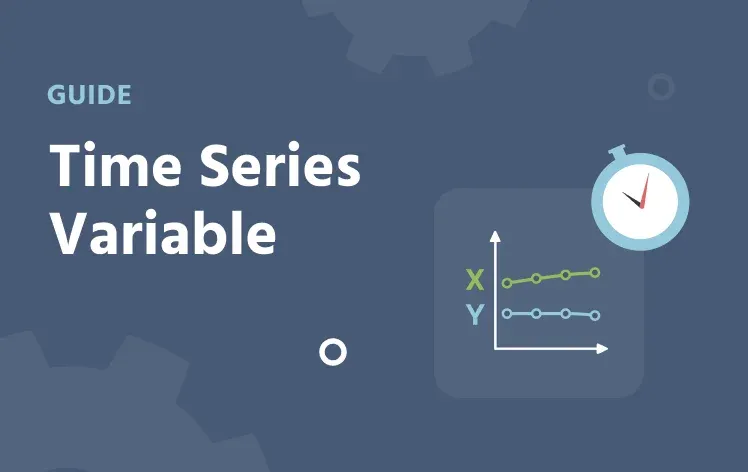
Time Series Variables
The general Record Type and Sampling Method settings that control how continuous data like gaze is captured.
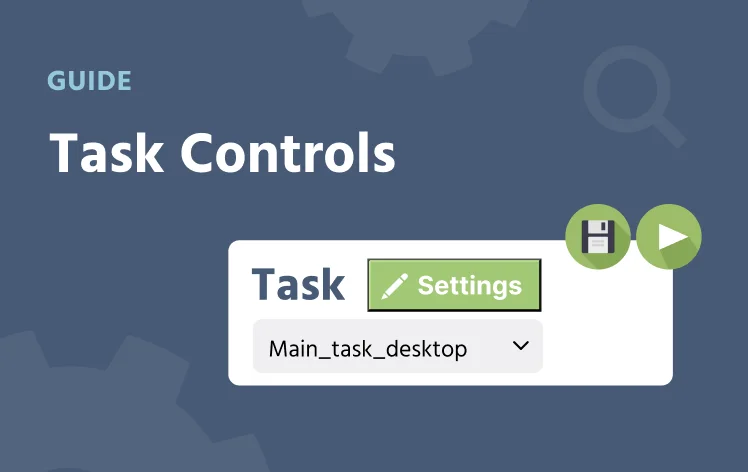
Task Controls
The automated Eyetracking Setup dialog shown above, in the context of the full Task Controls reference.