labvanced logoLabVanced
  • Research
    • Publications
    • Researcher Interviews
    • Use Cases
      • Developmental Psychology
      • Linguistics
      • Clinical & Digital Health
      • Educational Psychology
      • Cognitive & Neuro
      • Social & Personality
      • Arts Research
      • Sports & Movement
      • Marketing & Consumer Behavior
      • Economics
      • HCI / UX
      • Commercial / Industry Use
    • Labvanced Blog
    • Services
  • Technology
    • Feature Overview
    • Code-Free Study Building
    • Eye Tracking
    • Mouse Tracking
    • Generative AI Integration
    • Multi User Studies
    • More ...
      • Reaction Time/Precise Timing
      • Text Transcription
      • Heart Rate Detection (rPPG)
      • Emotion Detection
      • Questionnaires/Surveys
      • Experimental Control
      • Data Privacy & Security
      • Desktop App
      • Mobile App
  • Learn
    • Guide
    • Videos
    • Walkthroughs
    • FAQ
    • Release Notes
    • Documents
    • Classroom
  • Experiments
    • Cognitive Tests
    • Sample Studies
    • Public Experiment Library
  • Pricing
    • Licenses
    • Top-Up Recordings
    • Subject Recruitment
    • Study Building
    • Dedicated Support
    • Checkout
  • About
    • About Us
    • Contact
    • Downloads
    • Careers
    • Impressum
    • Disclaimer
    • Privacy & Security
    • Terms & Conditions
    • Third-Party Licenses
  • Appgo to app icon
  • Logingo to app icon
Learn
Guide
Videos
Walkthroughs
FAQ
Newsletter Archive
Documents
Classroom
  • 中國人
  • Deutsch
  • Français
  • Español
  • English
  • 日本語
Guide
Videos
Walkthroughs
FAQ
Newsletter Archive
Documents
Classroom
  • 中國人
  • Deutsch
  • Français
  • Español
  • English
  • 日本語
  • Guide
    • GETTING STARTED

      • Task Editor
      • Stimulus Presentation
      • Correctness of Response
      • Objects
      • Events
      • Variables
      • Task Wizard
      • Trial System
      • Study Design
        • Tasks
        • Blocks
        • Sessions
        • Groups
    • FEATURED TOPICS

      • Experiment Design
        • Creating a Study
        • Data Frame Patterns
      • Randomization & Balance
      • Eye Tracking
        • Presenting Stimuli in an Eye Tracking Task
        • How to Choose Eye Tracking Calibration Settings
        • Setting Up Eye Tracking in a Task
        • Recording and Exporting Gaze Data
        • Using Shapes as Areas of Interest (AOI) for Eye Tracking
        • The Participant Calibration Experience
      • Questionnaires
      • Desktop App
      • Sample Studies
      • Participant Recruitment
      • API Access
        • REST API
        • Webhook API
        • WebSocket API
      • Other Topics

        • Precise Stimulus Timings
        • Multi User Studies
        • Head Tracking in Labvanced | Guide
    • MAIN APP TABS

      • Overview: Main Tabs
      • Dashboard
      • My Studies
      • Shared Studies
      • My Files
      • Experiment Library
      • My Account
      • License & Services
    • STUDY TABS

      • Overview: Study-Specific Tabs
      • Study Design
        • Tasks
        • Blocks
        • Sessions
        • Groups
      • Task Editor
        • Task Controls
        • The Trial System
        • Canvas and Page Frames
        • Objects
        • Object Property Tables
        • Variables
        • System Variables Tables
        • The Event System
        • Text Editor Functions
        • Eye Tracking Options in the Task Editor
        • Head Tracking in a Task
        • Multi-User Studies
      • Settings
      • Variables
      • Media
      • Texts & Translate
      • Launch & Participate
      • Subject Management
      • Dataview and Export
        • Dataview and Variable & Task Selection (OLD Version)
        • Accessing Recordings (OLD Version)
  • Videos
    • Video Overview
    • Getting Started in Labvanced
    • Creating Tasks
    • Element Videos
    • Events & Variables
    • Advanced Topics
  • Walkthroughs
    • Introduction
    • Stroop Task
    • Lexical Decision Task
    • Posner Gaze Cueing Task
    • Change Blindness Flicker Paradigm
    • Eye-tracking Sample Study
    • Infant Eye-tracking Study
    • Attentional Capture Study with Mouse Tracking
    • Rapid Serial Visual Presentation
    • ChatGPT Study
    • Eye Tracking Demo: SVGs as AOIs
    • Multi-User Demo: Show Subjects' Cursors
    • Gamepad / Joystick Controller- Basic Set Up
    • Desktop App Study with EEG Integration
    • Between-subjects Group Balancing and Variable Setup
  • FAQ
    • Features
    • Support Policy & Guidelines
    • Security & Data Privacy
    • Licensing
    • Precision of Labvanced
    • Programmatic Use & API
    • Using Labvanced Offline
    • Troubleshooting
    • Study Creation Questions
  • Newsletter Archive
  • Documents
  • Classroom

The Participant Calibration Experience

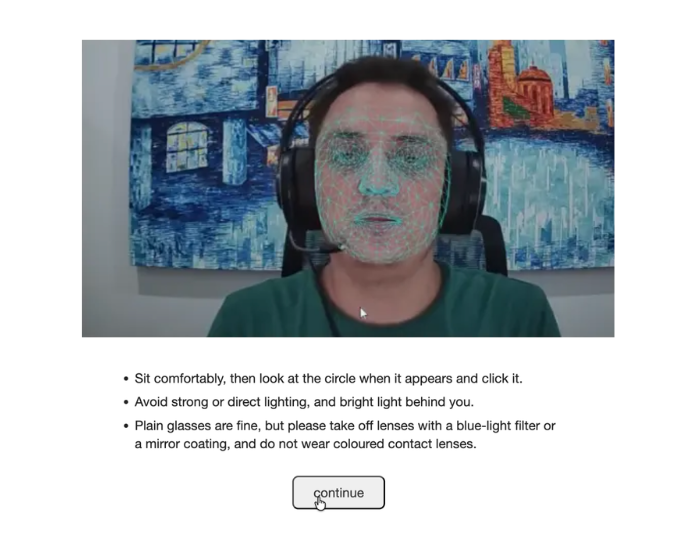
Calibration screen showing the participant's face with a tracking mesh overlay while setting their center pose

The settings covered in How to Choose Eye Tracking Calibration Settings determine what calibration actually looks and feels like from a participant's side. This page walks through that experience.
Device Requirements

Participants need a camera or webcam with at least 1280 by 720 resolution to produce a complete eye tracking dataset. Tell participants about this requirement before the study begins, so incomplete datasets are avoided rather than discovered after the fact.

Initial Video Feed Calibration

First, the participant is asked for permission to access their camera. Once granted, a calibration screen appears (allow up to 15 seconds for loading) showing the participant's own video feed with a blue mesh overlaid on their face, which should move smoothly as they turn their head or open their mouth. If the mesh looks out of sync with their movements, they can indicate this and retry; otherwise they confirm it looks correct and proceed through a consent screen.

Calibrating the Eye Tracker

Next, a set of translatable on-screen instructions explains what is about to happen:

Calibration instructions screen telling the participant to be in a quiet room, avoid glasses, and center the webcam

A few things affect how well this step goes:

  • Participants wearing glasses may calibrate less reliably, especially with reflective lenses.
  • Lighting should be constant and come from the front. Backlighting, or a bright light or window behind the participant, will wash out their face and reduce accuracy.

The participant then sets their center pose, the reference position used throughout the rest of the study (see Virtual Chinrest in How to Choose Eye Tracking Calibration Settings):

Confirmation screen asking the participant whether to use the current pose, shown as a green mesh, or go back

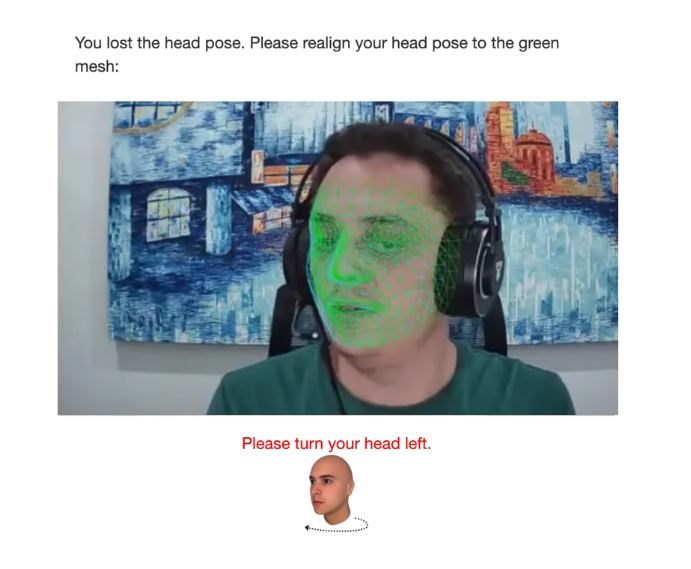
Their position at this point is saved as a green mesh; a blue mesh continues to track their live face, and they align the two and hold the position briefly:

Calibration screen instructing the participant to align their blue tracking mesh with the green target mesh and hold the pose

If they drift out of alignment, calibration pauses with an on-screen prompt to realign.

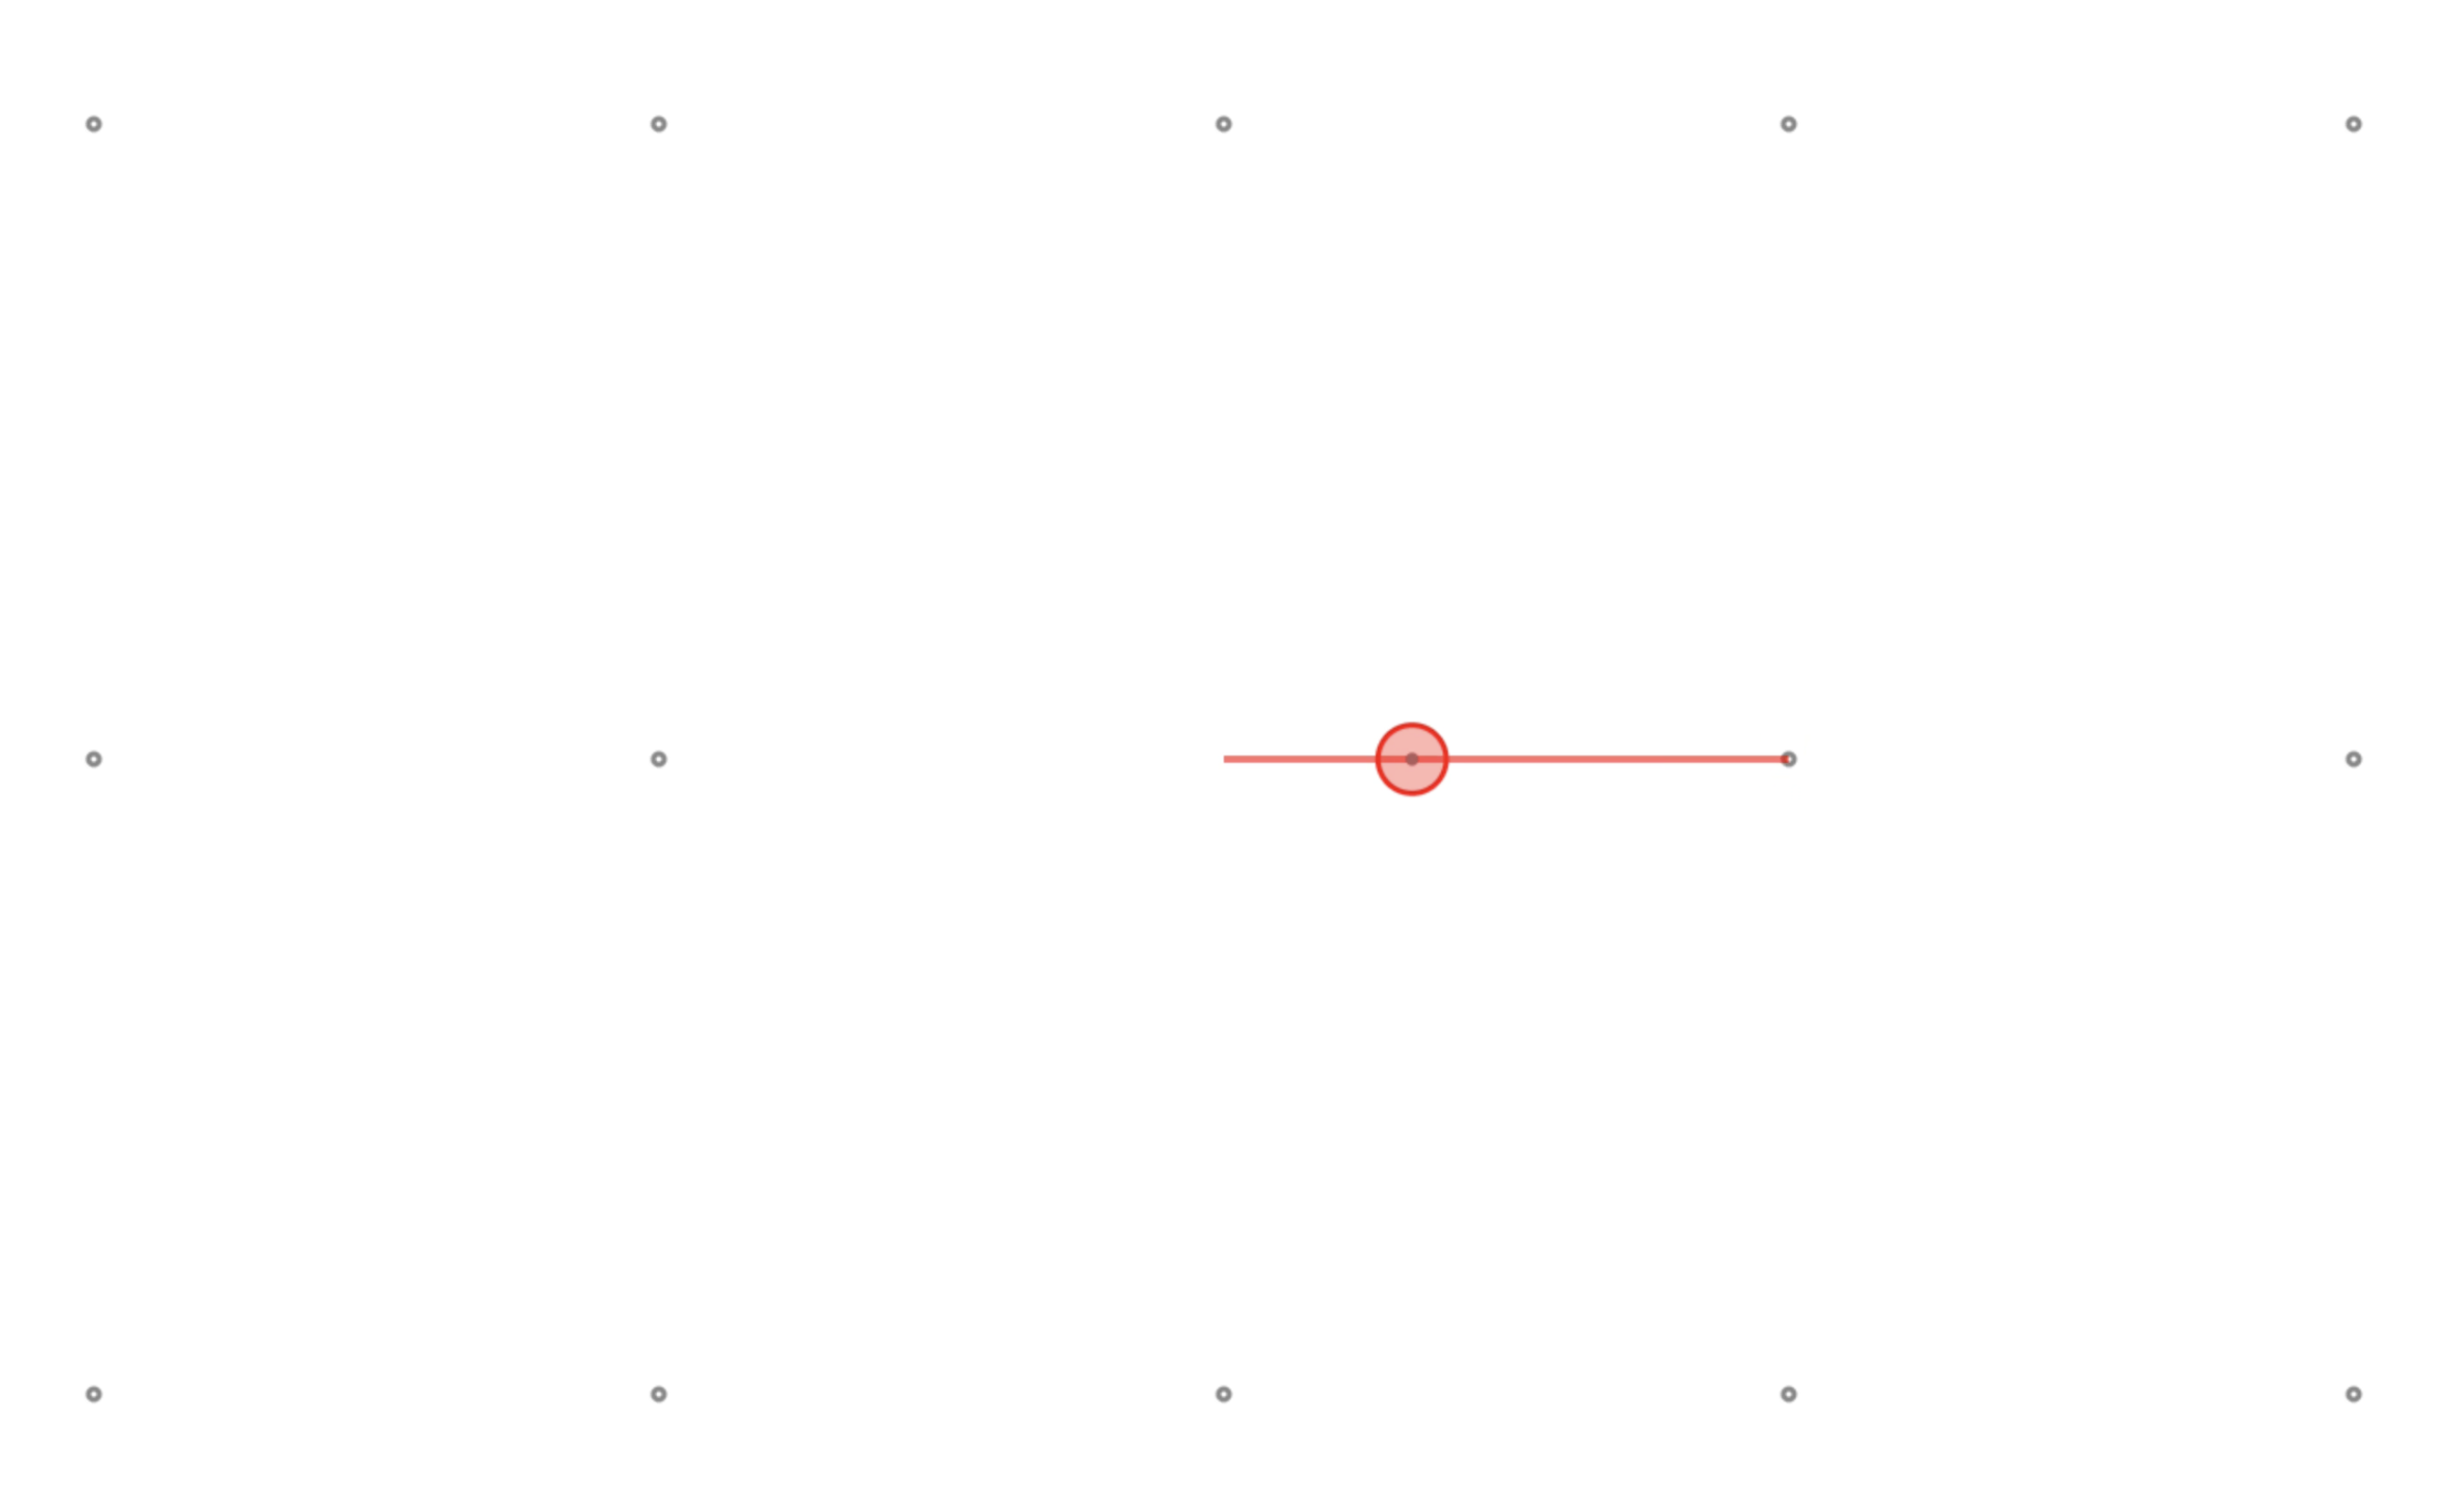
Once the center pose is set, the live video feed disappears and a series of fixation points appears instead, one at a time, each marked by a shrinking circle:
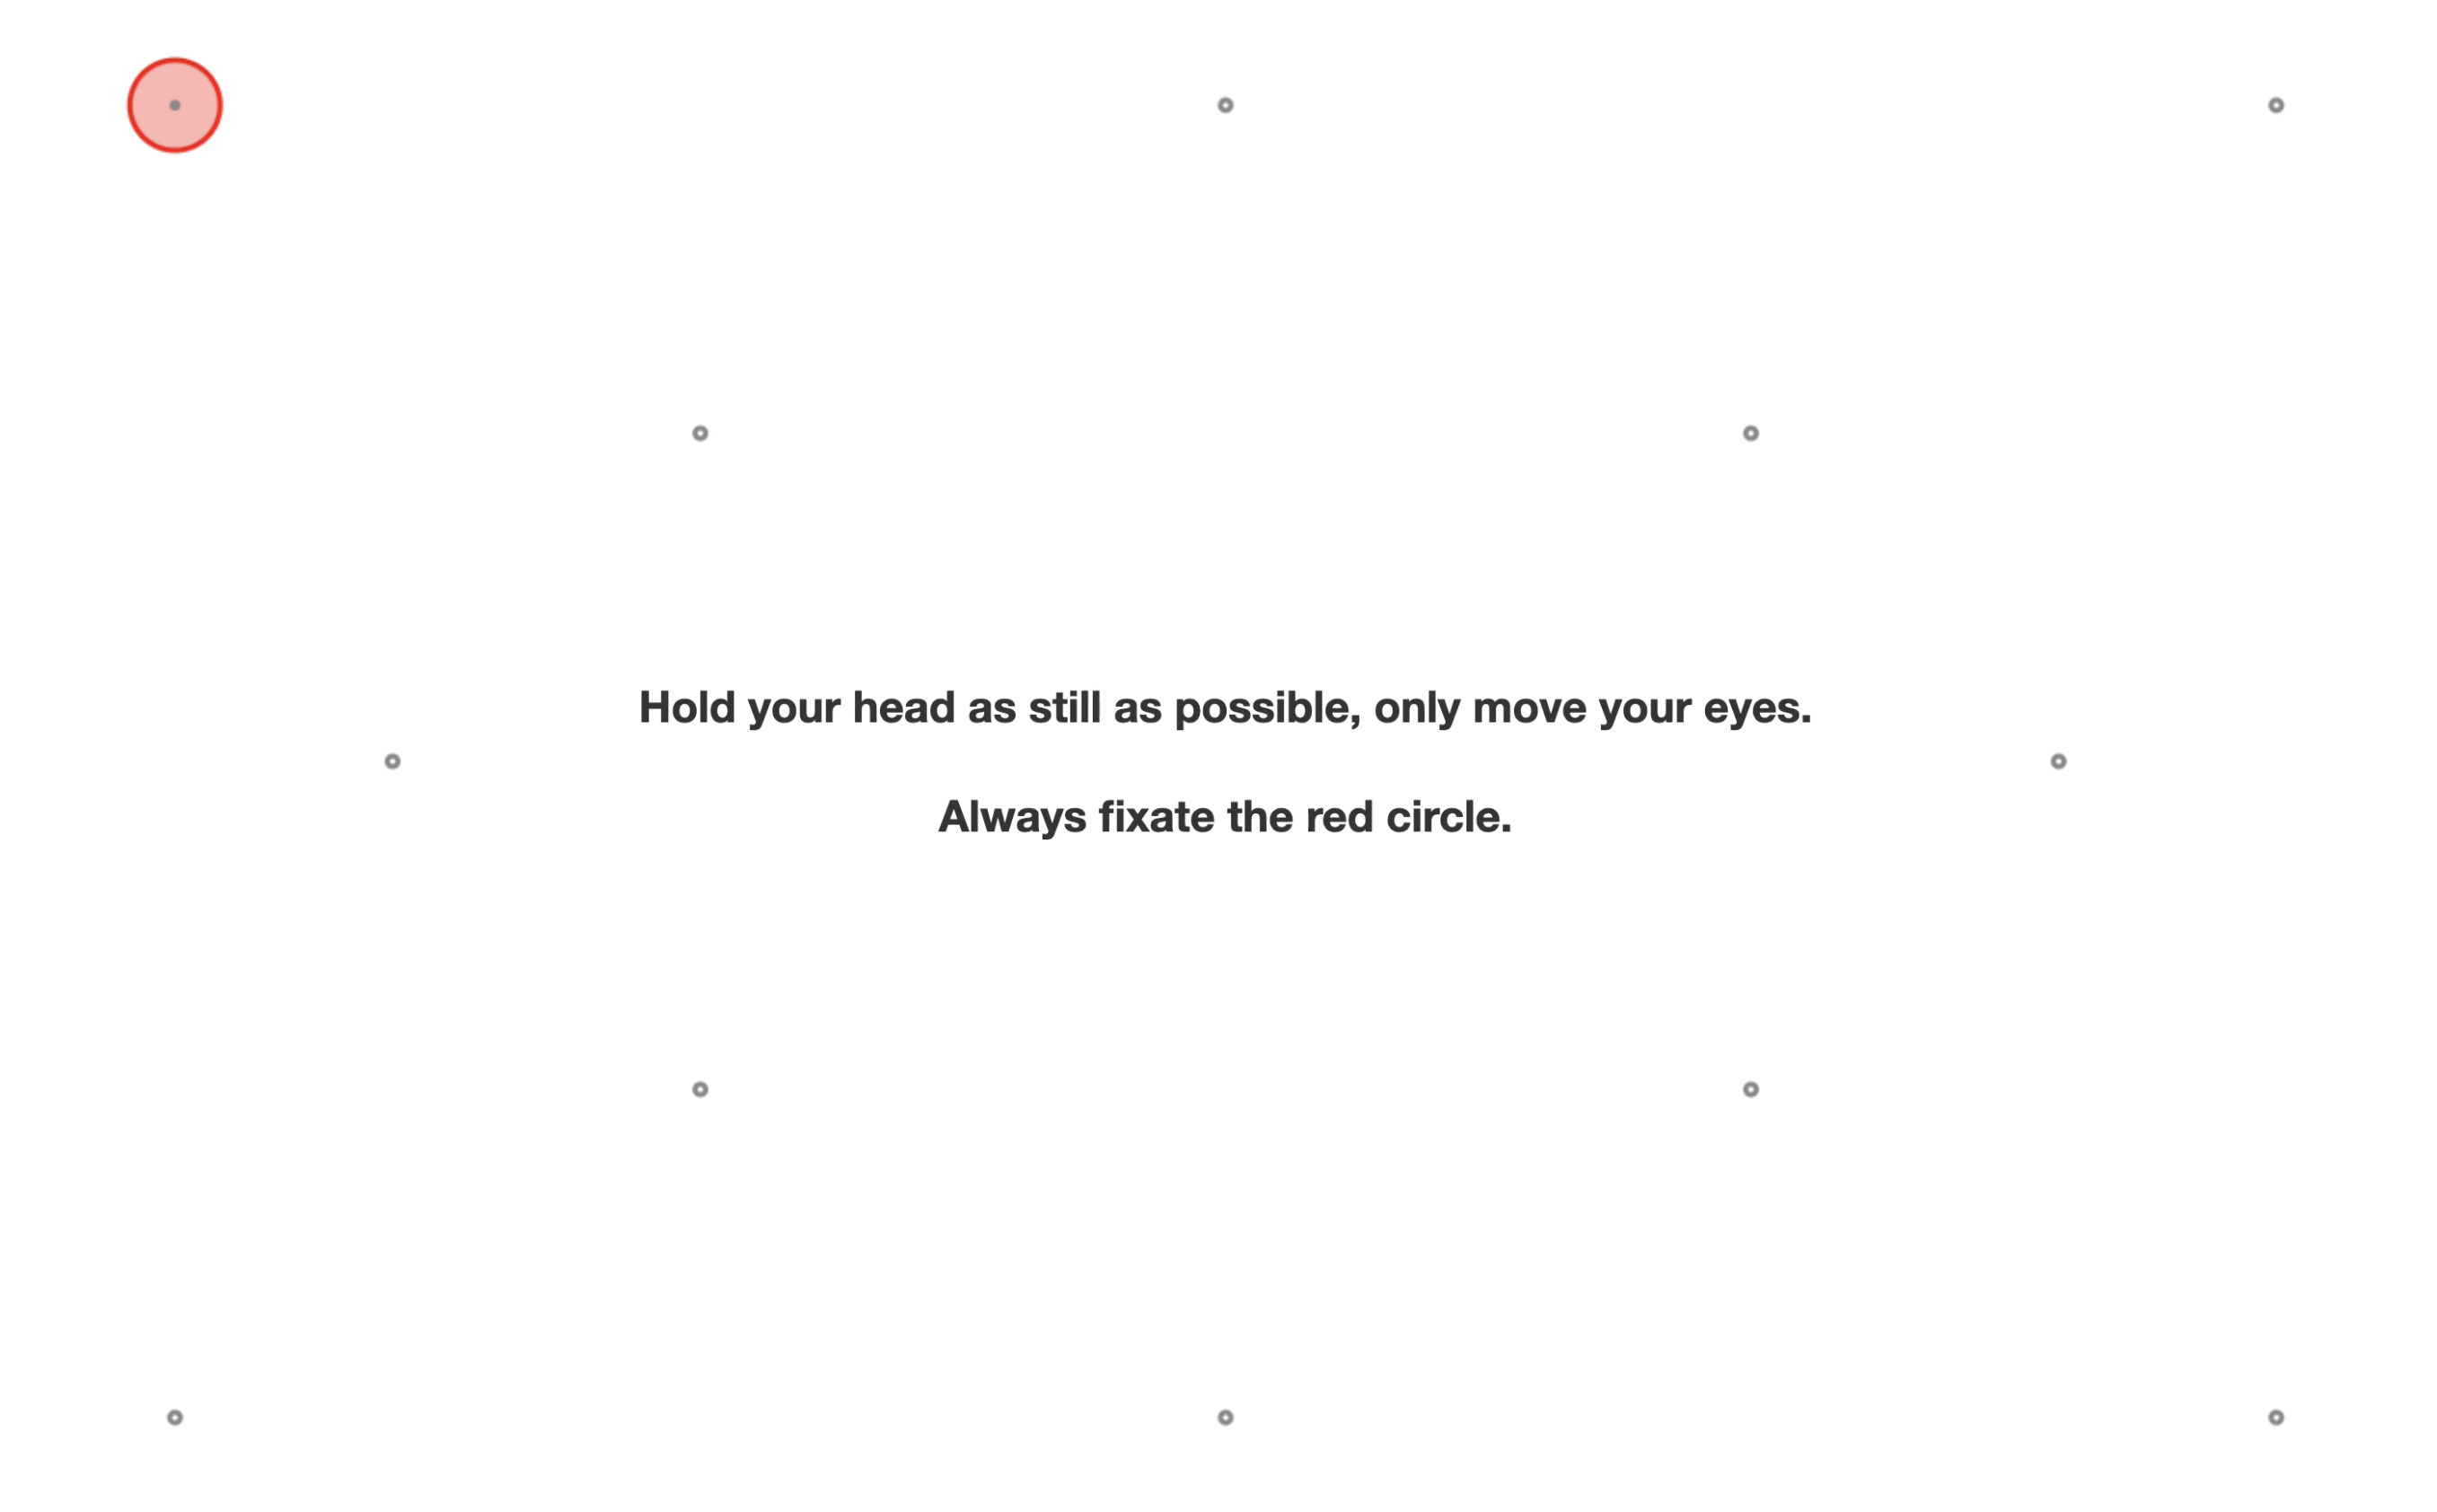
Calibration dot screen showing one fixation target highlighted with a shrinking circle among several other calibration points

The participant looks at each point until it finishes shrinking, then the next point appears. Depending on the Calibration Length setting chosen for the study, the participant may also be asked to tilt their head left and right partway through, so the system can recalibrate for those shifted positions, before returning to center for a final round. The exact number of points and poses varies by which calibration length tier was configured.

Before each subsequent task with eye tracking enabled, a brief recalibration runs again, using whatever recalibration settings were configured for that task (see Setting Up Eye Tracking in a Task).

If the Same Device Calibrated Recently

If a participant returns on the same device within a few hours of a previous calibration, and Allow Calibration Reuse is enabled, Labvanced may offer to skip calibration and reuse the saved data instead:
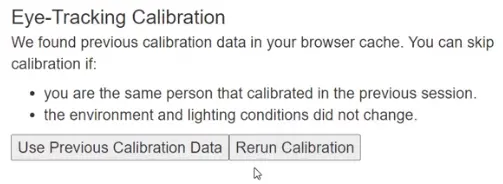
Prompt asking the participant whether to use previous calibration data or rerun calibration

Participants are asked to confirm that their position, lighting, and setup have not changed since the last calibration before this is accepted.

Getting a Good Calibration

Beyond the settings covered elsewhere, a few practical factors affect how well calibration goes for a given participant:

  • Position the webcam as close to the monitor as possible (built-in laptop webcams are usually fine). This helps the center pose get set accurately and keeps the whole face in frame.
  • Ask participants to remove glasses or face coverings where possible, and make sure their eyes are clearly visible to the camera.
  • If a study is loading slowly or eye tracking is not starting, background CPU load is often the cause. Closing other applications and browser tabs, plugging a laptop into power, and setting the computer to a performance power mode all help. A dedicated graphics card, Chrome, and Windows tend to perform most reliably.

Before running a real study, test the calibration process yourself or with a colleague to confirm the settings you have chosen collect the data you expect.

Frequently Asked Questions

What camera specs does a participant need for eye tracking?
A camera or webcam with at least 1280 by 720 resolution, needed to produce a complete eye tracking dataset. Tell participants about this requirement before the study begins, so incomplete datasets are avoided rather than discovered after the fact.
Will every participant see the same number of calibration points?
No. The exact number of points and poses varies by which Calibration Length tier was configured for the study, described in How to Choose Eye Tracking Calibration Settings.
Why would a participant be asked to tilt their head during calibration?
Depending on the Calibration Length setting chosen for the study, the participant may be asked to tilt their head left and right partway through calibration, so the system can recalibrate for those shifted positions before returning to center for a final round.
What should I tell participants about wearing glasses before a study?
Participants wearing glasses may calibrate less reliably, especially with reflective lenses. This is covered in the on-screen instructions participants see before calibration begins.
What happens if a participant returns on the same device shortly after a previous session?
If `Allow Calibration Reuse` is enabled and they return within a few hours, Labvanced may offer to skip calibration and reuse the saved data, after the participant confirms their position, lighting, and setup have not changed.
A participant's eye tracking study is loading slowly. What should I check?
Background CPU load is often the cause. Closing other applications and browser tabs, plugging a laptop into power, and setting the computer to a performance power mode all help. A dedicated graphics card, Chrome, and Windows tend to perform most reliably.

Further Reading

How to Choose Eye Tracking Calibration Settings

The settings that shape the experience described on this page.
Setting Up Eye Tracking in a Task

Configure recalibration for individual tasks within a study.
Webcam Eye Tracking Accuracy and Study Design

The evidence behind webcam eye tracking's validated accuracy.

Prev
Using Shapes as Areas of Interest (AOI) for Eye Tracking