Trial Timeline
A trial timeline acts as a structured blueprint for one trial. It determines the order and timing of all elements presented to the participant, including stimuli, interactions, and response collection. By organizing these components in a clear sequence, the trial timeline ensures consistency and precise experimental control.
Important: A trial timeline represents only one trial. It is not the entire experiment. Multiple trial timelines can be combined and repeated in an experiment timeline to create a full experiment.
Table of Contents
Scope of a Trial Timeline
A trial timeline is limited in scope to a single trial instance. It defines only what happens within that one execution cycle, from the start of a trial to its completion.
Trial Timeline is NOT for 🚫This means the trial timeline does not by default contain information about:
- how many times the trial is repeated
- how trials are ordered within an entire study
- how different conditions or blocks are structured
- any non-trial elements of the experiment
Its primary role and correct use is strictly to define and represent the internal structure of one, single trial, independent of how it is later used in the broader study design.
Structure of a Trial
Each trial in an experiment is built from a sequence of frames, with each frame representing a specific step or screen that guides the participant through the task.
Sequential Flow of Frames
A trial timeline is made up of frames, which are the individual steps within a trial. Each frame represents a distinct screen or state, and frames are executed in a defined sequence from start to finish.
For example, one frame might display a fixation cross, the next frame presents a stimulus, and a later frame collects a response. The trial timeline controls how the experiment moves from one frame to the next, including how long each frame is shown and what triggers the transition.
Typical Frame Sequence
A common trial timeline might include:
- A fixation frame to prepare the participant
- A stimulus frame presenting content (e.g., image, text, audio, video)
- A response frame where input is collected
- A feedback or inter-trial frame
Each of these is a separate frame within the same trial timeline, not separate trials.
Working with the Trial Timeline
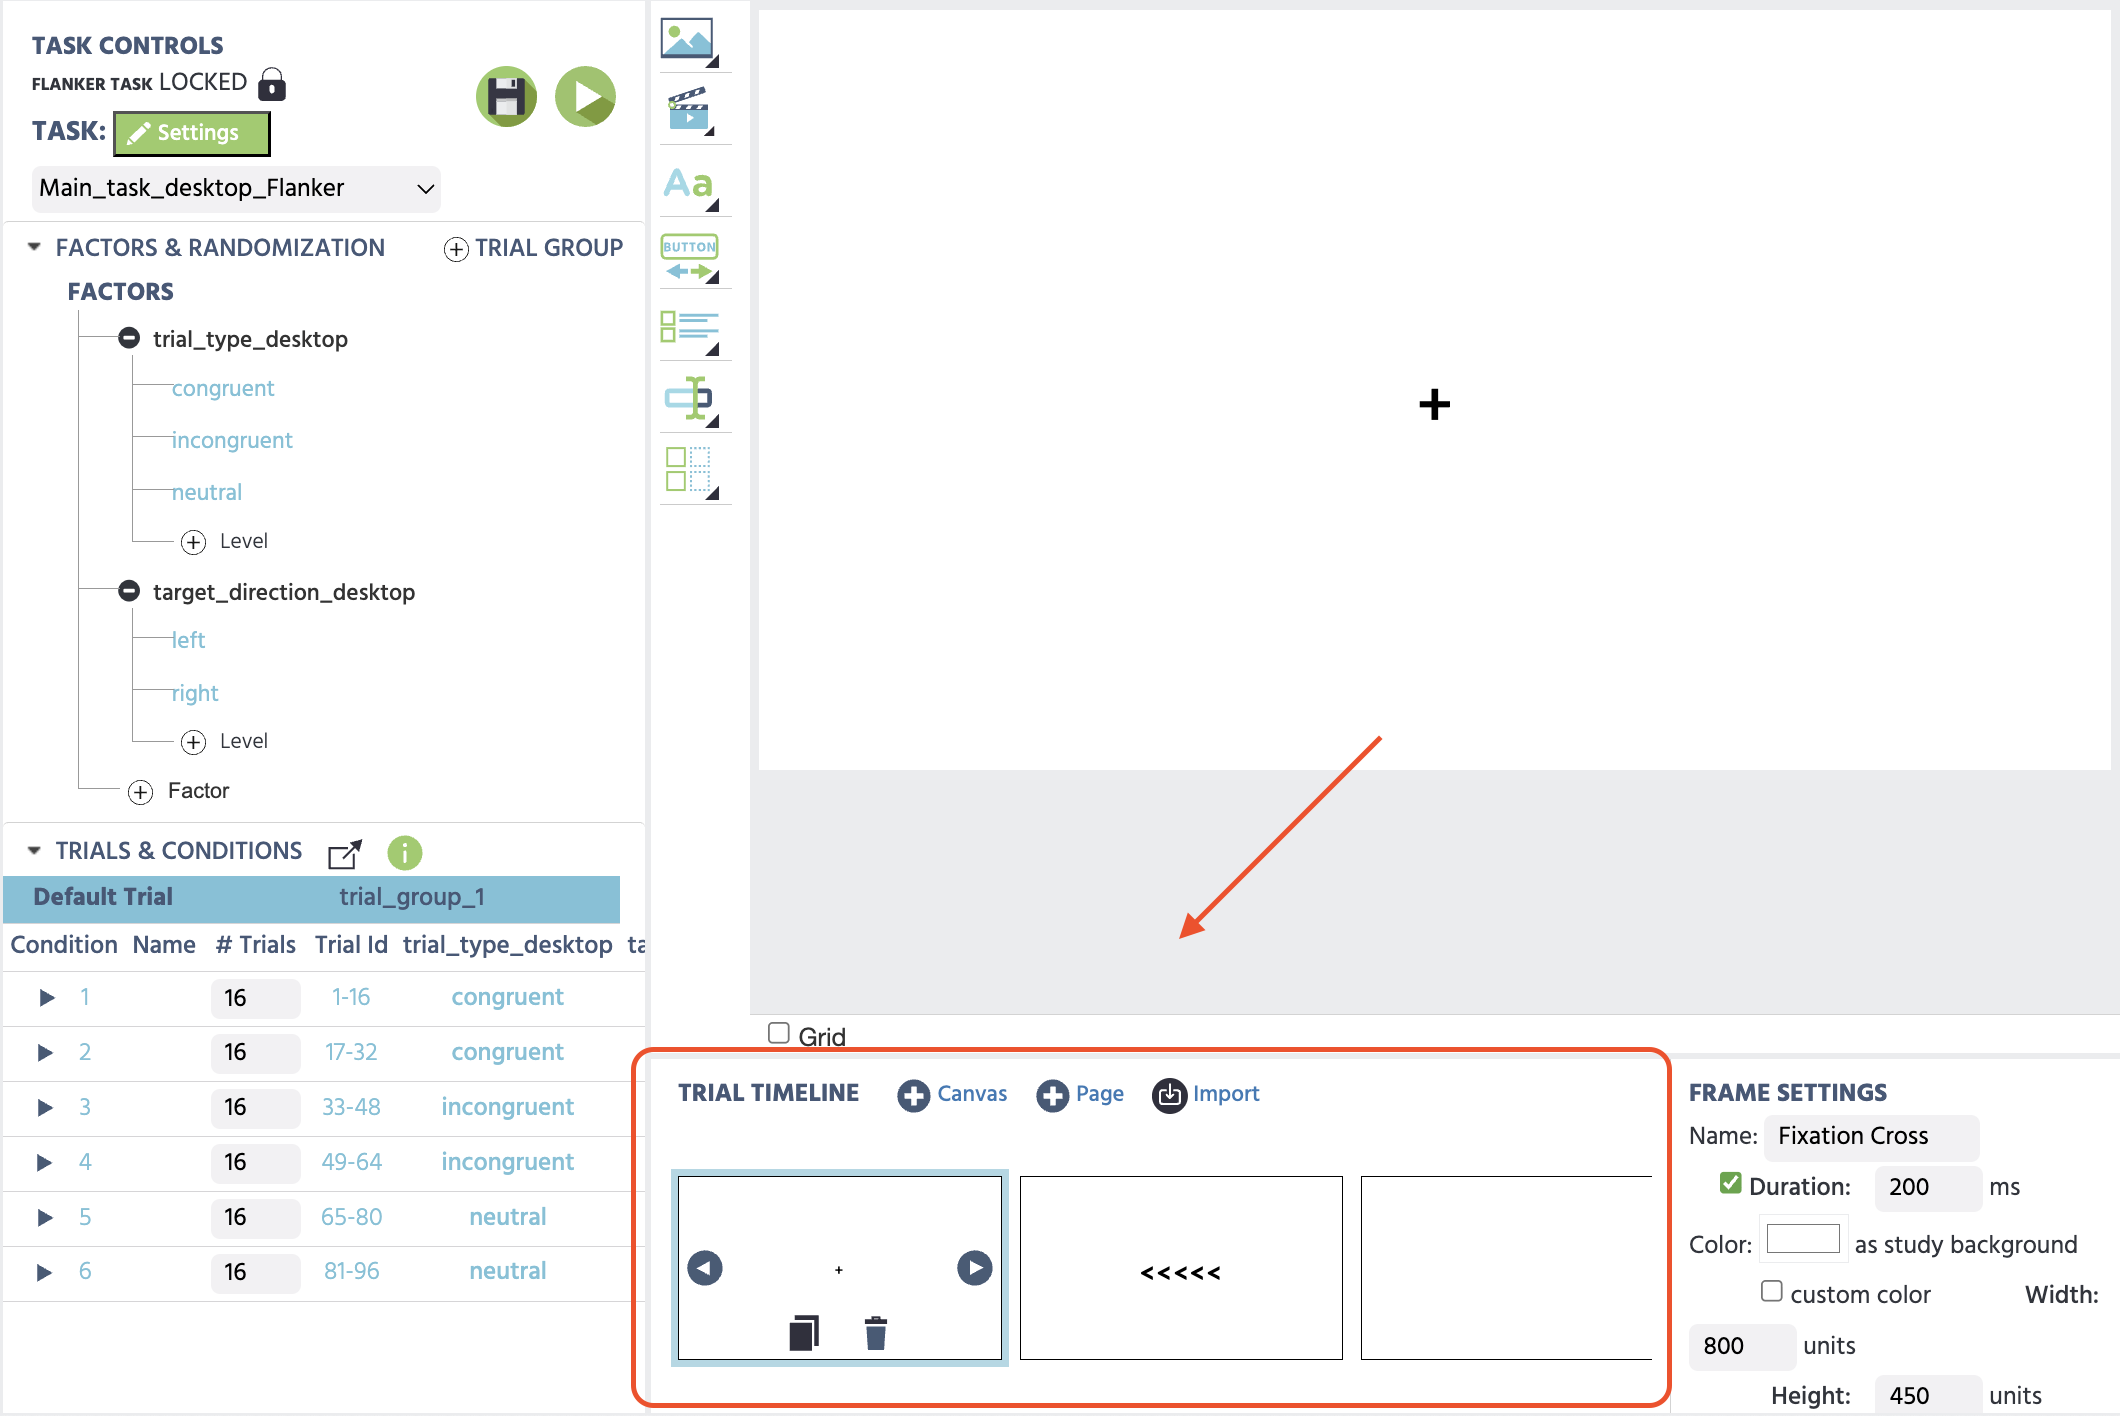
The Trial Timeline is where you build the visual sequence of a single trial. It displays your frames in order from left to right, each representing a screen the participant will see. You can add, arrange, and configure frames directly from this view.
Adding Frames
To add a new frame to your trial, use the buttons at the bottom of the Trial Editor. There are three frame types to choose from, as well as the option to import a frame:
Canvas
A Canvas frame gives you free control over layout. You can place content elements anywhere on the screen by positioning them at exact coordinates. Use this frame type when the precise position of your stimuli matters, for example in visual perception tasks, reaction time tasks, or any study where you need fine-grained control over where things appear on screen. For full setup details, see the dedicated Canvas Frame page.
Page
A Page frame arranges content automatically from top to bottom, similar to a standard web page. Elements are stacked vertically with consistent spacing, making this frame type ideal for questionnaires, consent forms, and surveys where layout flexibility is less important than readability and flow. For full setup details, see the dedicated Page Frame page.
Website Frame
A Website Frame embeds a real external website inside the study instead of Labvanced-built stimuli. Use this frame type when you need to test or track gaze and interaction on an actual live site rather than a recreated version of it. For full setup details, see the dedicated Website Frame page.
Canvas Frame
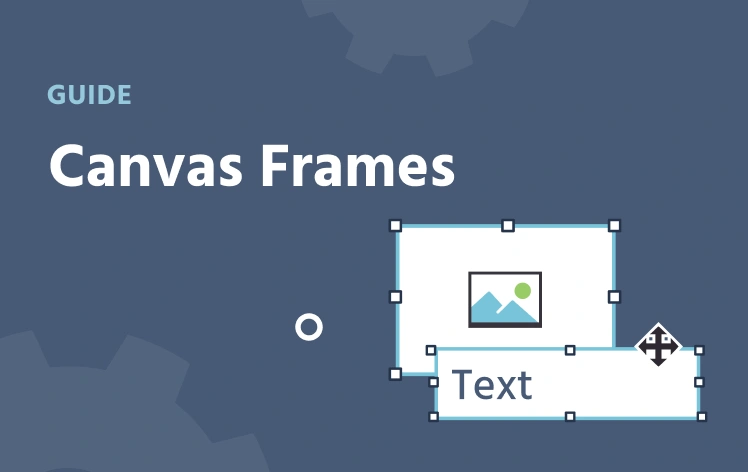
Free positioning: place, resize, and drag objects anywhere on the frame. Use this when exact placement or timing matters, such as perception or reaction-time tasks.
Page Frame
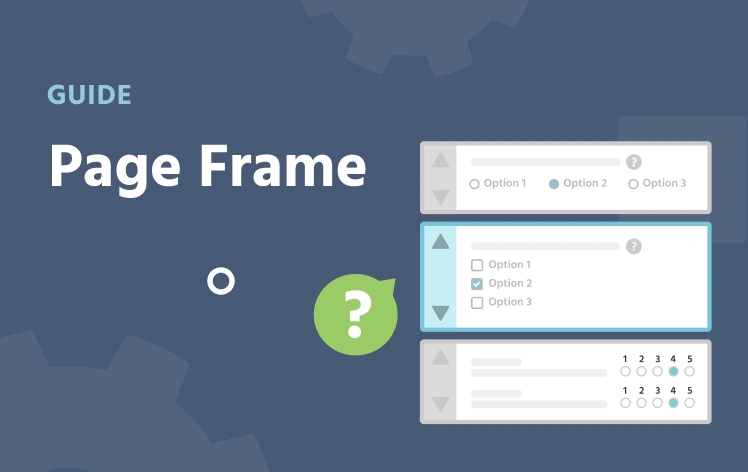
Automatic top-to-bottom layout, like a web page. Use this for questionnaires, consent forms, and instructions, where flow matters more than exact placement.
Website Frame
Embeds a real external website in the study instead of Labvanced-built stimuli. Use this for testing or tracking gaze on an actual live site.
Importing a Frame
The Import option lets you bring in a frame from another task or study you have access to. This is useful when you want to reuse an existing design without rebuilding it from scratch.
When importing, you will be asked how to handle any variables attached to the frame:
- Create new variables — the imported frame is fully independent and works with its own copy of the variables
- Reuse existing variables — the imported frame connects to variables already present in your current task, keeping everything linked
The imported frame will be added to your timeline and can be edited like any other frame.
Frame Settings
Selecting a frame in the timeline, the Frame Settings panel on the right can be utilized to specify. The available options depend on the frame type, but the following are common to all frames:
Name:a label to identify the frame within your task (does not appear to participants)Duration:an optional fixed display time in milliseconds. If left unchecked, the frame will stay on screen until an event or action advances the trialBackground color:set a custom background color or use the study's default. Note: For eye tracking studies, it is important that the background color is the same in the calibration which has a default of white.Hide mouse:hides the participant's cursor while this frame is active
Canvas frame settings
Width and Height:the dimensions of the canvas area, which can be set in pixels, fullscreen units, millimetres, or visual degrees depending on your task's zoom mode (as defined underTask Settings).
Page frame settings
Max-Width:the maximum width of the page content areaBorder size:the thickness of borders between elementsElement margin:the spacing between elements on the page
Modifying Trial Timelines — Trial System
The Trial System is where you define the conditions of your experiment and control how trials are structured and repeated. Each unique combination of factor levels becomes a condition, and the timeline adapts to reflect whichever condition you are currently editing.
Per-Condition Editing
By default, any changes you make in the timeline apply to all conditions at once. This is indicated by the Default Trial row being selected in the Trials & Conditions panel. Editing in this mode sets the baseline properties shared across every condition.
To edit a specific condition, click on its row in the Trials & Conditions panel. The timeline and frame settings will update to reflect that condition. Properties that differ from the default are visually highlighted, making it easy to see what has been customised.
You can work at four levels of specificity:
- Default Trial — changes apply to all conditions
- Factor level — changes apply to all conditions that share a specific factor level
- Condition — changes apply to one specific combination of factor levels
- Individual trial — changes apply to a single trial repetition within a condition.
In the Trials & Conditions table, input the # Trials per condition. To access individual trials, expand a condition row using the arrow icon ►
The Editing Hierarchy
These four levels form a strict top-to-bottom hierarchy, where changes made at a higher level take precedence over changes made at a lower one. For example, if you customize a text object at the individual trial level and later make a change to the same property at the condition level, the condition-level setting will overwrite what you set for the individual trial. The same logic applies all the way up the hierarchy — a Default Trial change will override anything set at the factor, condition, or individual trial level for that property.
This makes the order in which you work important. As a general rule, build your design from the top down: start with the Default Trial to establish everything that is shared, then move to factor levels, conditions, and finally individual trials only when a more precise override is needed. Making changes at a granular level early in the design process and then returning to adjust higher levels later can lead to unexpected results, as the higher-level change will overwrite the more specific one. Keeping the hierarchy in mind as you work will help you avoid unintended overwrites and keep your trial design predictable.
Example: An Image Rating Study
Imagine you are running a study where participants view images from two categories — nature scenes and urban scenes — and rate how calm each image makes them feel. Under the Factors Panel, give edit the factor name to be Scene Type, with two levels — Nature and Urban. In the Trials & Conditions table, input the # Trials per condition. To access individual trials, expand a condition row using the arrow icon ►
Default Trial — Start here by designing the trial in its standard form. Place your image object in the centre of the frame, add a rating scale below it, and set a text label above that reads "How calm does this image make you feel?" Set the frame duration, background color, and any other properties that will remain the same regardless of which image is shown. Every condition will inherit this layout automatically.
Factor level — Your study has one factor: Scene Type, with two levels — Nature and Urban. At the Nature factor level, set the image object to display a nature photograph and update the text label if needed. At the Urban factor level, swap the image for an urban photograph. All conditions that belong to each level will now show the correct image, without you having to edit each condition individually.
Condition — If a specific combination of factor levels requires a further adjustment (especially in the case of 2x2 design)— for example, one particular condition uses a high-contrast urban image that requires a darker background to display correctly — you can make that change at the condition level without affecting anything else.
Individual trial — If a single trial repetition within a condition needs a unique tweak, you can apply that at the individual trial level.
By working top-down, you only define each property once at the highest level where it applies, and let the hierarchy handle the rest. If you had instead edited each condition separately from the start, any later change to the shared layout — such as moving the rating scale — would need to be repeated across every condition individually.
Real Studies Featuring the Trial Timeline Modifications and the Trial System
The studies below feature the trial timeline in action in the context of experimental tasks, particularly the main desktop tasks within each study. You can Import or Inspect them to take a closer look at this design feature.
Flanker Task
This study measures selective attention and inhibitory control using the Flanker Task. Participants respond to the direction of a central arrow while ignoring surrounding distractors. Reaction time and accuracy are recorded as performance indicators.
Dot Probe Task
In this task, participants see pairs of images followed by a small dot and must respond as quickly as possible to the dot’s location via key press (desktop) or button press (mobile).
What can be changed per condition
Every frame contains the same set of objects across all conditions — you cannot add or remove objects for a specific condition. If an object exists on a frame, it exists in every condition. To control whether an object appears in a given condition, use an event to change its visibility or active status at the start of the frame.
For objects that do appear, the following properties can be customised per condition:
- Content — change the text, image, audio, or video an element displays
- Position and size — move or resize an element for a specific condition
- Styling — adjust colors, fonts, borders, or other visual properties
- Visibility and active status — show or hide an element, or deactivate it entirely, using events tied to the condition
Trial Timelines in Non-Experiment Tasks
Trial timelines are specifically designed for repeatable sequences of frames. They are used when the same structure needs to be presented multiple times, such as in reaction time tasks or stimulus-response experiments.
However, not all parts of a study follow this repeated structure. Elements such as consent forms, instruction screens, or questionnaires are typically presented once and do not consist of a repeating sequence of frames within a trial. For this reason, they are implemented as separate tasks rather than together with experimental tasks which draw on the trial timelines’ full power.
This separation allows trial timelines to focus on repeated experimental trials, while other task types handle one-off or uniquely structured parts of the study.
Thus, even though trial timelines appear in such non-experimental tasks (like questionnaire-based tasks) to represent the flow of frames, the full capabilities of trial timelines come out for experimental tasks, especially in the context of the Trial System.