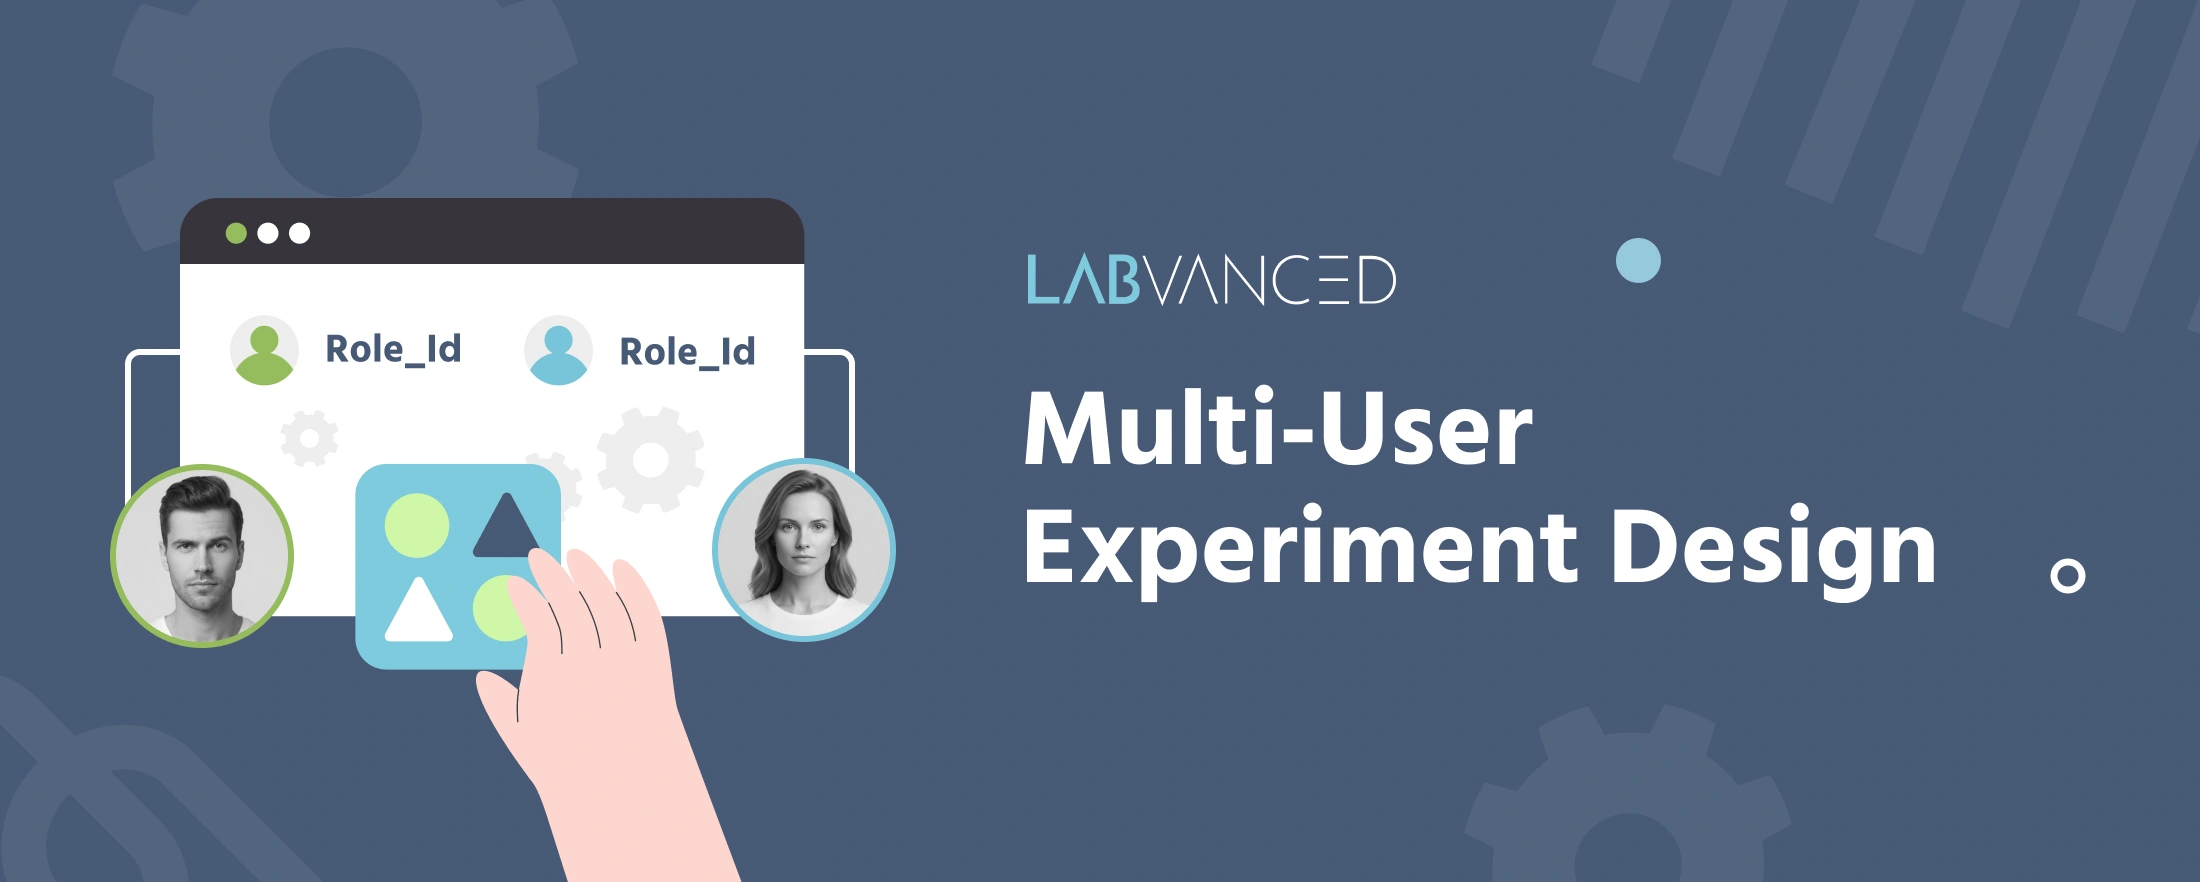
Multi-user Experiment Design
Multi-user experiment design is about deliberately connecting participants that Labvanced otherwise runs in complete isolation. Understanding the concepts behind it, not just the individual tools, helps you determine how best to approach your own study before you start building. Related reading is linked throughout this page, so once the concepts make sense, moving on to the more technical setup is straightforward.
By default, every participant in a Labvanced study runs their own experiment in isolation, even when several of them are in the same session together. Turning on multi-user mode does not change that by itself: it lets multiple participants join the same running session, but nothing one participant does is visible to another until you build that connection yourself. Events are what build it, specifically the Distribute Variable action, which is the bridge that carries a value out of one participant's isolated experiment and into another's.
When you need multi-user
If participants never interact in real time, for example if you are just comparing two between-subjects conditions, a standard single-participant study with group assignment is enough. You need multi-user specifically when two or more participants must be in the same session at the same time, and something one of them does needs to reach another while the session is running.
Prerequisite Knowledge
Fundamental knowledge of Labvanced is advised, such as how events work and how variables are used, in order to follow the terminology used below.
Frames
The building block that holds what participants see at each moment in a trial.
Events
What a trigger and an action are, and how they combine to build a study's logic.
Variables
What a variable is and how it stores and updates values during a study.
Setting up a synchronous session
Multi-participant tools are hidden by default. To enable them, open Settings, then under Special Features click through to Multi User Study and click Transform. This reveals Number of Participants (minimum 2) and Maximum Parallel Sessions. See Multi User Study for the full list of settings this unlocks. This click cannot be undone, so decide your participant count first, and duplicate the study beforehand if you want to keep a single-participant version too.
Turning this on only changes how participants are grouped into a session. It does not connect them. If two participants need to stay in step with each other at a specific moment, use Sync Frame Start (Frame Settings) or the matching option under Task Settings to hold everyone at that point until all participants arrive.
Example: Neither participant should move to the next trial before the other has responded. Set
Sync Frame Starton that frame, and both participants wait there until they've both arrived.
Pairing and roles
Each participant is identified by the system variable Role_Id, assigned in order starting at 1 as people join. Use it in a Requirement Action to give participants different content.
Example:
Role_Idequals 1 → show the target image.Role_Idequals 2 → show the response options instead.
By default, participants are matched randomly from the lobby. For a pre-arranged pair, use Predefined Participant Groups instead: in the Publish & Record tab, open Build Custom Link and enter a value in the group field. Participants who join through a link with the same group value are matched only with each other.
Example: Two lab participants are scheduled for the same time slot. Give each of them a link with
group=12, and the two will be paired together instead of matched randomly from the lobby.
Shared variables between participants
This is the bridge itself. A Distribute Variable Action sends a value from one participant to a target variable belonging to another, on whatever trigger you choose. Nothing is shared until an event like this fires.
Example: On a button-click trigger, distribute the clicking participant's current score to a
PartnerScorevariable on the other participant's screen.
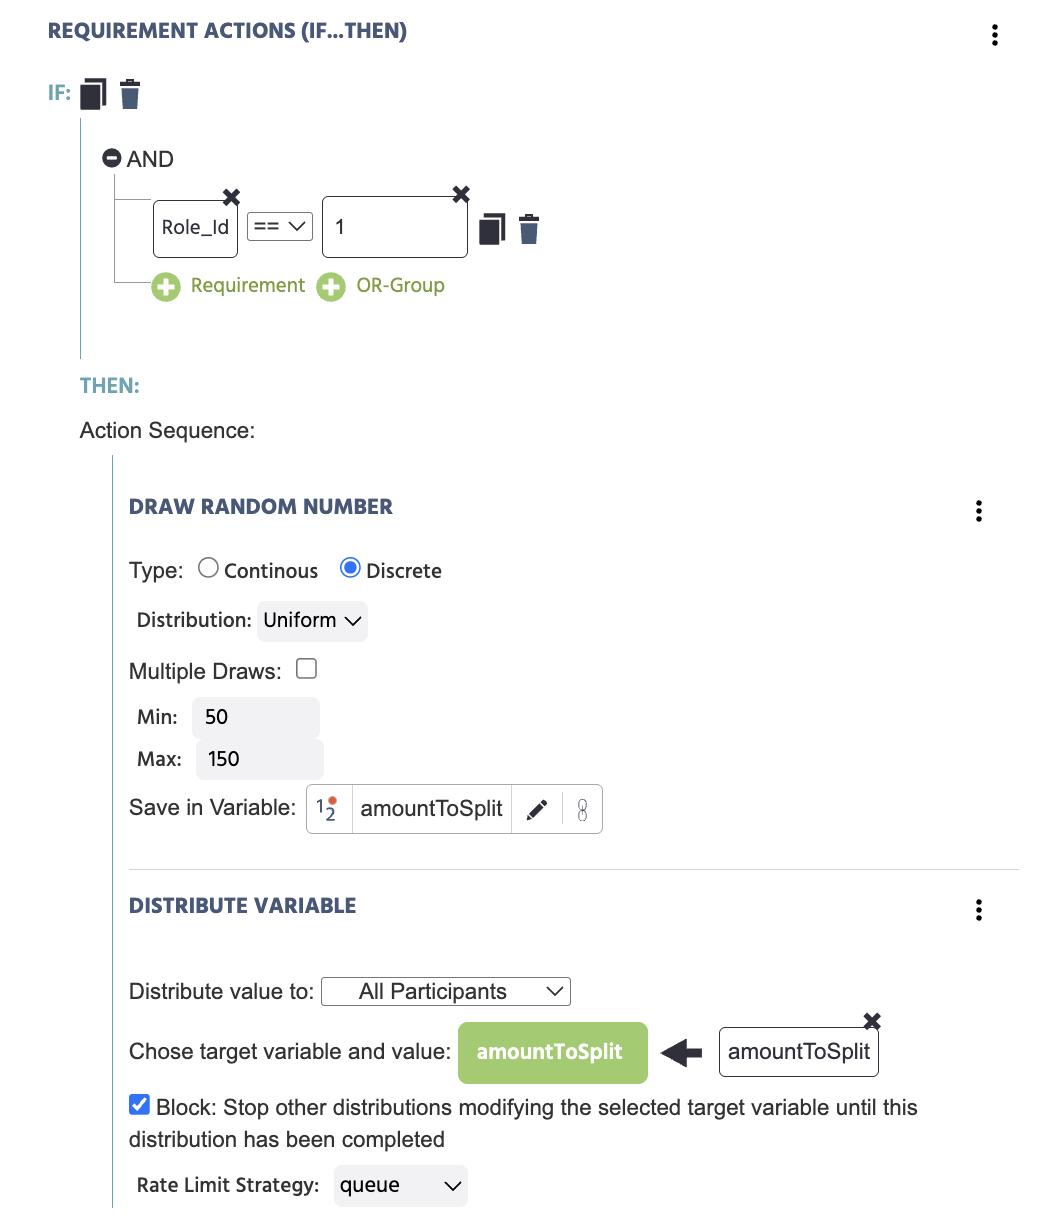
If more than one participant could write to the same target variable around the same time, turn on the action's blocking option so the first one to arrive is processed before any other is allowed through.
The image below shows this blocking option in a real study, set up through events: a Role_Id-gated Requirement Action draws a random number and distributes it to every participant with Block enabled, so no two participants can process the same distributed value out of order.
Best Practices
- Test with two separate browser sessions (a second tab or an incognito window) before publishing. Role assignment depends on join order, so this is the only reliable way to see both sides of the interaction.
- Decide your
Role_Idlogic before you start building frames. Because role assignment applies for the whole session, it is easier to design around it from the start than to add it retroactively once frames already exist. - Audit every conditional branch for synced frames, not just the main path. A participant who takes a shortcut is the most common cause of another participant waiting indefinitely.
- Turn on the blocking option for any
Distribute Variableaction where more than one participant could write to the same target variable around the same time. - Use Predefined Participant Groups instead of random lobby matching whenever pairing needs to be controlled, for example scheduled lab sessions or a study that depends on specific role combinations.
A concrete pattern: Director/Matcher referential communication task
This is a classic referential communication task: one participant describes a target item, and the other identifies it from a set of candidates. It is a two-role design, so it maps directly onto the tools above.
- Enable multi-participant with 2 participants and click
Transform. - Use a Requirement Action on
Role_Idto split the two roles:Role_Id1 becomes the Director, shown the target image and a text input.Role_Id2 becomes the Matcher, shown a set of candidate images and no target. (WhichRole_Idmaps to which role is your choice; the pattern works the same either way.) - When the Director submits a description, for example on an Enter-key or button trigger, use
Distribute Variableto send the text value to aDescriptionvariable on the Matcher's screen, with blocking enabled since only one description should be in flight at a time. - Display the distributed
Descriptionvalue to the Matcher, who selects a candidate image. Code the response against the known target to produce a correct/incorrect variable. - Use
Sync Frame Starton the frame where both participants move to the next trial, so the Director cannot advance before the Matcher has responded.
This is the same structure behind the Image Description Demo linked below. Once the mechanism is in place, swapping the target/candidate content changes the paradigm without changing the underlying event logic.
Examples of Multi-user Designs in Labvanced
The tools above look different once they're driving a real study rather than an isolated example. Import one of the studies below to your account, open it from My Studies, and go to its Study Design tab to look through how Role_Id, Distribute Variable, and frame synchronization were actually set up for that specific task, not just how they're described here.
A two-player economic decision-making task: one participant proposes a split of a shared resource, the other accepts or rejects it.
A real-time 2-player version where one participant receives insider price information and decides whether to share it accurately, distort it, or withhold it.
Further Reading
Multi-Participant Studies
The technical reference for every mechanism on this page: enabling multi-participant mode, Role_Id, frame and task synchronization, and Distribute Variable.

Multi-User Psychology Studies
The capability overview: what multi-user studies make possible for behavioral research, independent of implementation detail.
Working with Variables
Variable types and properties, the foundation for both Role_Id-based logic and Distribute Variable targets.
Image Description Task and Game with a Chatbox
A full walkthrough of the director/matcher pattern in a real study, including the chat variable and reaction-time setup.
Subject Management Tab
The full reference for the Subject Management Tab: the subjects grid, email templates, and SMTP setup.