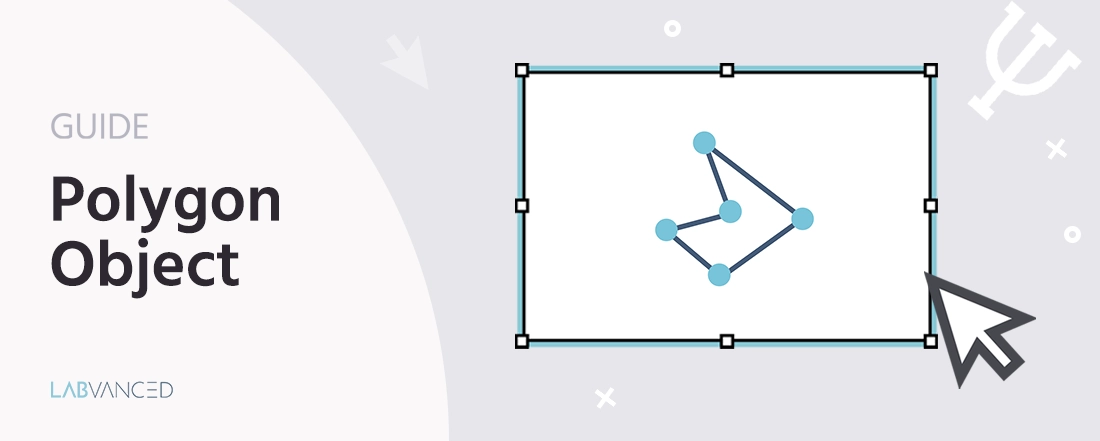
Polygon
The Polygon object lets you place a custom polygon-shaped stimulus on a frame by clicking to define its vertices in the task editor. Once drawn, the polygon is fully editable: you can drag existing vertices, add midpoints, and remove points. Polygon fill and stroke appearance is configurable, and you can link the shape to a stimulus information variable.
A common application is eye tracking: by tracing the outline of an irregular stimulus with many vertices, you can use the Polygon as a precise AOI mask in the Analyzer. This is especially useful when the stimulus shape cannot be captured with a rectangle and an SVG is not available.
Table of Contents
Adding the Polygon Drawing Object
In the task editor toolbar, open the Images & Drawing group and select Polygon to add a Polygon object to the current frame.
The element is added to the frame as an empty polygon. Drawing mode starts automatically so you can begin placing vertices immediately.
Drawing a Polygon
With the Polygon Drawing Object selected and drawing mode active, click anywhere on the frame canvas to place a vertex. Each click adds a new point to the polygon outline.
To close the polygon (connect the last vertex back to the first), click on the circular handle at the first vertex. Alternatively, check the Closed property in the properties panel to force the shape closed without clicking the handle.
To stop adding vertices without closing the shape, click Stop drawing (ESC) in the properties panel, or press ESC. The polygon remains as an open polyline until Closed is enabled.
Modifying an Existing Polygon
After stopping drawing, the polygon enters edit mode. All existing vertex handles remain visible on the canvas.
- Move a vertex: Click and drag any vertex handle to a new position. The polygon edges update in real time.
- Add a midpoint: In the Points Table, click the
+icon on any row. A new vertex is inserted at the midpoint between that point and the next one in the sequence. - Remove a vertex: In the Points Table, click the
×icon on the row for the vertex you want to delete.
To resume adding new vertices at the end of the sequence, click Continue drawing in the properties panel.
Object Properties
All properties below are found in the properties panel when the Polygon Drawing Object is selected.
| Property | Description |
|---|---|
Stimulus Info | A text label associated with the element. Use this to link the polygon to a stimulus information variable for recording or identifying the shape in exported data. |
Fill color | A checkbox controls whether fill is applied. When checked, a color picker sets the fill color of the polygon interior. When unchecked, the interior is transparent. |
Stroke color | The color of the polygon outline. Use the color picker to set it. |
Stroke width | The width of the polygon outline in pixels. Enter a positive number. |
Closed | When checked, the last vertex is connected back to the first, forming a closed polygon. When unchecked, the shape is an open polyline. |
Points Table
The Points section in the properties panel shows a table of all current vertices. Each row displays the vertex index (nr), its horizontal position (x), and its vertical position (y) in frame coordinates.
Use the row controls to:
- Click
+to insert a new vertex at the midpoint between that row and the next. - Click the remove icon to delete the vertex at that row.
You can also set the polygon's points programmatically using a data frame variable and the Set Object Property action in the event system. Each row in the data frame represents one vertex, with columns for x and y coordinates.
Clearing the Drawing
To remove all vertices and start the polygon from scratch, click Clear all in the properties panel. This resets the shape to an empty polygon and re-enters drawing mode automatically.
Using the Polygon as an Eye Tracking AOI
The Polygon object can serve as an invisible AOI mask for eye tracking. The typical setup is to draw the polygon tracing the outline of an irregular stimulus, then leave it completely unstyled: no fill, no stroke. The polygon is invisible to participants but its vertex boundary is used for gaze and fixation hit-testing.
Use this approach when a rectangular AOI is too coarse for the stimulus shape and an SVG element is not available. Because you can place as many vertices as needed, you can closely follow any irregular contour.
Gaze and fixation samples are tested against the polygon's exact vertex set rather than a bounding rectangle. Metrics such as dwell time and percentage of time in AOI are computed using the full polygon boundary.
If your polygon shape differs per condition, the correct vertex set is resolved per trial automatically using the modifier system.
Give the polygon a clear Stimulus Info label so it is easy to identify when configuring AOI metrics.
Modifying the Polygon at Runtime
Use the Set Object Property action in the event system to update the polygon during an experiment. The following properties can be set at runtime:
| Property | Type | What it does |
|---|---|---|
stimulusInformation | string | Updates the stimulus label associated with the polygon. |
fillColor | string | Changes the polygon fill color. |
strokeColor | string | Changes the polygon outline color. |
strokeWidth | number | Changes the outline width in pixels. |
points | array | Replaces the full vertex set with a new set of [x, y] coordinate pairs. |
hasClosed | boolean | Sets whether the polygon is closed (true) or open (false). |
Example: replace the polygon's shape when a trial starts
Trigger:
On Frame Start
Action:Set Object Property->Set Target: your Polygon object -> Property:points-> Value: your variable containing the new coordinate array
Further Reading

Event System
How triggers and actions work in Labvanced. Use Set Object Property to update polygon vertices, fill, stroke, and closed state at runtime.
Object Properties
The shared properties panel all objects inherit: position, size, scale, rotation, and style. Covers the Keep Aspect Ratio setting and copy/paste controls for position and scale values.
All Objects
A full index of all objects available in the Labvanced experiment editor, including display, input, media, and recording elements.